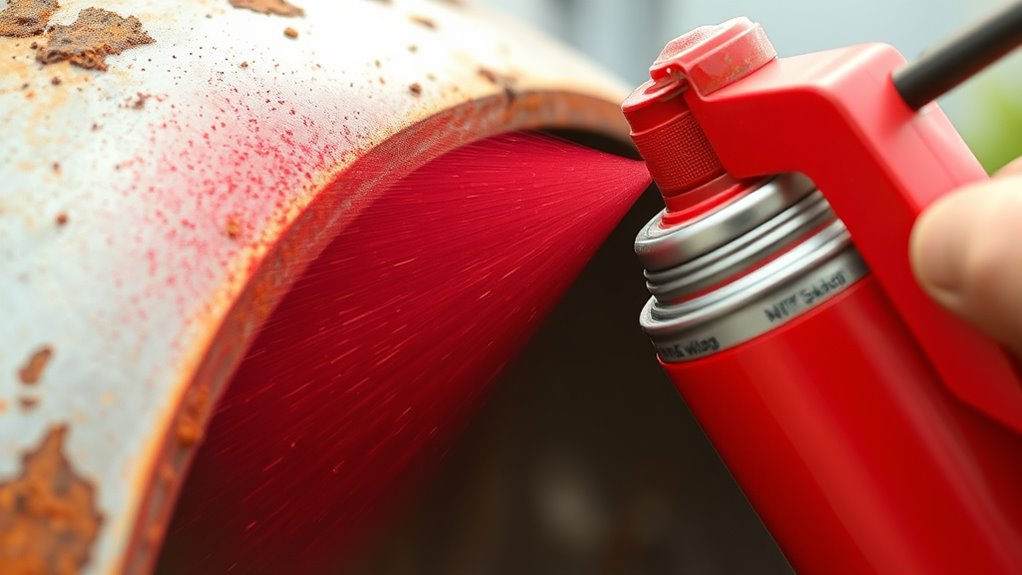
10 Best Tips to Spray Paint Over Rust
To spray paint over rust effectively, start by thoroughly removing loose rust and debris using a wire brush or metal scrubber.
Then, clean and dry the surface completely to prepare it for painting. This step is crucial to ensure the paint adheres well and lasts longer.
Next, apply a rust-inhibiting primer evenly in thin coats. Make sure to let each coat dry fully before moving on to the paint. This primer acts as a protective barrier that prevents rust from coming back, giving you a smooth base for your spray paint.
When spray painting, hold the can about 10-12 inches away from the surface. Spray in light, even layers to avoid drips and runs. Allow proper drying time between coats for the best finish.
For optimal results, work in a shaded, well-ventilated area with an ideal temperature. This helps the paint dry evenly and prevents imperfections.
Keep going to discover how to achieve a flawless, long-lasting finish on your rusty surfaces!
Key Takeaways
- Thoroughly remove rust and loose paint using wire brushes and scrubbers before applying any primer or paint. Make sure to get rid of all the flaky bits so the new paint sticks well.
- Clean and dry the surface completely, wiping away dust with a tack cloth to ensure paint adhesion. You don’t want any dirt messing up your finish.
- Apply a rust-inhibiting primer in thin, even coats, waiting 15 minutes for each coat to dry before painting. This step really helps prevent the rust from coming back.
- Use multiple thin coats of high-quality rust-preventive spray paint, maintaining 10-12 inches distance to avoid drips. Patience here is key—thin layers look much better than one thick one.
- Paint in shaded, well-ventilated areas with temperatures between 50°F-85°F, wearing safety gear and allowing full drying and curing time. Taking your time will pay off with a smooth, durable finish.
Gather the Right Materials for Rust Removal and Painting
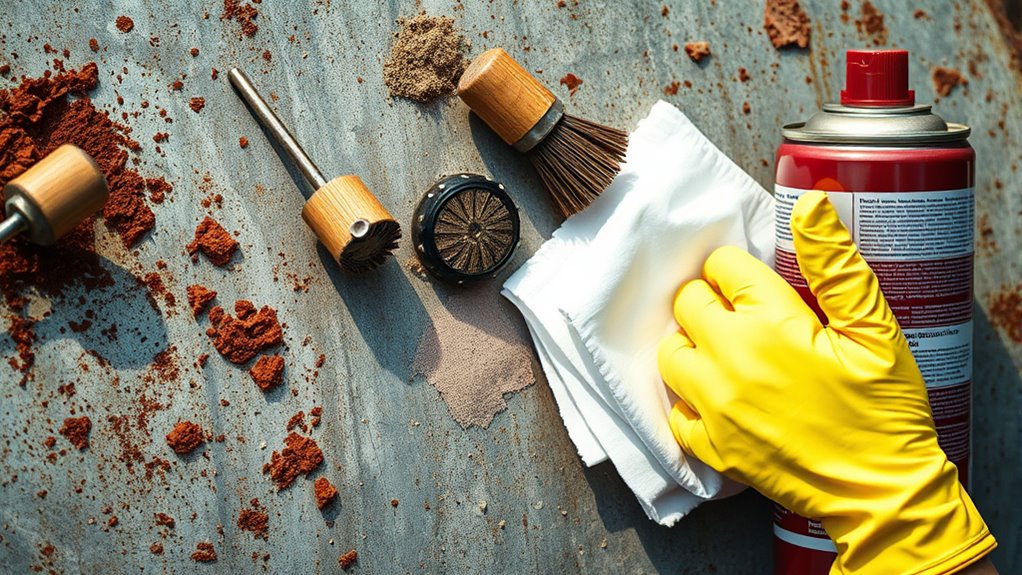
Before you start spray painting over rust, gather the right materials to make the process smoother and more effective. Grab a metal scrubber or SOS pads soaked in water to remove loose rust efficiently.
Don’t forget safety glasses and a mask to protect your eyes and lungs while scrubbing. Have a bucket of clean water and a lint-free rag ready to wipe away dust, dirt, and debris after rust removal.
Also, stock up on enough spray paint and primer to avoid interruptions. When painting, apply light coats rather than heavy layers to ensure even coverage and avoid drips.
Preparing these essentials upfront sets you up for a flawless finish and saves time during the painting process. It really makes the whole job less stressful and more satisfying!
Properly Clean the Metal Surface Before Painting

Although removing loose rust is essential, you’ll want to thoroughly clean the metal surface to guarantee the paint adheres properly. Use a wire brush to clear debris, then wipe down with a damp cloth.
For stubborn grime, wash with soap and water, rinse well, and let it dry completely. Moisture can ruin your spray painting effort and cause more rust.
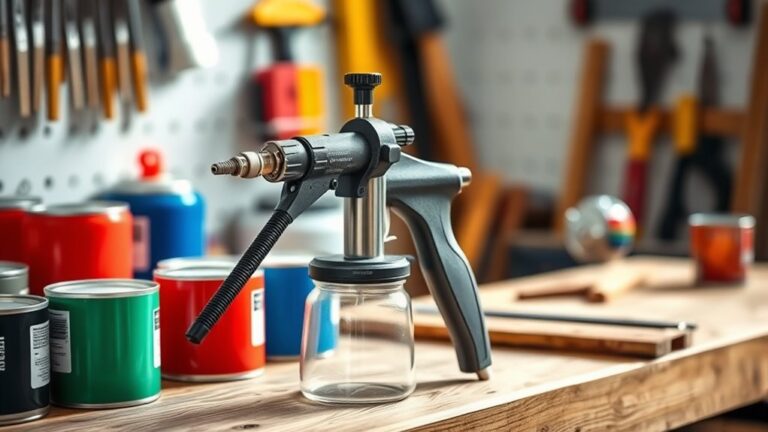
Before applying the First Coat with your Rust-Oleum spray paint or spray gun, make sure to remove any dust with a tack cloth. Proper cleaning helps make your Rusty Metal look flawless and ensures the Rust Preventive qualities last long run.
| Step | Action |
|---|---|
| 1 | Use wire brush |
| 2 | Wipe with damp cloth |
| 3 | Wash with soap and water |
| 4 | Dry completely |
Effectively Remove Loose Rust and Flaking Paint
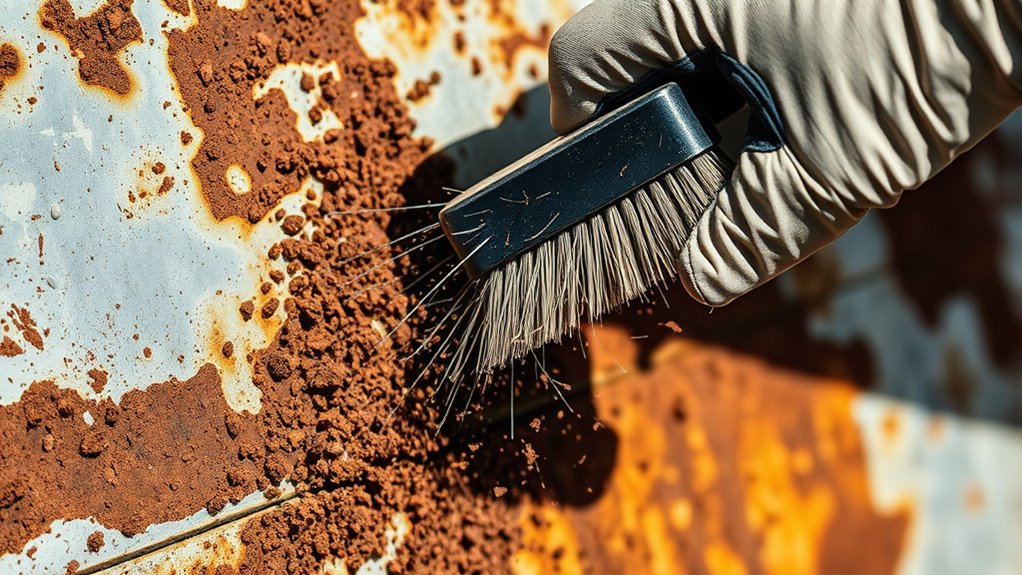
You’ll want to start by identifying any loose rust and flaking paint on the surface. Grab a wire brush to scrub away all the unstable material thoroughly.
Removing these spots guarantees your primer and paint adhere properly for a long-lasting finish. It’s a simple step that makes a big difference!
Identify Loose Rust
Start by using a stiff wire brush or SOS pads to scrub away all loose rust and flaking paint from the metal surface. Pay close attention to areas where paint bubbles or peels—that’s where rust often hides beneath, weakening the metal.
Identifying loose rust means looking for flaky, powdery, or rough patches that easily come off when brushed. After scrubbing, rinse the surface thoroughly with water to wash away dust and debris. This step is vital to ensure the primer and paint adhere properly later.
Let the metal dry completely before moving forward. If you spot stubborn rust that won’t budge, consider using a high-pressure washer or a drill-mounted wire brush for deeper cleaning. Removing all loose rust sets the foundation for a smooth, long-lasting paint job.
Use Wire Brush
When removing loose rust and flaking paint, using a stiff wire brush helps you apply consistent pressure to scrub away unstable particles effectively. Focus on heavily rusted spots, ensuring you remove all flaky material to create a solid surface for primer and paint.
Work steadily, applying enough force to clear away rust without damaging the metal underneath. Always wear safety glasses to protect your eyes from debris, and make sure you’re in a well-ventilated area to avoid inhaling rust dust.
After brushing, wipe the surface with a damp cloth to clear away any leftover dust and particles. This step is vital because it prepares the metal for the next stages of painting, helping your spray paint adhere properly and last longer.
Remove Flaking Paint
After thoroughly brushing away loose rust, turn your attention to removing any flaking paint that could prevent a smooth finish. Use a wire brush or high-quality SOS pads to scrub the metal surface, targeting loose rust and peeling paint.
Carefully scrape off remaining flaking paint with a putty knife or paint scraper to create a stable base. For stubborn spots, grab a stiff wire brush or a power tool with a wire wheel attachment to thoroughly remove all flaky material.
Once you’ve cleared the surface, wash it with soap and water to eliminate dust, grease, and debris that could interfere with paint adhesion. Finally, let the surface dry completely before applying primer and paint to ensure the best bonding and durability.
Choose the Best Primer for Rusty Metal Surfaces
Because rusty metal demands special care, you’ll want to choose a rust-inhibiting primer like Rust-Oleum Stops Rust Rusty Metal Primer. This helps guarantee strong adhesion and prevents further corrosion.
This type of primer contains rust blockers that chemically bond with oxidized surfaces, creating a stable base for your paint. So, it really sets you up for success.
To pick and use the right primer:
- Remove loose rust and clean the metal thoroughly with a wire brush and soap and water.
- Select a primer formulated specifically for rusty metal to stop rust from spreading.
- Make sure the primer is compatible with your spray paint topcoat designed for metal.
- Let the primer dry completely—usually about 15 minutes—before moving on to painting.
Following these steps ensures your paint job lasts longer and resists rust effectively. It’s worth taking the time!
Apply Primer Evenly for Long-Lasting Protection
To guarantee your primer provides long-lasting protection, apply it in thin, even coats while holding the spray can about 6 to 12 inches from the surface. This distance helps you achieve a uniform layer without drips or runs.
Apply primer in thin, even coats from 6 to 12 inches away for a smooth, drip-free finish.
Make sure the surface is clean and free of dust or debris before you start priming to maximize adhesion and durability. Use a primer designed specifically for rusty metal to enhance protection.
After spraying, let the primer dry fully—usually around 15 minutes—before applying your paint. Applying multiple thin coats rather than one thick coat ensures complete coverage and prevents peeling later.
Taking these steps will give you a solid base that stands up to rust and keeps your paint job looking fresh and strong for years.
Select High-Quality Rust-Preventive Spray Paint
When you want your paint job to last, choosing a high-quality rust-preventive spray paint is essential. The right product not only improves adhesion but also actively inhibits rust, ensuring durable protection.
Here’s what to look for: Select specialized brands like Rust-Oleum Stops Rust or Krylon Rust Tough for proven effectiveness. These are trusted names that many folks rely on.
Choose spray paints formulated specifically for metal surfaces to guarantee strong bonding. It really makes a difference in how well the paint sticks.
Opt for products containing built-in primers or rust blockers to simplify your job and enhance rust resistance. This way, you’re saving time and getting better results.
Pick paints with weather-resistant finishes if your project faces outdoor or humid conditions. You don’t want your hard work to fade away quickly.
Always check the label to confirm the paint’s suitability for rusted surfaces. And be sure to carefully follow the application instructions for the best results. It’s worth the extra attention!
Apply Spray Paint in Thin, Even Coats
Choosing the right rust-preventive spray paint sets you up for success, but how you apply it makes all the difference in the final look and durability. You should spray in thin, even coats to reduce drips and runs, which guarantees a smooth finish.
Keep the spray can about 10-12 inches from the surface to maintain consistent coverage. Light coats dry faster and adhere better, boosting the paint’s durability.
Instead of one thick layer, apply multiple thin coats to build uniform color and protection. Be sure to let each coat dry completely—usually 15 to 30 minutes—before adding the next.
This prevents pooling and uneven texture, giving your project a professional and long-lasting finish.
Maintain Optimal Conditions During Spray Painting
To get the best results, pick a shaded area to prevent direct sunlight that can ruin your finish. Keep the spray can at the right distance to ensure even coverage without drips.
Also, work in a well-ventilated space to keep fumes away and help your paint dry properly. This way, you’ll get a smooth, lasting coat every time.
Choose Shaded Areas
Since spray paint dries faster under direct sunlight, you’ll get better results by working in shaded areas. Shading helps prevent the paint from drying too quickly, allowing for even coverage and a smoother finish.
Direct sunlight can cause bubbling or improper curing, so picking a cool, shaded spot is key. Here’s why you should choose shaded areas:
- Keeps temperature moderate, improving paint adhesion.
- Reduces the risk of runs and drips by slowing drying time.
- Minimizes UV exposure that damages paint quality.
- Controls drying for a durable, professional finish.
Maintain Proper Distance
Maintaining a consistent distance of 10 to 12 inches from the surface is crucial for achieving an even coat without drips when spray painting over rust. Keep the spray can moving in smooth, steady strokes to avoid pooling.
Also, avoid spraying in direct sunlight or windy conditions since these affect drying time and spray pattern. Follow the manufacturer’s recommended temperature range, usually between 50°F and 90°F, for the best results.
Allow each coat to dry fully, typically 15 to 30 minutes, before applying the next layer to ensure proper adhesion.
| Tip | Distance | Dry Time |
|---|---|---|
| Maintain distance | 10 to 12 inches | 15 to 30 minutes |
| Temperature range | 50°F to 90°F | Essential spray performance |
| Spray technique | Smooth, steady strokes | Prevent pooling |
Ensure Adequate Ventilation
While spray painting over rust, you’ll want to keep the workspace well-ventilated by opening windows and using fans to disperse fumes effectively. Proper airflow not only protects your health but also ensures the paint dries evenly.
Here are four key steps to maintain ideal conditions:
- Open windows and doors to allow fresh air in and fumes out.
- Avoid painting when humidity is high or temperatures exceed 85°F (29°C), as this can cause poor drying.
- Wear a respirator mask and safety glasses to shield yourself from harmful fumes and overspray.
- Keep doors and windows open for at least 30 minutes after painting to clear remaining fumes.
Following these tips helps you achieve a smooth, durable finish while staying safe. It’s definitely worth the extra effort!
Use Multiple Coats for Durability and Coverage
Although it might be tempting to apply a single thick coat, you’ll get better results by spraying several light coats instead. Applying two or more light layers ensures even coverage and builds a thicker protective barrier over rusted surfaces.
This approach helps the paint withstand weather and wear much better than one heavy coat. Be sure to wait at least a minute between coats; this lets each layer dry properly and reduces drips or uneven texture.
Thin, successive coats also prevent runs, giving your project a professional, long-lasting finish. By taking the time to apply multiple coats correctly, you’ll considerably improve both the appearance and durability of your spray paint job on rusted metal.
Allow Adequate Drying Time Before Handling
Give your freshly painted surface at least 24 hours to dry completely before you handle it. This guarantees the paint cures properly and prevents damage. Keep in mind, humidity and temperature can extend drying times, so be patient.
Follow these tips for the best results:
- Wait until the paint feels dry to the touch and is no longer tacky before touching or moving the item.
- Check the spray paint can for manufacturer-recommended drying times and follow them precisely.
- Avoid handling the surface too soon to prevent smudges, fingerprints, or peeling paint.
- If humidity is high, consider extending drying time beyond 24 hours for full curing and durability.
Taking these steps will keep your paint job looking flawless and long-lasting.
Frequently Asked Questions
Can I Spray Paint Directly Over Rust?
You shouldn’t spray paint directly over rust because the paint won’t stick well and will peel quickly.
Instead, clean, sand, or treat the rust with a converter. Then, apply a primer before painting for lasting results.
This way, your paint job will look better and last much longer!
How to Best Paint Over Rust?
You shouldn’t just start painting—first, remove loose rust, then prime with a rust-inhibiting primer.
Sand lightly, spray thin coats, and avoid direct sunlight. These steps make your paint job last much longer, trust me.
Is WD-40 Good to Spray on Rust?
WD-40 isn’t ideal for spraying on rust because it only loosens surface rust temporarily.
You’ll want to properly remove rust and apply a rust converter or primer for lasting protection before painting.
Can I Spray Paint Over Rusty Metal?
You can certainly give rusty metal a fresh coat, but don’t rush.
First, clear away loose flakes and treat the surface with a rust-stopping primer. Then, spray your paint for a smooth, lasting finish.
Conclusion
By following these tips, you’ll transform rusty metal into a smooth, durable surface ready for paint. Imagine restoring an old bike frame—you clean, prime, and spray in thin coats, resulting in a fresh, rust-free finish that lasts.
Taking your time with prep and application not only boosts your paint’s durability but also gives your project a professional look. So grab your materials and get started—you’ll be amazed at the results!
Spray painting over rust can seem tricky, but with proper preparation, you can achieve a long-lasting, rust-free finish. Remember, cleaning the rust thoroughly and using the right primer are key steps before applying your spray paint.
Stick to thin, even coats for the best coverage and durability. By following these best tips to spray paint over rust, your project will look great and hold up against future rust and wear. Happy painting!




2 Comments