How You Can Use a Paint Sprayer for Primer Step by Step
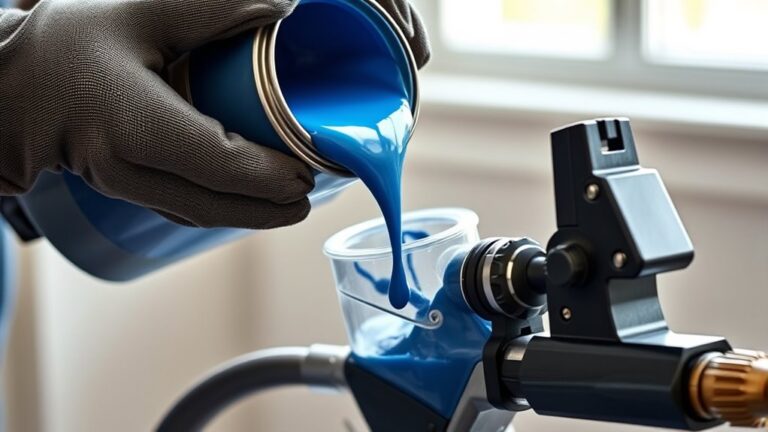
To use a paint sprayer for primer, start by mixing and thinning your primer as instructed. Then, pour it into the spray gun’s container.
Adjust the spray pressure between 40-60 PSI and test the spray pattern on scrap material.
Hold the gun 6-12 inches from the surface.
Use smooth, overlapping strokes for even coverage.
After spraying, clean the sprayer thoroughly to prevent clogs.
Keep these basics in mind, and you’ll be ready to perfect your priming technique with a few more tips.
Using a paint sprayer for primer can save you time and give you a smooth, professional finish every time. Just follow these simple steps, and you’ll be on your way!
Key Takeaways
– Thoroughly mix and dilute the primer, then fill the spray gun container without overfilling.
Make sure you don’t put too much in there.
– Adjust spray pressure to 40-60 PSI and test the spray pattern on scrap material.
This helps you get a smooth, even coat.
– Hold the spray gun 6-12 inches from the surface, using smooth, overlapping passes.
Try to keep your hand steady for the best results.
– Use continuous sweeping motions, starting before pulling the trigger and releasing after the pass.
This way, you avoid uneven spots or drips.
– Clean the spray gun immediately after use with appropriate solutions to prevent clogs and damage.
Don’t wait, or it might be harder to clean later.
Preparing Your Primer and Spray Equipment

Before you begin spraying, make sure you’ve thoroughly mixed your primer and diluted it if the instructions call for it. This step is essential to get your primer ready to spray and to guarantee an even finish.
Thoroughly mix and dilute your primer as instructed to ensure a smooth, even spray finish.
Pour the prepared primer into the spray gun’s container, but don’t overfill it to avoid spills and uneven flow. Next, attach and secure the spray gun components, including the reversible tip, making sure all connections are tight.
Adjust the spray pressure and nozzle settings based on the primer’s thickness and the surface size. Finally, test the spray pattern on a piece of cardboard to confirm even coverage and proper functioning.
Taking these steps ensures your equipment and primer are perfectly prepared for a smooth application.
Techniques for Effective Primer Spraying
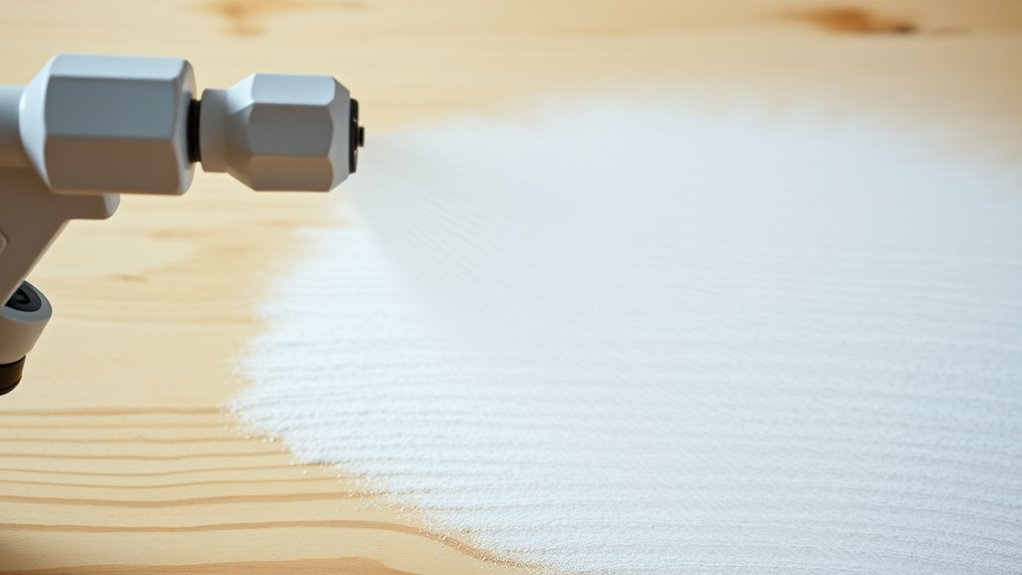
When you spray primer, keeping a consistent distance of 6 to 12 inches from the surface helps guarantee even coverage and prevents drips. Use a spray technique that overlaps each pass by at least 50% for uniformity.
Adjust spray pressure between 40-60 PSI based on primer viscosity, and use smooth, sweeping motions starting before you pull the trigger and releasing it after the pass to avoid buildup. Always test on scrap material first.
| Step | Tip |
|---|---|
| Distance | 6-12 inches from surface |
| Overlap | 50% overlap per pass |
| Pressure | 40-60 PSI depending on primer |
| Motion | Smooth, continuous sweeping strokes |
This approach ensures your primer spray technique delivers a flawless, even coat.
Cleaning and Maintenance After Spraying

Although spraying primer is quick, cleaning your paint sprayer immediately afterward is essential to keep it functioning properly and avoid clogs. Start by disassembling the spray tip, nozzle, and other removable parts, then clean each thoroughly with a brush to remove primer buildup.
Cleaning your paint sprayer immediately after priming prevents clogs and ensures smooth, reliable operation every time.
Use the right cleaning solution: soapy water for water-based primers or solvent for oil-based ones. Rinse all parts well, and run clean water or solvent through the system in “prime” mode until the fluid runs clear, ensuring no residue remains.
Proper cleaning prevents damage and maintains spray quality. Finally, store your equipment in a dry, dust-free area and perform regular maintenance checks.
This routine keeps your sprayer in top shape and prolongs its lifespan, saving you time and money.
Frequently Asked Questions
How to Spray Primer With a Paint Sprayer?
You’ll adjust your sprayer’s pressure, test on scrap, then hold it 6-12 inches away. Spray smoothly with overlapping strokes, keeping steady motion.
After finishing, clean your equipment promptly to avoid clogs and guarantee quality. It really helps keep things working great for next time.
Does Primer Need to Be Thinned for Sprayer?
Primer sometimes acts like thick honey, so yes, you’ll often need to thin it to glide smoothly through your sprayer.
Just follow the instructions and test first to avoid clogging or uneven coverage on your project.
What Is the Ratio of Primer to Water for Sprayer?
You’ll typically mix primer to water at a 1:1 or 2:1 ratio, depending on the primer type. Always check the label and don’t over-dilute, or you’ll weaken adhesion and coverage.
Mix thoroughly before spraying. This helps ensure an even coat and better results.
Can You Use a Paint Spray Gun for Primer?
Yes, you can use a paint spray gun for primer. Just make sure to thin the primer as recommended.
Also, choose the right spray tip and adjust the pressure accordingly. This will help guarantee smooth, even coverage without clogging or overspray.
Conclusion
Now that you’ve mastered using a paint sprayer for primer, imagine your walls glowing like a flawless masterpiece, smoother than silk on a summer breeze. With the right prep and steady technique, you’re not just priming—you’re setting the stage for perfection.
Thorough cleaning after each use keeps your sprayer in top shape, ready for the next project. Keep your sprayer ready and your skills sharp, and you’ll transform any space faster than a lightning bolt on a clear day!
Using a paint sprayer for primer makes the process quicker and more even, giving your walls that smooth, professional finish. So, whether you’re tackling a small room or a whole house, the paint sprayer is your secret weapon for flawless, efficient priming every time.