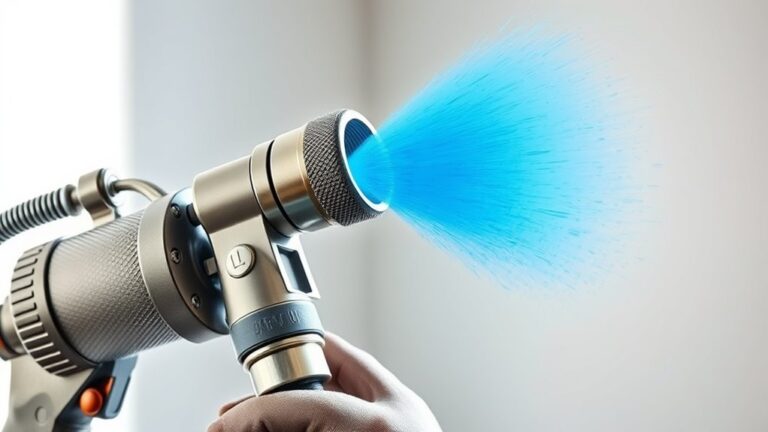
How to Clean Oil-Based Paint From a Sprayer in 3 Easy Steps
First, depressurize your sprayer by turning it off, releasing pressure, and removing the intake tube. This step is crucial to keep things safe and avoid any accidental sprays.
Next, flush out the oil-based paint by pumping mineral spirits or a compatible solvent through the system until clear fluid flows. It might take a few minutes, but this helps clear out paint residues inside the sprayer.
Finally, disassemble key parts, soak them in solvent to dissolve paint, scrub gently, rinse, and dry thoroughly before storing. Doing this prevents clogs and keeps your sprayer working smoothly.
Follow these simple steps to clean oil-based paint from your sprayer effectively. With a little care, your sprayer will stay in great shape for many projects ahead.
Key Takeaways
- Depressurize the sprayer by releasing the pressure, then flush out any remaining paint using low pressure while holding the trigger. This helps clear the main paint flow.
- Next, grab some mineral spirits or a solvent that’s compatible with oil-based paint. Use it to flush the sprayer until you see clear fluid coming out. This step ensures all the paint is out of the system.
- After that, take apart the spray gun components and soak them in mineral spirits. This will help break down any paint residue stuck on the parts.
- Once soaked, gently scrub the pieces with brushes to get rid of leftover paint. Rinse everything with clean solvent and dry all parts completely to stop clogs and rust from forming.
- Finally, store your cleaned parts in a dry, dust-free spot. And be sure to follow the manufacturer’s instructions for maintenance and storage to keep your sprayer in top shape.
Depressurize and Prepare Your Sprayer for Cleaning

Before you begin cleaning, make sure to depressurize your sprayer according to the manufacturer’s instructions to avoid accidental sprays. First, shut off the sprayer and engage the trigger safety to prevent unintended discharge.
Then, release any remaining pressure by opening the drain or prime valve. Next, remove the intake tube from the paint container.
To flush out residual paint, pump with solvent or water into a waste bucket using low pressure to minimize splatter. While running the cleaning fluid through the system, keep the spray gun trigger squeezed.
This helps push out paint residues and maintains proper flow. By carefully following these steps, you’ll ensure safe, effective cleaning of your sprayer without risk of injury or leftover paint clogging the system.
Flush Residual Oil-Based Paint With Suitable Solvents

Once you’ve safely depressurized and flushed your sprayer with water or soap, it’s time to tackle the stubborn oil-based paint residue. To flush residual oil-based paint effectively, connect a bucket of fresh mineral spirits or a compatible solvent to your airless sprayer.
Pump the solvent through the system using your cleaning kit, spraying into a waste container until the fluid exiting the spray gun runs clear. This ensures all paint residue is removed, preventing clogs and maintaining a consistent spray pattern.
Pump solvent through your sprayer until clear fluid flows, ensuring no paint residue remains for clog-free spraying.
Avoid relying on water alone, as it won’t dissolve the oil-based paint. Finish with a final rinse of clean mineral spirits to clear out any lingering residue.
Properly flushing with solvent keeps your spray gun in top shape for your next project. It’s definitely worth the extra effort!
Disassemble, Clean Components, and Properly Store Your Sprayer

To guarantee your sprayer stays in ideal condition, start by carefully disassembling the spray gun, tip, filter, and manifold so you can access all parts with residual oil-based paint.
Next, follow these steps to clean components and store your sprayer properly:
- Soak the disassembled sprayer parts in mineral spirits or acetone to dissolve oil-based paint buildup.
- Use soft brushes or cloths to scrub all components thoroughly, removing any paint residue.
- Rinse each part with clean solvent or water, then dry completely to prevent rust.
- Store your sprayer and sprayer parts in a dry, dust-free place, keeping filters and tips organized for easy access.
This solvent cleaning and proper storage routine ensures your sprayer lasts longer and works efficiently.
Just take your time with these steps, and your sprayer will be ready for the next job without any hassle.
Frequently Asked Questions
How Do You Clean Oil-Based Paint Out of a Sprayer?
You start by flushing warm soapy water through your sprayer. This helps to loosen up the paint inside.
Next, use mineral spirits or acetone to dissolve the oil-based paint. Pump the solvent through the sprayer until it runs clear.
Then, soak the removable parts in the solvent for a bit. After soaking, scrub them gently to remove any leftover paint.
Finally, rinse everything again with clean water, dry the parts thoroughly, and reassemble your sprayer. Now it’s ready to use!
What Can I Soak My Paint Sprayer in to Clean It?
You can soak your paint sprayer parts in acetone or mineral spirits. These solvents break down oil-based paint effectively.
Just make sure you’re in a well-ventilated area while doing this. And don’t forget to rinse the parts thoroughly afterward to get rid of any leftover residue.
Can You Spray Oil-Based Paint Through a Sprayer?
Yes, you can spray oil-based paint through a sprayer, but you’ll need a high-pressure, solvent-resistant sprayer.
Make sure to thin the paint properly, so it flows smoothly and doesn’t clog the nozzle.
Also, clean the equipment immediately after use to avoid clogs and damage. Taking these steps will help your sprayer last longer and work better!
How to Get Dried Paint Out of a Sprayer?
You’ll want to soak the disassembled sprayer parts in acetone or mineral spirits, then scrub with a soft brush.
For stubborn spots, apply acetone directly, rinse thoroughly, and dry completely before reassembling to prevent clogs.
This way, you make sure everything’s clean and ready to use again without any issues.
Conclusion
Cleaning oil-based paint from your sprayer doesn’t have to be a challenging task. By depressurizing and prepping your sprayer, flushing it with the right solvents, and thoroughly cleaning each component, you’ll keep your equipment running smoothly.
Think of it as giving your sprayer a fresh breath of life—ready to tackle your next project without a hitch. Follow these steps, and you’ll save time and avoid future headaches every time you clean.
Keeping your sprayer clean not only ensures better performance but also extends its lifespan. Using proper cleaning techniques for oil-based paint means fewer clogs and less wear on your sprayer parts. So, next time you finish a job, take a few extra minutes to clean your sprayer thoroughly. It’s a small effort that pays off big when you’re ready for your next paint project!