
How to Use Cleaning Solutions to Clean a Paint Sprayer
To clean your paint sprayer effectively, start by identifying the type of paint you used. For latex paints, warm, soapy water works best, while mineral spirits are ideal for oil-based paints. Using the right cleaning solution is key to maintaining your equipment and ensuring it lasts.
Next, flush the system safely by running the appropriate cleaning solution through the pump and hoses until the liquid runs clear. This step helps remove any leftover paint and prevents clogs.
After that, give the spray gun, filters, and tips a deep clean. Take a close look at these parts to check for any damage or wear.
Finally, dry all components thoroughly and store everything properly. This prevents rust and keeps your sprayer ready for the next job. Keep going to discover detailed tips for maintaining your equipment’s performance.
Key Takeaways
- Identify the paint type and select the appropriate cleaning solution, such as warm soapy water for water-based or mineral spirits for oil-based paints.
- Depressurize and disconnect the sprayer before circulating the cleaning solution through the system until it runs clear.
- Flush hoses and spray lines thoroughly with the chosen cleaning solution for at least 2-3 minutes to remove all paint residues.
- Disassemble and soak spray gun parts and filters in the cleaning solution, then inspect and replace any damaged components.
- Rinse all parts with clean water or solvent, dry completely, and store the sprayer in a dry, organized space to prevent damage.
That way, your paint sprayer will stay in great shape and be ready for your next project!
Preparing and Selecting the Right Cleaning Solution
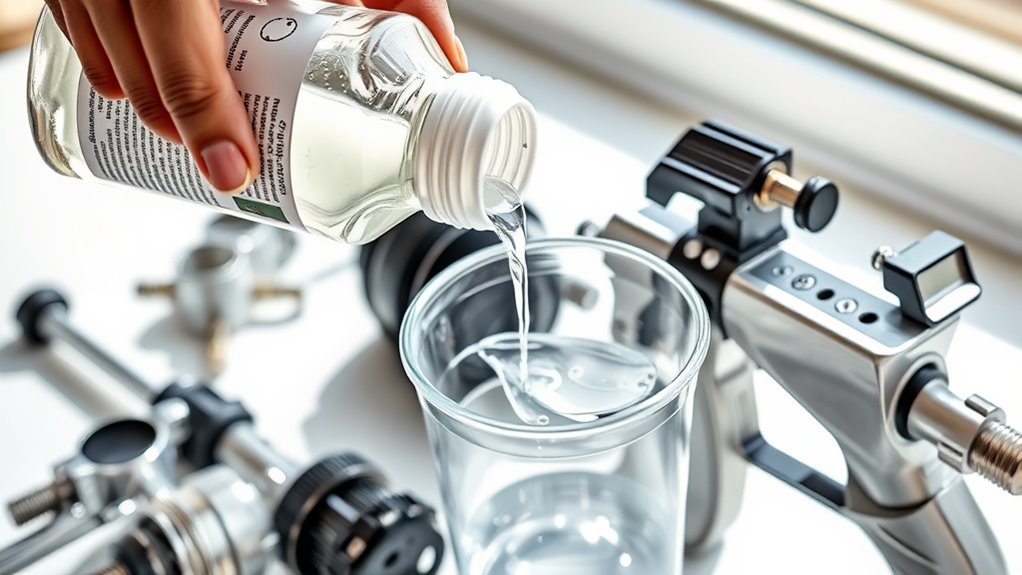
Before you start cleaning your paint sprayer, you should always check the paint container label to determine whether you’re dealing with water-based or oil-based paint. Choosing the right cleaning solution is vital for an effective cleaning process.
For water-based paints like latex or acrylic, warm, soapy water works well to clean the spray tip and other sprayer parts. If you have oil-based paint, you’ll need to use a suitable solvent, such as mineral spirits, but make sure to work in a well-ventilated area or outdoors.
Always select a cleaning solution with a flash point above 100ºF (38ºC) to stay safe during cleaning. Matching the cleaning fluid to the paint type prevents damage and guarantees your paint sprayer stays in top condition.
Flushing and Cleaning Your Paint Sprayer System
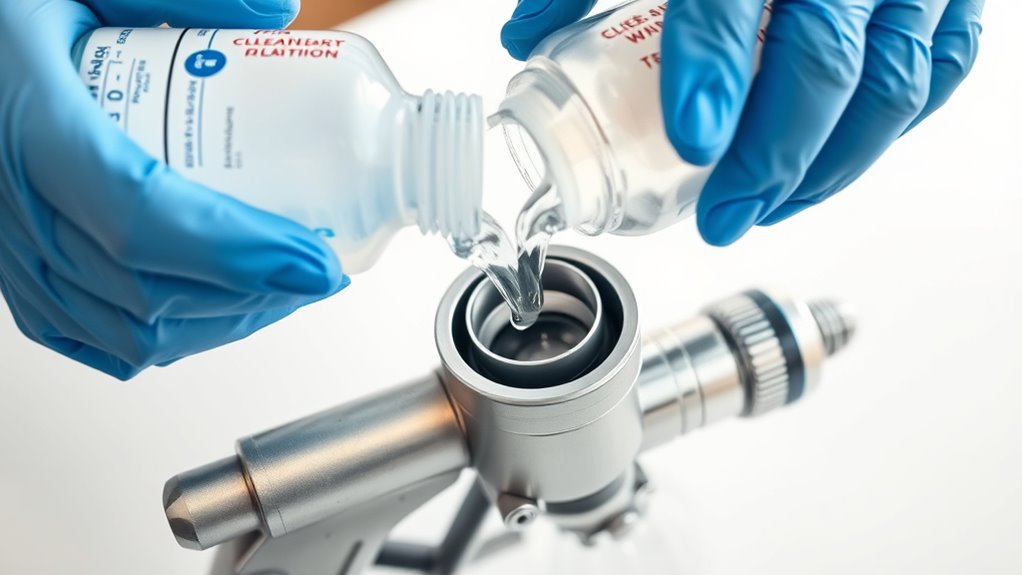
Once you depressurize and disconnect your paint sprayer safely, you can begin flushing the system with the appropriate cleaning fluid. Use warm, soapy water for water-based paints or mineral spirits for oil-based coatings to flush the entire system thoroughly.
Run the pump and open the prime valve to circulate the cleaning solution until it runs clear. For hoses and long spray lines, flush for at least 2-3 minutes to remove residual paint and prevent clogs.
After flushing, finish with a final rinse using clean water or fresh solvent to ensure no paint residues remain. This step is vital to maintain your sprayer’s spray pattern and overall performance, helping avoid blockages that could compromise your next project.
Deep Cleaning, Inspection, and Proper Storage
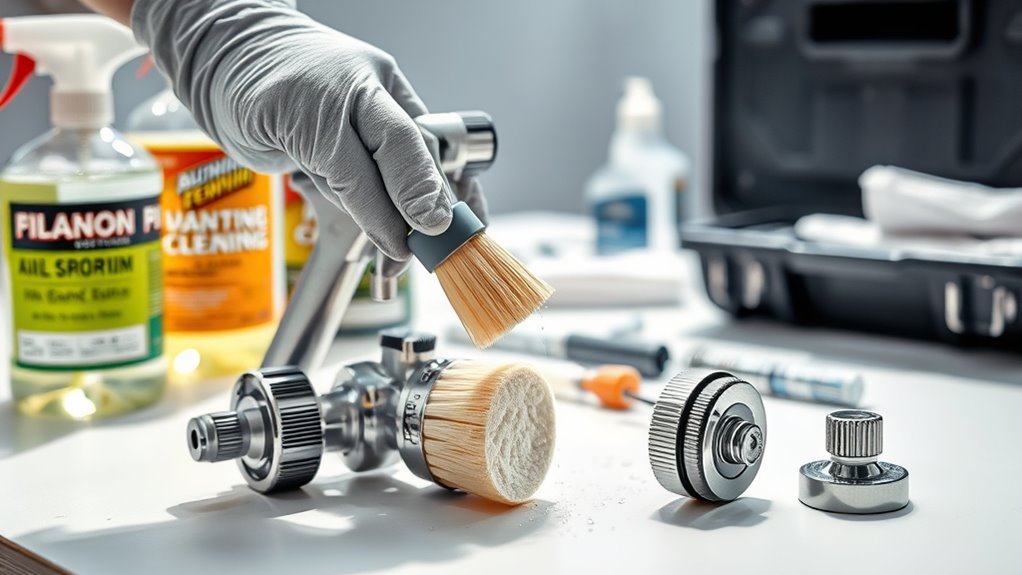
Although you’ve flushed your paint sprayer thoroughly, deep cleaning each component is essential to keep it in top condition. Start by disassembling the spray gun, tip, and filters, then soak them in the appropriate cleaning solution to remove all paint residue.
During cleaning, inspect each component carefully for damage, such as torn filters or worn seals. Replace any faulty parts before reassembling. Use a soft brush or rag to clean small openings and sensitive areas thoroughly.
After cleaning, make sure all components are completely dry to prevent rust, mold, or future clogs. Finally, store your sprayer and accessories in a dry, organized space. Coil hoses loosely and keep parts together to avoid damage or misplacement during storage.
Frequently Asked Questions
What Solvent to Use to Clean a Paint Sprayer?
You should use warm, soapy water for water-based paints and mineral spirits or paint thinner for oil-based paints. Always check the paint label for recommended solvents and wear protective gear while cleaning your paint sprayer.
It’s pretty important to follow those guidelines because using the wrong solvent can damage your equipment. Plus, wearing gloves and a mask helps keep you safe from fumes and skin irritation. Cleaning your sprayer right after use makes the whole process easier next time!
Can I Run Water Through My Paint Sprayer to Clean It?
Imagine clear water flowing through your sprayer, rinsing away paint effortlessly.
You can run water through it only if you used water-based paint. Otherwise, stick to solvents to avoid clogs and damage inside your sprayer.
What Type of Cleaning Fluid Should I Use in My Airless Sprayer?
You should use warm, soapy water for water-based paints and mineral spirits or approved solvents for oil-based paints. Always check your paint label for recommended cleaners and avoid flammable liquids with low flash points.
It’s super important to follow these guidelines to keep your airless sprayer in good shape. Using the right cleaning fluid not only makes your equipment last longer but also ensures better performance next time you paint.
How Do I Properly Clean My Paint Sprayer?
You flush your sprayer with the right solution, open the prime valve, and use low pressure. Then, remove and clean the tip and filters with a soft brush before rinsing thoroughly to keep it working well.
It’s a pretty straightforward process once you get the hang of it. Plus, regular cleaning like this helps your sprayer last longer and perform better each time you use it.
Conclusion
Now that you’ve mastered using cleaning solutions to flush and deep clean your paint sprayer, you’re set to keep it running smoothly for years—just like a well-oiled steam engine. Regular maintenance isn’t just about performance; it also extends the life of your tool.
Take the time to inspect, clean, and store your sprayer properly after every use. This simple routine helps prevent clogs and damage, ensuring your paint sprayer stays in top condition.
By consistently using the right cleaning solutions and following these steps, you’ll avoid costly repairs down the line. Trust me, your future self will thank you for the extra care. Keeping your paint sprayer clean means better results on every project and more years of reliable service. So, keep those cleaning solutions handy and make maintenance a habit!




9 Comments