How You Spray Paint a Tub Step by Step
To spray paint a tub, start by removing all caulk and fixtures. Next, thoroughly clean the surface with a bleach solution to get rid of grime and mildew. This cleaning step is crucial for a smooth, long-lasting finish.
After that, fill any cracks or chips with epoxy putty. Then, sand the entire tub using 400-600 grit sandpaper. This sanding creates a rough surface that helps the paint stick better.
Make sure to wipe away all dust completely before you start painting. Shake your spray paint can well, and apply several thin, even coats from 10-16 inches away.
Let each coat dry for about 30 minutes before adding the next one.
Keep going to find out how to perfect each step and get that tub looking brand new!
Key Takeaways
- Remove all caulk, hardware, and clean the tub thoroughly with bleach solution to eliminate dirt and mildew.
- Fill chips or cracks with epoxy putty, let it cure, then sand the entire surface with 400-600 grit sandpaper.
- Wipe down the tub with a tack cloth to remove all dust and ensure a clean surface before painting.
- Shake spray paint can vigorously for at least 60 seconds and apply thin, even coats from 10-16 inches away.
- Apply up to three light coats, waiting about 30 minutes between each for proper drying and adhesion.
Preparing the Tub Surface

Before you start spray painting your tub, you need to prepare the surface properly to make certain the paint adheres well and lasts. Begin your prep work by removing all existing caulk, hardware, and fixtures through careful caulk removal.
Next, focus on cleaning the tub thoroughly using a bleach solution or a specialized cleaner to eliminate dirt, soap scum, mildew, and residues. For repairs, fill chips or cracks with epoxy putty and allow it to cure.
Then, sanding the entire surface with 400-600 grit wet/dry sandpaper helps with surface roughening, promoting better primer and paint adhesion. Finally, verify dust removal by wiping down the tub with a tack cloth or lint-free rag.
This surface preparation sets the foundation for a smooth, durable finish. So, take your time here—it really pays off in the end!
Applying the Spray Paint Coats
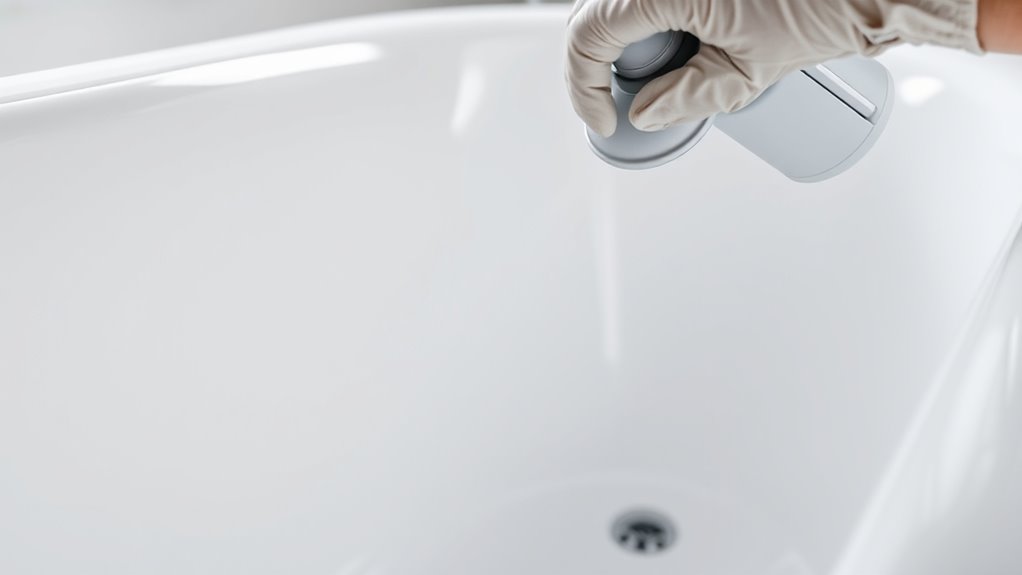
Once you’ve prepped the tub surface thoroughly, you’ll want to shake the spray paint can vigorously for at least one minute to mix the contents evenly. Proper spray technique guarantees a smooth finish and even layer without runs.
Hold the can 10-16 inches away and use sweeping, overlapping motions to apply light coats. Avoid heavy layers to reduce drying time and promote adhesion.
Wait about 30 minutes between coats at 70ºF and 50% humidity, and don’t exceed three coats for the best results.
- Shake can for 60 seconds before application
- Hold 10-16 inches from tub surface
- Spray in overlapping motions for even coverage
- Apply thin, light coats to prevent drips
- Allow 30 minutes drying time between coats
Frequently Asked Questions
What Kind of Paint Will Stick to a Bathtub?
You’ll want epoxy-based or specialty refinishing paints with urethane resins since they bond well to wet, high-traffic surfaces.
Avoid acrylic or latex paints—they peel quickly.
Proper surface prep guarantees your paint adheres firmly and lasts.
What Kind of Spray Paint Can I Use on a Tub?
You should use a high-quality, epoxy-based spray paint designed specifically for bathroom fixtures.
Look for one that’s labeled for ceramic, porcelain, or fiberglass tubs. A fast-drying formula with a semi-gloss or gloss finish is ideal to ensure durability and water resistance.
This way, your tub will not only look great but also stand up to everyday use without peeling or chipping.
What’s the Best Way to Paint a Bathtub?
You breathe new life into your worn tub by choosing epoxy spray paint. First, make sure to clean and sand it thoroughly.
Apply thin, even coats with patience. Protect yourself and your space during the process.
Watch your bathroom transform beautifully and safely. It’s a simple way to give your tub a fresh, new look!
Can You Paint Over an Old Bathtub?
Yes, you can paint over an old bathtub if you clean, sand, and repair it properly. Use specialized epoxy paint, apply thin coats, and let each dry fully to guarantee a durable, smooth finish you’ll love.
It’s a great way to refresh your bathroom without the cost of a full replacement. Just take your time with prep and painting, and your tub will look as good as new!
Conclusion
Now that you’ve transformed your tub with smooth, even coats, step back and admire the fresh, glossy surface reflecting your hard work. It’s like a blank canvas turned masterpiece, and your tub now shines with new life.
This fresh look is ready to brighten every splash and soak you enjoy. Remember, patience and care in each spray stroke brought this vibrant change. With the right spray paint technique, even the simplest spaces can bloom into something truly extraordinary.
So, take pride in your handiwork. Your beautifully spray painted tub is proof that a little effort can make a big difference. Ready for your next bathroom upgrade? You’ve got this!