7 Steps to Clean a Paint Sprayer After Using Stain
First, prepare your workspace with good ventilation and wear protective gear. This step is crucial when cleaning a paint sprayer after using stain to keep yourself safe and ensure the fumes don’t build up.
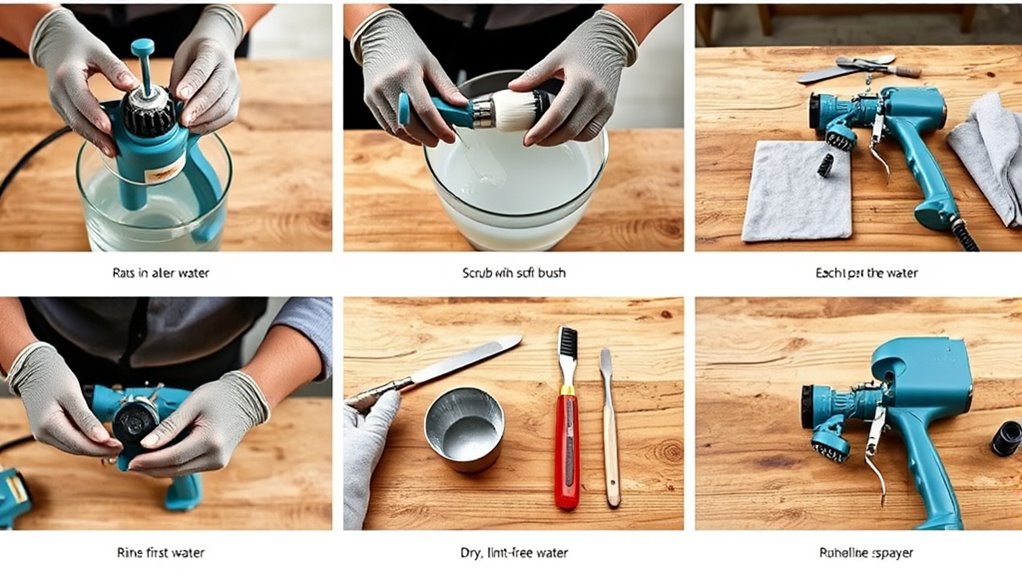
Next, turn off and unplug the sprayer. Then, drain any leftover stain safely to avoid spills or damage to your equipment.
Choose the right solvent for your specific stain type. Use it to flush the spray gun and lines until the liquid runs clear. This helps remove all residue and prevents clogs.
Disassemble nozzles and filters for a deeper clean. Rinse all parts thoroughly and inspect them for any damage or wear.
Finally, dry everything completely before you reassemble the sprayer. Lubricate the moving parts to keep it running smoothly, and store your sprayer properly until the next use.
Keep going to master each step for a spotless sprayer that’s ready to work whenever you are.
Key Takeaways
- Turn off and unplug the sprayer. Then, drain any leftover stain into a proper disposal container.
- Next, flush the sprayer and hoses with the right solvent until the fluid runs clear.
- Take apart the nozzles and filters. Soak them in solvent, give them a good brush clean, then rinse and dry thoroughly.
- Before putting everything back together, check the seals, nozzles, and filters for any damage or clogs.
- Finally, lightly lubricate the moving parts. Store the sprayer upright in a clean, dry, and well-ventilated area to keep it in great shape.
Prepare Your Workspace and Safety Gear
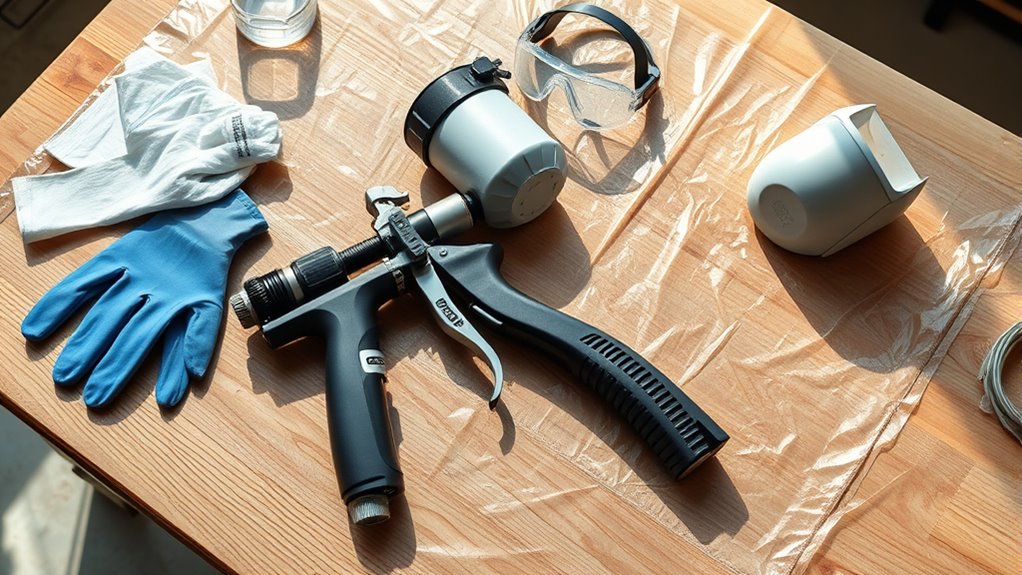
Before you start cleaning your paint sprayer, take a few essential steps to prepare your workspace and safety gear. First, set up a well-ventilated workspace by opening windows or using exhaust fans to disperse fumes from cleaning solvents safely.
Next, wear protective gear like gloves, safety goggles, and a respirator mask to protect your skin and lungs from harmful chemicals. Clear the area of clutter and cover surfaces with drop cloths to catch any spills or splatters.
Make sure you have all your cleaning supplies ready—brushes, rags, and the right solvents—before you begin. Also, double-check that your workspace is stable, well-lit, and has easy access to water or containers for solvent disposal.
These little preparations will make the cleaning process much safer and a lot more efficient.
Drain Remaining Stain From the Sprayer
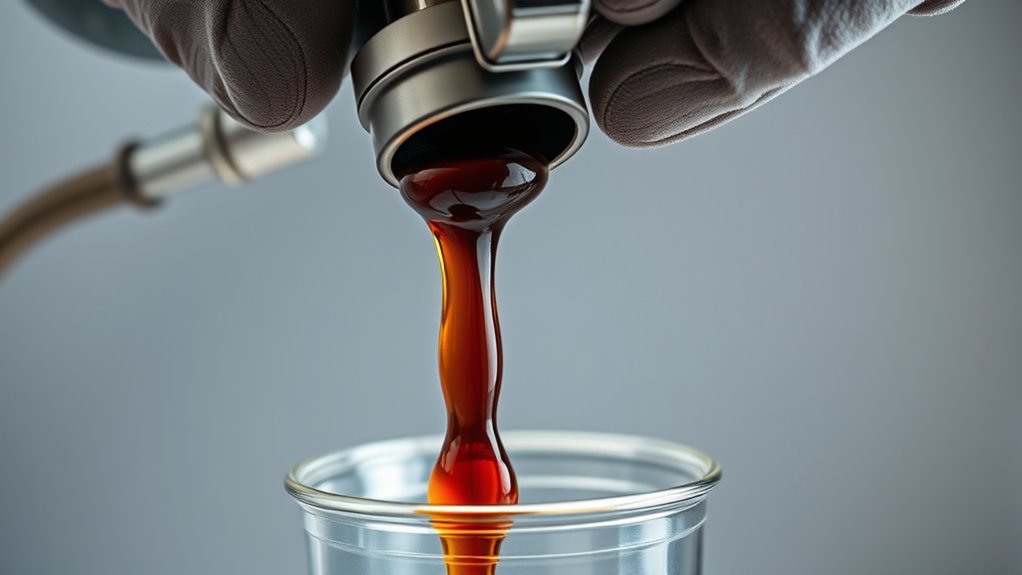
Before you start cleaning, make sure to turn off and unplug the sprayer. Then, drain all the leftover stain into a proper container.
Hold the spray gun over the container and trigger it to release any stain trapped in the nozzle and lines. This step is important.
Thoroughly emptying the sprayer helps prevent residue buildup that could clog your equipment later. So, don’t skip it!
Empty Sprayer Thoroughly
Once you’ve turned off and unplugged the sprayer, hold it over a designated container and trigger it to release any remaining stain inside. Next, use the drain valve or loosen the bottom cap to empty the tank completely.
Make sure to tilt or invert the sprayer so residual stain in the tank and hoses drains out fully. This step prevents clogging and guarantees your sprayer is ready for thorough cleaning.
- Hold sprayer over a waste container before draining
- Activate trigger to push out leftover stain
- Open drain valve or remove bottom cap to empty tank
- Tilt sprayer to drain stain from hoses
- Dispose of drained stain per local hazardous waste guidelines
Emptying the sprayer thoroughly is essential for maintaining its function and prolonging its lifespan. Taking these simple steps really helps keep your sprayer working smoothly.
Collect Leftover Stain
To collect leftover stain efficiently, start by turning off and unplugging your sprayer to guarantee safety. Next, carefully open the stain container and drain any leftover stain from the sprayer’s reservoir back into it or into a proper disposal container.
Use a siphon or pump to drain stain from hard-to-reach areas, ensuring you remove as much as possible. Tilt or invert the sprayer to allow residual stain to flow out of hoses and the spray gun into a disposal vessel.
Handling leftover stain properly prevents waste and environmental harm. Once drained, wipe accessible parts to avoid stain drying inside the equipment.
Following these and future use without leftover stain causing blockages or damage.
Prevent Stain Residue
How do you guarantee your paint sprayer stays clog-free after using stain? The key is to drain any remaining stain thoroughly and follow a right cleaning process.
Start by holding the gun upright and trigger it until no more stain drains out. This prevents residue buildup that leads to clogs.
Then, soak the spray tip in an appropriate solvent to dissolve stubborn stain deposits. Wipe down both internal and external parts with a clean rag or sponge to remove leftover stain.
Finally, flush the entire system with solvent to clear all passages and make sure no residue remains. Don’t forget to empty and clean all containers and hoses to avoid cross-contamination during storage.
- Drain remaining stain by triggering the gun upright
- Soak spray tip in solvent for clog prevention
- Wipe internal and external components clean
- Flush system thoroughly with solvent
- Empty and clean containers and hoses
Choose the Right Cleaning Solution for Your Stain
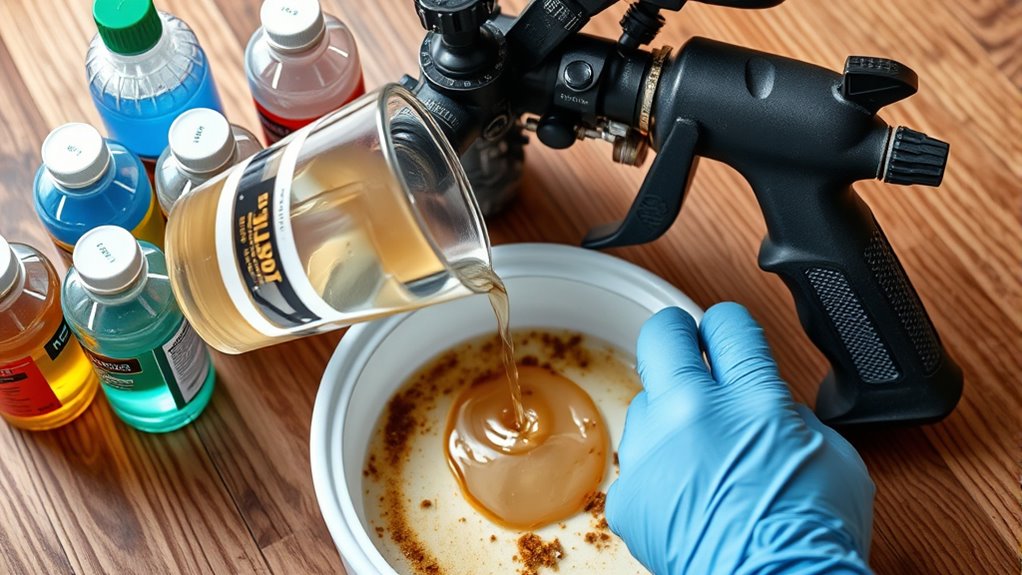
Why does choosing the right cleaning solution matter when you’re tackling stain residue in your paint sprayer? Using the proper solvent ensures you break down and remove stain residue effectively, preventing clogs that can damage your sprayer.
Choosing the right cleaning solution prevents clogs and damage by effectively removing stain residue from your paint sprayer.
Always refer to the stain manufacturer’s recommendations—mineral spirits or specialized stain cleaners work well for oil-based stains, while warm water and mild detergent suit water-based stains.
Check the stain container’s label for specific instructions and test a small amount of cleaning solution on a hidden sprayer part to avoid corrosion or damage.
After cleaning, rinse all components thoroughly with clean water or the appropriate solvent to eliminate any leftover stain residue.
Picking the right cleaning solution keeps your sprayer in top shape and ready for your next project. It’s worth the little extra effort!
Flush the Spray Gun and Lines Thoroughly
Once you’ve selected the right cleaning solution, it’s time to flush the spray gun and lines thoroughly. Proper flushing guarantees your sprayers stay in top condition and prevents stain buildup.
Start by filling the paint container with the appropriate solvent, then attach the spray gun. Activate the trigger to flush the lines until the solvent runs clear.
During the flush, reverse airflow or block air holes for better cleaning. Use a soft brush or cloth to wipe the spray tip and nozzle.
- Fill container with proper solvent (mineral spirits or water)
- Attach spray gun and trigger to flush lines
- Reverse airflow or block air holes during flush
- Brush spray tip and nozzle to remove residue
- Continue flushing until solvent runs clear and debris-free
This thorough flush keeps your sprayers clean and functional. It’s a simple step that really makes a difference!
Disassemble and Clean Nozzles and Filters
Before reassembling your sprayer, take the time to disassemble the nozzles and filters for a thorough cleaning. Remove the spray nozzles and filters carefully to access all areas where stain residue can build up.
Soak these parts in a suitable solvent—mineral spirits work well for oil-based stains, while warm water with mild detergent suits water-based stains. Use a soft brush or pipe cleaner to gently clean away any remaining paint without damaging the delicate nozzles and filters.
After scrubbing, rinse them thoroughly with clean solvent or water to remove all loosened particles. Finally, dry the nozzles and filters completely to prevent rust or clogs before putting everything back together. This way, your sprayer stays in top condition for your next project.
Rinse and Inspect All Components
After thoroughly cleaning and drying the nozzles and filters, you’ll want to rinse all spray components with warm water or the right solvent to flush out any remaining stain residue. This step is vital to prevent buildup and blockages that can affect performance.
Next, inspect each part carefully. Check the spray tips, nozzles, and filters for any signs of damage or clogging. Don’t forget to examine hoses and seals for cracks or leaks.
Make sure the paint chamber and internal parts are free from debris to maintain smooth operation.
- Rinse spray tips and nozzles thoroughly
- Inspect for blockages or damage
- Check hoses and seals for leaks
- Clean paint chamber and internal parts
- Confirm all components are residue-free before storage
Dry, Reassemble, and Store Your Paint Sprayer Properly
Although cleaning removes most residue, you’ll need to make sure all components are completely dry before reassembling your paint sprayer. This helps prevent rust and damage. You can air-dry parts or simply wipe them down with a lint-free cloth.
Then, carefully reassemble your sprayer. Be sure to check seals, nozzles, and filters for any signs of wear. It’s a good idea to apply lubricant to moving parts to keep everything running smoothly.
Finally, store your sprayer upright in a clean, dry place. Keep it away from sunlight and temperature extremes to protect it. That way, your sprayer stays in great shape and is ready for the next job.
| Step | Action | Tip |
|---|---|---|
| Dry | Air-dry or wipe parts | Use lint-free cloth |
| Reassemble | Assemble in correct order | Inspect seals and nozzles |
| Lubricate | Apply light lubricant | Focus on pistons and seals |
| Store | Keep upright in protected area | Avoid direct sun and moisture |
Frequently Asked Questions
How to Clean Paint Sprayer After Using Stain?
You should flush the sprayer with warm water or solvent. Then, disassemble and clean the parts thoroughly.
Make sure to rinse everything well before letting the parts dry. Once dry, go ahead and reassemble the sprayer.
Finally, run a clean water flush through the sprayer. This step guarantees no stain residue remains inside.
Can You Use a Paint Sprayer With Wood Stains?
Absolutely, you can use a paint sprayer with wood stains—but only if you pick the right type designed for staining.
Otherwise, you risk clogging or uneven coverage.
Choose wisely, and your finish will look flawless every time.
How to Clean a Sprayer After Using Sealer?
You should rinse your sprayer with warm water right after using sealer. Disassemble parts, clean with mild detergent, then use mineral spirits if needed.
Rinse, dry thoroughly, and reassemble to keep it in good shape. It’s pretty simple but super important to do right away!
Can I Leave Stains in a Paint Sprayer Overnight?
You shouldn’t leave stains in your paint sprayer overnight. Doing so can cause the stain to dry, clogging nozzles and damaging your sprayer.
It’s best to clean it thoroughly right after use. This way, you keep it working properly and avoid any frustrating problems later on.
Conclusion
Cleaning your paint sprayer after using stain is like giving your tools a fresh breath of air. By following these seven simple steps, you’ll keep your sprayer in top shape, ready for your next project.
Don’t rush—take the time to flush, scrub, and dry every part thoroughly. This careful attention helps prevent clogs and ensures your sprayer works smoothly.
With proper care, your sprayer will reward you with smooth, flawless finishes time and time again. Keep it clean, and it’ll always perform like new.
Remember, cleaning your paint sprayer after using stain not only extends its lifespan but also maintains the quality of your work. So, invest a little time in this cleaning routine, and your paint sprayer will continue delivering professional results on every project.