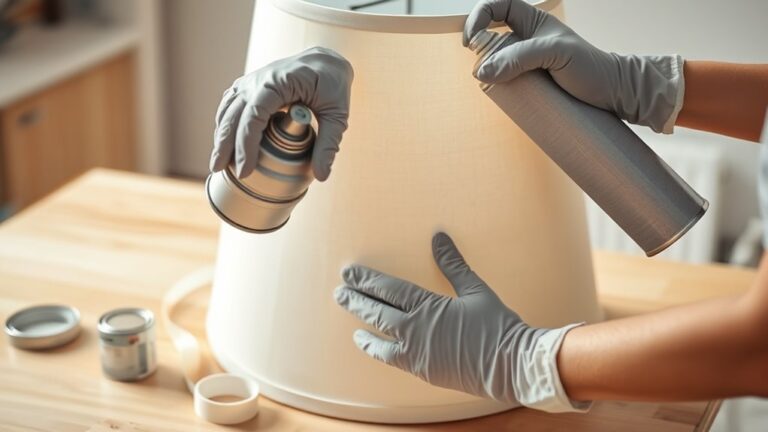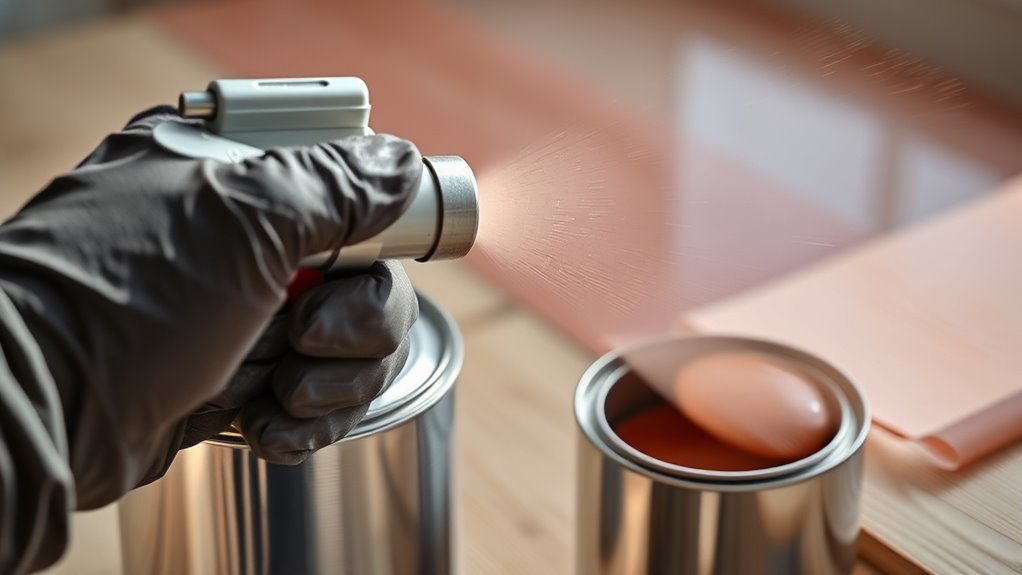
How You Use Oil-Based Paint in a Sprayer Step by Step
Start by flushing your sprayer with mineral spirits to avoid contamination. This is crucial when using oil-based paint because leftover residues can affect the finish.
Next, thin the oil-based paint about 10-15% with paint thinner to ensure a smooth flow through the sprayer.
Attach a spray tip sized between 0.011 to 0.019 inches, depending on your project’s requirements. Make sure the suction hose is fully submerged in the paint.
Then, set the sprayer to prime mode until the paint flows steadily.
Before you begin your main project, do a test spray on a scrap surface to check the spray pattern and consistency.
After you finish painting, flush the system thoroughly with mineral spirits to clean all the paint from the sprayer.
Keep practicing and refining your technique to master every detail for flawless, professional results. You’ll find that following these steps carefully makes a big difference when using oil-based paint in a sprayer.
Key Takeaways
- Flush the sprayer with mineral spirits to avoid contamination before using oil-based paint.
- Thin oil-based paint 10-15% with mineral spirits for smooth spraying and reduced clogging.
- Fully submerge the suction hose in paint and prime the sprayer until steady flow appears.
- Test spray on scrap material to ensure even coverage and proper flow before starting work.
- Clean the sprayer immediately after use by flushing with mineral spirits until runoff is clear.
Preparing Your Airless Sprayer for Oil-Based Paint

Before you start spraying oil-based paint, make sure to flush your airless sprayer thoroughly with mineral spirits or paint thinner. This helps avoid any contamination.
You definitely don’t want leftover water-based paint or debris mixing with your oil-based paint. Next, fully submerge the suction hose into the oil-based paint container. This ensures a smooth, continuous flow during priming.
Set your sprayer to prime mode and let the pump fill until you see a steady stream of paint from the return hose. It’s a good idea to check the manufacturer’s instructions too, since some models have specific priming or cleaning guidelines before switching to oil-based paint.
Finally, test spray on a scrap surface to make sure you get even coverage and proper flow before starting your project. This little extra step can save you a lot of hassle later on!
Thinning and Selecting the Right Spray Tip for Oil-Based Paint
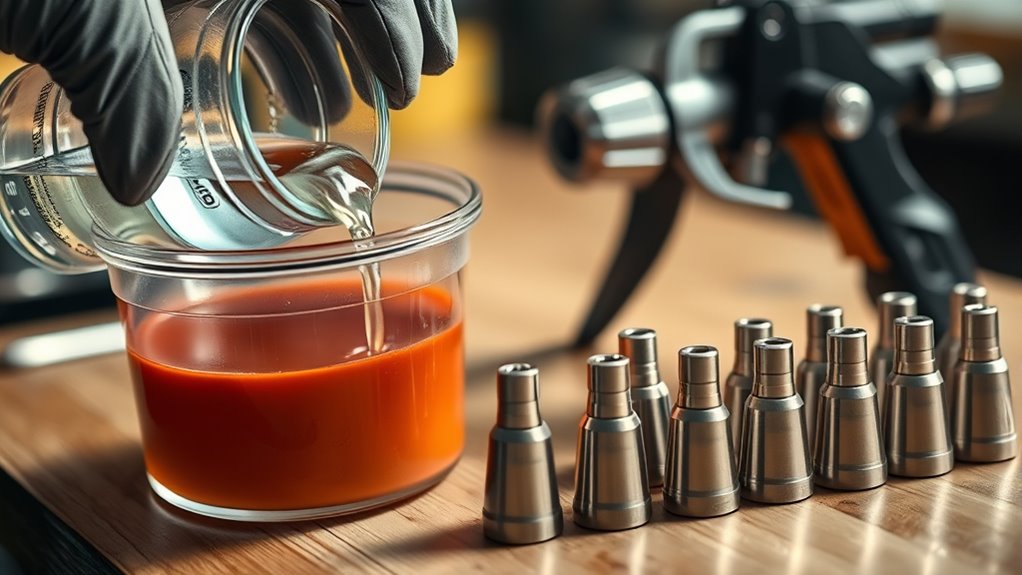
When spraying oil-based paint, you’ll want to thin it by about 10-15% with mineral spirits or paint thinner. This helps guarantee smooth flow and avoids clogs.
Check the consistency by watching the paint drip off a stir stick. It should flow smoothly without being watery. Proper thinning of oil-based paint makes sure your sprayer works efficiently without sputtering.
Ensure paint drips smoothly off a stir stick—not too thick or watery—for efficient spraying without sputtering.
For spray tip selection, pick tips based on your project size and detail.
Use 0.011 to 0.013 inch tips (like 311 or 313) for fine finishes on trim or cabinetry. If you’re working on larger or exterior surfaces, go for 0.015 to 0.019 inch tips (such as 515 or 517).
Make sure your paint sprayer tips match your paint’s viscosity after thinning. This way, you get the best coverage and avoid tip clogs while spraying.
Cleaning and Maintenance After Using Oil-Based Paint

Since oil-based paint can quickly clog your sprayer, you’ll need to clean it thoroughly right after use. Start by running mineral spirits through the system to dissolve any paint residue.
Keep flushing until the runoff runs clear. This step is crucial to remove all leftover paint that could clog the sprayer.
Disassemble parts as recommended by the manufacturer to clean every component properly. If you find some stubborn paint, soak removable pieces in mineral spirits.
Always follow the specific cleaning instructions to keep your sprayer in top condition. Also, to avoid contamination, consider using separate sprayers or hoses when switching between oil-based and water-based paints.
Keeping a clean sprayer not only prolongs its life but also guarantees smooth, consistent spraying every time. It’s definitely worth the extra effort!
Frequently Asked Questions
Can You Spray Oil-Based Paint Through a Sprayer?
Yes, you can spray oil-based paint through a sprayer. But you’ll need to thin it properly first and use a suitable spray tip.
Also, make sure to clean your equipment thoroughly afterward. This helps avoid clogs and keeps the application smooth and even.
How to Prepare Oil-Based Paint for Spray Gun?
You’ll first stir your oil-based paint thoroughly, then thin it with 10-15% mineral spirits or paint thinner. Mix well, check viscosity with a cup or stir stick, and adjust until it sprays smoothly and evenly.
Make sure to mix everything thoroughly so the paint and thinner blend well. This helps avoid clogs in your spray gun.
If the paint feels too thick, add a bit more thinner, but go slow! You want just the right consistency for a nice, even spray.
Do I Need to Thin Oil-Based Paint for Sprayer?
Yes, you usually need to thin oil-based paint about 10-15% with mineral spirits to guarantee smooth spraying.
Check your paint’s viscosity and manufacturer’s guidelines to avoid clogging or uneven coverage. It really helps to get that perfect finish without any hassle.
How Do I Dilute Oil-Based Paint for a Spray Gun?
You dilute oil-based paint by adding 10-15% mineral spirits or paint thinner gradually, stirring thoroughly.
Check the consistency frequently, ensuring smooth flow without sputtering. Adjust thinning to match your sprayer’s recommended viscosity for ideal spraying.
Keep in mind, a little goes a long way, so add the thinner slowly and test as you go. This way, you’ll get the perfect flow for your spray gun without over-thinning the paint.
Conclusion
Using oil-based paint in your sprayer is like tuning a classic car—precision and care make all the difference. Just as a vintage engine runs smoothly when properly maintained, your sprayer will perform best when cleaned thoroughly and fitted with the right tip.
Remember, a well-prepared sprayer not only delivers a flawless finish but also extends its lifespan. This saves you time and frustration on every project you tackle. So, take the time to clean your sprayer after each use and choose the correct tip size for oil-based paints.
By following these steps, using oil-based paint in a sprayer becomes easier and more efficient. A clean sprayer with the right tip ensures smooth application and professional results every time. This approach helps you achieve a durable, even coat while protecting your equipment for future projects.