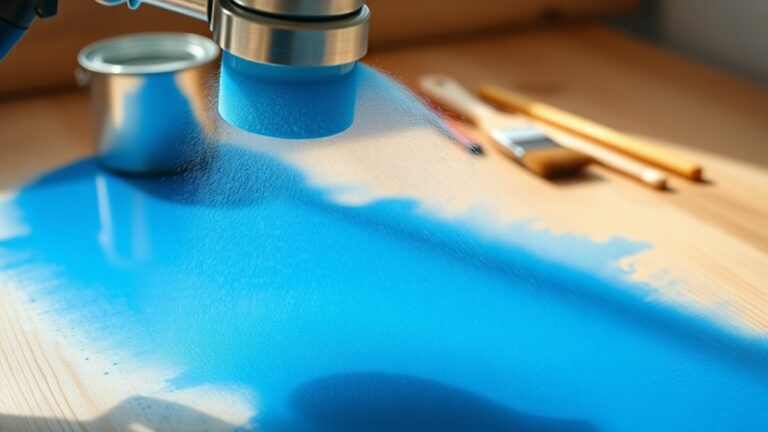
How You Spray Paint Glazed Ceramic Step by Step
Start by thoroughly cleaning your glazed ceramic with soap and water to remove dirt and grease. This step is crucial because any leftover grime can prevent the paint from sticking properly.
Next, lightly sand the surface using 120-grit sandpaper. This creates a rough texture that helps the paint adhere better. After sanding, wipe away the dust and let the piece dry fully before moving on.
Apply a primer specifically made for glazed ceramics and allow it to dry completely. Using the right primer ensures the paint bonds well and lasts longer.
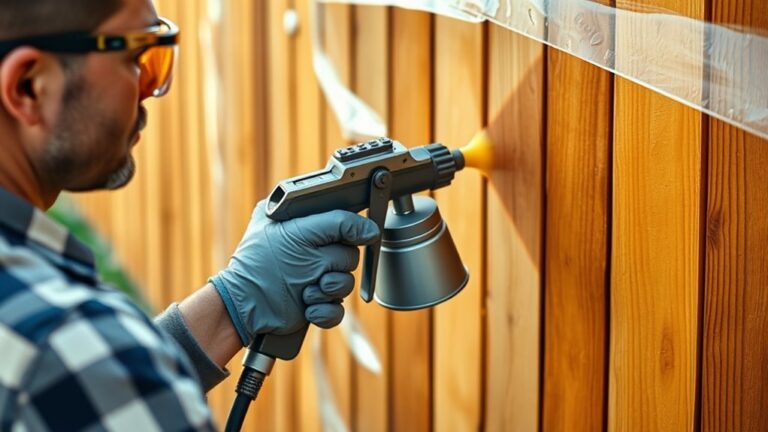
When you’re ready to spray paint, hold the can 12-16 inches away from the surface. Spray in light, even coats to avoid drips and runs.
Keep these tips in mind for a flawless finish and long-lasting durability.
Key Takeaways
- Clean glazed ceramic with soap and water, then dry completely to remove dirt and grease.
- Lightly sand the surface with 120-grit sandpaper to create a rough texture for better paint adhesion.
- Wipe away sanding dust with a damp cloth and let the surface dry fully before priming.
- Apply an even coat of primer compatible with glazed ceramics and allow it to dry completely.
- Spray multiple light coats of paint from 12-16 inches away using smooth, sweeping motions to avoid drips.
Preparing the Ceramic Surface for Painting

Before you start painting, make sure to thoroughly clean the glazed ceramic with soap and water to remove any dirt, grease, or debris. A clean surface is essential for good paint adhesion.
Next, lightly sand the glazed surface using 120-grit sandpaper; this roughens it up, allowing the paint to bond better. After sanding, wipe away all dust and sanding residue with a damp cloth, then let the surface dry completely.
Once dry, apply a compatible primer designed specifically for glazed ceramics. This primer enhances bonding between the ceramic and paint, reducing the chances of peeling.
Make sure to follow the manufacturer’s instructions and let the primer dry fully before moving on. Proper preparation ensures your paint job will last and look great.
Applying Spray Paint to Glazed Ceramic

Since glazed ceramic surfaces are smooth and non-porous, you’ll need to apply spray paint carefully to guarantee it adheres well. Start by sanding the surface lightly with 100-120 grit sandpaper to create a rough texture that improves adhesion.
After sanding, clean the ceramic surfaces thoroughly with soap and water to remove dust and grease. Next, apply a compatible spray primer or a spray primer+paint combo to further enhance paint adhesion and prevent peeling.
When spraying, use a consistent spray technique: hold the can 12-16 inches away and apply multiple light coats with sweeping motions. This prevents drips and pooling, ensuring an even finish.
Frequently Asked Questions
Can I Spray Paint Over Glazed Ceramic?
Yes, you can spray paint over glazed ceramic, but you’ll need to sand it first and apply a primer designed for glossy surfaces. This helps the paint stick better and prevents peeling or flaking later on.
Sanding roughens up the surface a bit, so the paint has something to grip onto. And using the right primer really makes a difference—it’s like giving your paint a good foundation to hold onto.
How to Paint on Already Glazed Ceramic?
Think of painting glazed ceramic like prepping a dance floor—you clean, sand, and prime to make paint stick well.
You’ll want to apply thin spray coats, let them dry fully, then seal for lasting color and protection.
What Paint Will Stick to Glazed Ceramic?
You’ll want to use spray paint formulated for ceramics, glass, or plastic, preferably with a built-in primer. This type sticks well to glazed surfaces, especially if you prep by sanding and cleaning the ceramic first.
It really helps to rough up the surface a bit with some sandpaper. That way, the paint has something to grab onto, you know? Just make sure the piece is clean and dry before you start painting.
Can I Paint Over Glazed Ceramics?
You can absolutely paint over glazed ceramics, but don’t expect it to stick like glue without prep.
Clean, sand lightly, and prime well—these steps help your paint cling tight and shine long, just like a masterpiece.
Conclusion
Now that you’ve prepped and sprayed your glazed ceramic, you might wonder if spray paint really sticks that well.
The truth is, with the right surface prep—like cleaning and sanding—you’ll get a durable finish that lasts. Skipping these steps often leads to peeling or chipping.
So, don’t rush it! Follow each step carefully, and you’ll transform your ceramic piece with a smooth, vibrant coat that stands the test of time.
Give spray painting glazed ceramic a try, and you’ll see how proper preparation makes all the difference in achieving a professional-looking, long-lasting finish.