5 Easy Steps to Use an Airless Paint Sprayer for Interior Walls
Start by preparing your room—cover floors and furniture, tape edges, and clean walls thoroughly. Getting your space ready is key to a smooth paint job and helps protect your belongings.
Next, set up your airless paint sprayer, choosing the right tip for large or small areas. This step ensures you get the perfect spray pattern for your interior walls.
Use smooth, steady strokes about 1 to 1.5 feet from the surface for even coverage. This technique helps avoid drips and gives your walls a professional look.
Switch to the extension wand for big walls and remove it for tight spaces. It makes reaching high or awkward areas much easier.
Finish walls before painting ceilings to avoid drips. Keep going to uncover tips for perfect spray techniques and efficient setups.
Key Takeaways
– Prepare the room by covering surfaces, taping edges, and cleaning walls to ensure a smooth paint application.
This step really sets you up for success, so don’t skip it!
– Select and attach the correct tip (517 for large areas, 310 for details) and set spray pressure between 900-2000 PSI.
Getting this right helps you control the paint flow perfectly.
– Hold the sprayer 1 to 1.5 feet from the wall and use smooth, overlapping vertical strokes for even coverage.
Keep your hand steady and move at a consistent speed.
– Use an extension wand for large walls and switch to a smaller tip without the wand for tight spaces or corners.
This makes painting those tricky spots way easier.
– Paint walls first with consistent passes, then mask and paint ceilings after walls dry for a clean finish.
Patience here pays off with a professional-looking result!
Prepare the Room and Protect Surfaces
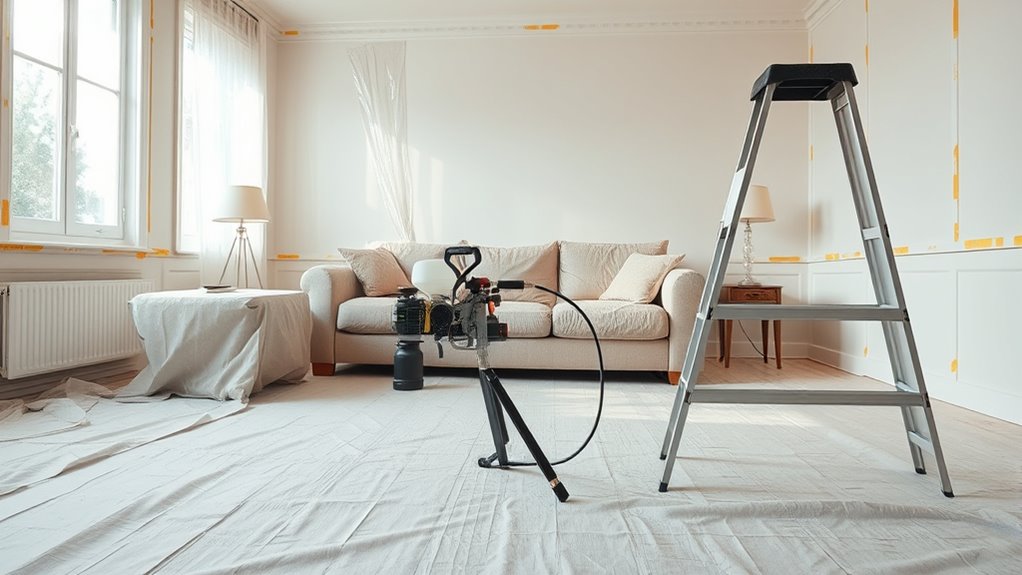
Before you begin spraying, make sure to cover floors, furniture, and fixtures with drop cloths or plastic sheeting to protect them from overspray. Drop cloths are essential for keeping your space clean and preventing paint stains.
Cover floors and furniture with drop cloths to protect your space from paint overspray and stains.
Next, use painter’s tape to mask ceilings, trim, and edges you don’t want painted. It helps keep your lines crisp and neat. Also, remove or relocate wall-mounted items, electrical covers, and hardware to avoid accidental splatters.
Clean your walls thoroughly—make sure they’re dry and free of dust or grease. This step helps the paint stick evenly and look great.
Finally, plan your spraying sequence by starting at the top of the wall and working downward. This approach prevents drips and ensures a smooth, consistent finish. Preparing the room properly sets you up for a successful painting project.
Set Up the Paint Sprayer and Select the Right Tip

When you set up your airless paint sprayer, start by choosing the right tip for the job—use a 517 Rackex for broad wall areas or a 310 Rackex for smaller, detailed sections. We’ll start by attaching the appropriate tip securely to your paint sprayer.
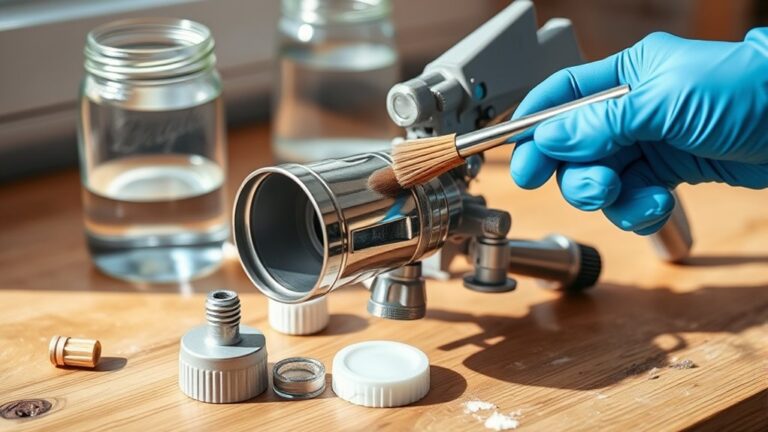
For large areas, connect the extension wand to reach comfortably, but remove it for detailed work. We’ve got to verify the spray gun and tips are clean to prevent clogging or uneven spray.
Next, set the spray pressure between 900 and 2000 PSI on your Graco 695 model to achieve proper paint atomization. Finally, adjust the spray pattern and flow rate following the manufacturer’s guidelines for your chosen tip.
This setup guarantees smooth and efficient coverage on your interior walls.
Master the Spraying Technique for Even Coverage

Although setting up your sprayer correctly is essential, mastering your spraying technique guarantees an even, professional finish. Keep the sprayer nozzle about 1 to 1.5 feet from the wall to maintain a consistent distance.
Use a smooth, sweeping motion from top to bottom, overlapping each pass by roughly 50% to avoid streaks and ensure uniform coverage. Always start spraying at a corner or edge to establish a consistent pattern before tackling larger sections.
Maintain a steady trigger pull without releasing mid-spray, which helps prevent uneven lines or drips. By following these steps, you’ll achieve a flawless coat that looks smooth and professional every time you use your airless paint sprayer on interior walls.
Adjust for Small Areas and Use the Extension Wand
Mastering your spraying technique sets a solid foundation, but adjusting your equipment for different areas is just as important.
For large walls, use the extension wand to cover broad surfaces efficiently and reduce fatigue. When you move to small spaces like cubbies or closets, remove the wand and switch to a smaller tip, such as the 310 Rackex, for precise control.
Keep the spray gun 6-12 inches from the surface for the best results without the wand.
| Area Type | Equipment Setup |
|---|---|
| Large Walls | Extension wand + larger tip |
| Small Spaces | No wand + smaller tip |
| Cubbies/Closets | No wand + 310 Rackex tip |
| Detailed Work | Smaller tip only |
| Prolonged Spraying | Extension wand attached |
Complete Walls First, Then Move to Ceilings
Since walls cover the largest surface area, you’ll want to paint them thoroughly first, maintaining a consistent distance of 1 to 1.5 feet for even coverage. Use the 517 Rackex tip for large wall sections, switching to the 310 tip for smaller areas like closets.
Start with walls using the 517 tip, keeping 1 to 1.5 feet distance for even coverage.
Keep the extension wand on for broad surfaces to reach high spots smoothly, but remove it for tight or detailed sections. Overlap each pass by at least 50%, moving in a steady, sweeping motion from top to bottom to avoid streaks or missed spots.
After finishing all walls, let the paint dry completely before moving to the ceilings. Mask off ceilings beforehand to prevent overspray, ensuring a clean and professional-looking finish.
This order keeps your workflow efficient and your results consistent. It just makes the whole painting process smoother and less stressful.
Frequently Asked Questions
What Is the Number One Rule When Using Airless Spray Guns?
The number one rule when using airless spray guns is to always wear proper personal protective equipment.
You should never point the spray gun at yourself or others. This helps ensure safety from high-pressure paint injuries.
Always keep safety in mind when handling these tools!
Do I Need to Dilute Paint for an Airless Sprayer?
You usually don’t need to dilute paint for an airless sprayer since most interior paints are ready to use.
If it’s too thick, add a small amount of water or recommended thinner, but test first to avoid runs. It’s always a good idea to check how the paint sprays before you start your project.
Is It Easier to Use a Paint Sprayer for Interior Walls?
Yes, you’ll find it easier because paint sprayers cover large areas quickly and evenly. You won’t need to make as many touch-ups.
Adjustable tips help you reach tricky spots without much hassle. It really cuts down on the time and effort compared to traditional brushes or rollers.
Can a Beginner Use a Paint Sprayer?
You can handle a paint sprayer like a sailor mastering the winds—start small, practice often, and adjust your course.
With patience and guidance, you’ll navigate walls smoothly, turning every stroke into a masterpiece.
Conclusion
Using an airless paint sprayer can cut your painting time by up to 50%, making your interior projects faster and less tiring. By prepping your space, choosing the right tip, and mastering your technique, you’ll achieve smooth, even coverage with ease.
Remember to tackle walls before ceilings and use an extension wand for tricky spots. These simple steps will help you transform your rooms quickly and professionally.
Using an airless paint sprayer for interior walls saves you time and effort while delivering great results every time. With a little practice, you’ll get the hang of the technique and enjoy the smooth, even finish it provides. So, get ready to refresh your space efficiently and with less mess—your walls will thank you!