How You Can Paint Over Spray Paint Step by Step
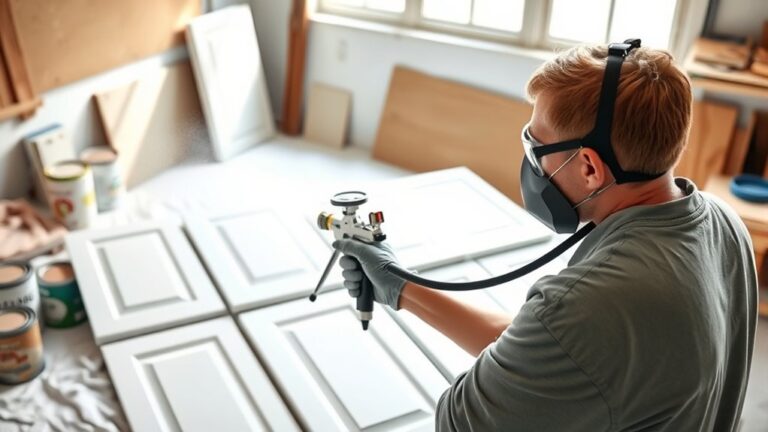
To paint over spray paint, first make sure it’s fully dry and cured—usually about 24 hours. This step is crucial because painting over wet spray paint can cause bubbling or peeling later on.
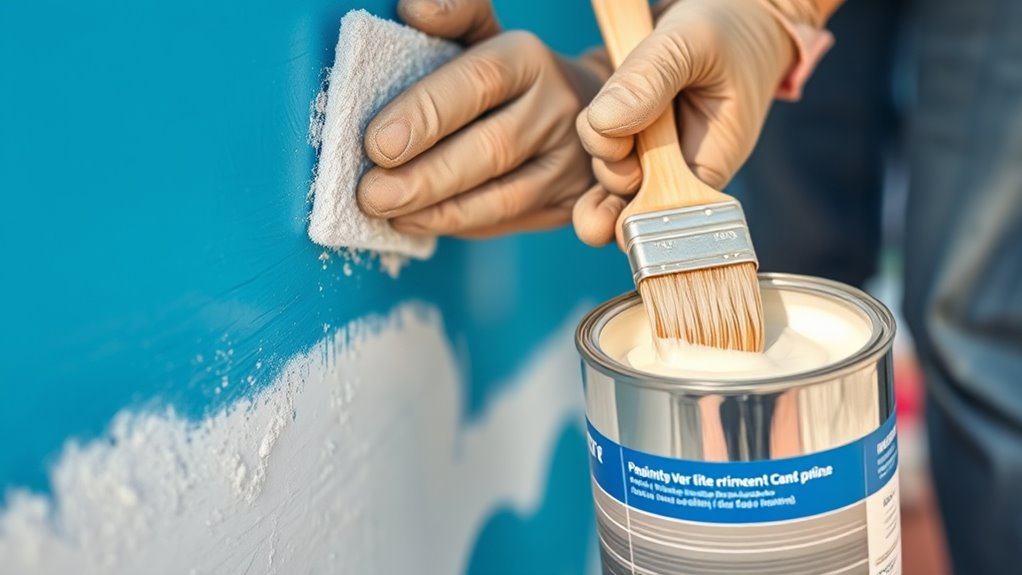
Once dry, lightly sand the surface with 100-220 grit sandpaper to create a rough texture. This helps the new paint stick better.
Next, clean off all dust and grease thoroughly. A clean surface is key to a smooth finish and lasting results.
After cleaning, apply a suitable primer in thin, even coats. This is especially important on glossy or tricky spots where paint might not adhere well. Let the primer dry completely before moving on.
Finally, finish with multiple thin coats of your topcoat. Thin layers dry better and reduce drips or uneven spots. Keep applying these thin coats until you achieve the smooth, lasting finish you want.
Stick around to discover detailed tips and best practices for flawless results when painting over spray paint!
Key Takeaways
- Wait at least 24 hours for the spray paint to fully dry and cure before repainting.
- Lightly sand the painted surface with 100-220 grit sandpaper to create a rough texture for better paint adhesion.
- Clean the surface thoroughly to remove dust, grease, and residues using a damp or tack cloth.
- Apply a suitable primer evenly on tricky or glossy areas to ensure the new paint bonds properly.
- Finish with multiple thin coats of topcoat, allowing proper drying time between each layer for a smooth, durable finish.
Preparing the Spray-Painted Surface for a New Coat
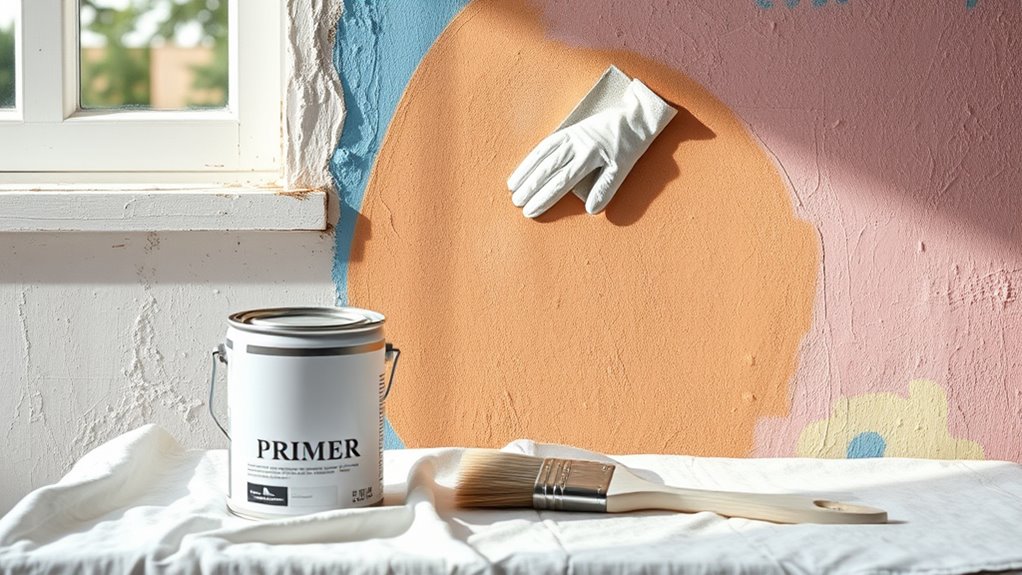
Before you apply a new coat over spray paint, make sure the existing layer is fully dry and cured, usually about 24 hours.
To prepare the surface properly, start by lightly sanding it with 100-220 grit sandpaper. This creates a rough texture that improves adhesion for the new paint.
After sanding, clean the surface thoroughly using a damp cloth or mild solvent to remove dust, grease, and residues. Then, follow up by wiping the area with a tack cloth or lint-free cloth to get rid of any remaining dust particles.
If you notice glossy, uneven, or tricky areas, consider applying a compatible primer to boost adhesion.
Proper prep, including cleaning and sanding, guarantees your new coat sticks well and lasts longer on the spray-painted surface.
Applying Primer and Topcoat Over Existing Spray Paint
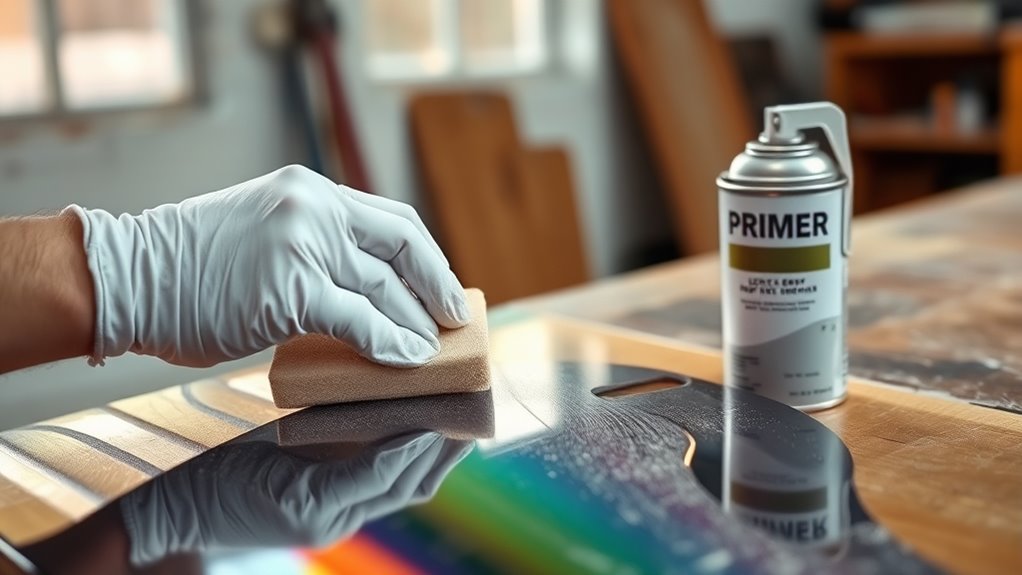
Once your surface is prepped and fully dry, you can move on to applying primer and topcoat over the existing spray paint. First, confirm the spray paint has completed its curing time—typically at least 24 hours.
Ensure spray paint cures for at least 24 hours before applying primer and topcoat for best results.
Lightly sand the area with 100-150 grit sandpaper to improve adhesion by creating a slightly rough texture. Then, clean the surface thoroughly to remove dust and residues from sanding.
Choose a primer that’s compatible with both the material and your existing paint. Apply the primer in light coats, making sure you get even coverage without any drips.
After the primer dries according to the instructions, apply the topcoat using multiple thin layers. This careful application helps ensure a smooth, durable finish while keeping proper adhesion.
Frequently Asked Questions
Can You Put Paint Over Spray Paint?
Yes, you can paint over spray paint once it’s fully dry. Just make sure you sand the surface lightly and clean it well.
Then, apply a compatible primer and wait for everything to cure before adding your new paint. This way, your new paint will stick better and look great.
How to Turn Spray Paint Into Regular Paint?
You can turn spray paint into regular paint by straining it and mixing it with a compatible clear medium like acrylic binder or solvent.
Make sure to stir it thoroughly and adjust the thickness to get the consistency you want.
Once you’re happy with it, store the paint in a sealed container to keep it fresh.
It’s pretty simple once you get the hang of it!
What Paint Can Go Over Spray Paint?
Think of spray paint as a sturdy canvas; you can layer acrylic, latex, or enamel paints over it. Just make sure it’s fully cured, lightly sanded, and clean, so your new coat sticks like a perfect handshake.
It’s all about the prep! Let the spray paint dry completely before you start. Then give it a light sanding to rough up the surface a bit.
Wipe away any dust or grime, and you’re good to go. This way, your new paint won’t peel or chip off easily.
How Long Until You Can Paint Over Spray Paint?
You should wait at least 24 hours before painting over spray paint to guarantee it’s properly cured.
For a more durable finish, especially outdoors, waiting 48 to 72 hours and lightly sanding before repainting helps a lot.
Conclusion
Now that you know how to prep and paint over spray paint, you’re ready to refresh any surface with ease. Did you know that about 60% of DIYers skip priming? This often leads to peeling or uneven paint.
By taking the extra step to properly prime and topcoat, you’ll guarantee a smooth, long-lasting finish. So, don’t rush—your patience will pay off with a fresh, flawless look every time!
Painting over spray paint might seem tricky, but with the right preparation, it’s totally doable. Remember, prepping your surface well and using a good primer are key to success. This way, your new paint will stick better and last longer, giving you that perfect finish you want.
In the end, taking the time to properly prep and paint over spray paint ensures your project looks professional and lasts for years. So grab your supplies, follow these steps, and enjoy your beautifully refreshed surfaces!