How You Can Spray Paint Shoes Step by Step
To spray paint shoes, start by cleaning them thoroughly to remove dirt and oils that might prevent the paint from sticking. Next, remove any gloss or finish using nail polish remover. This step is crucial because it helps the paint adhere better, giving you a smooth, long-lasting finish.
Stuff the shoes with paper to help them keep their shape while you work. Then, tape off any areas you don’t want painted, like soles or logos. This way, you’ll have clean, sharp lines and a professional look.
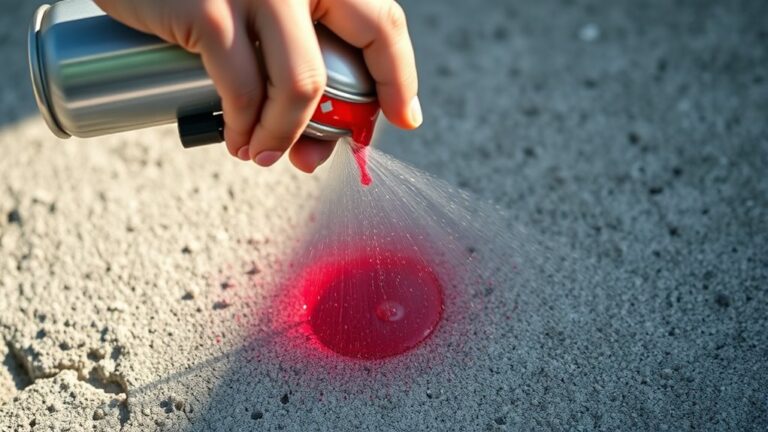
When you’re ready to paint, hold the spray can about 6 to 8 inches away from the shoes. Use light, even strokes and apply multiple thin coats instead of one heavy one. This prevents drips and gives a nice, even coverage.
After painting, let your shoes dry completely before moving on. Finally, seal them with a clear coat to protect your hard work and make the paint last longer.
Keep your workspace well-prepared and ventilated, and you’ll get a flawless finish every time. For more detailed tips and tricks, keep exploring the process!
Key Takeaways
- Clean shoes thoroughly and remove gloss with nail polish remover. Then, stuff the interiors to avoid paint seepage.
- Protect areas not to be painted with painter’s tape. This will help you get sharp, clean edges.
- Spray paint from 6 to 8 inches away using light, even strokes. Apply multiple thin coats rather than one thick layer.
- Allow each coat to dry about 30 minutes. Make sure to cure the shoes for 24 hours before using them.
- Apply a primer before painting. Then, seal with a clear coat for durability and protection.
Materials and Preparation for Spray Painting Shoes

Before you begin spray painting shoes, gather light-colored, inexpensive pairs like thrift store flats or Old Navy shoes, as they offer an ideal base for your design.
Start with light-colored, budget-friendly shoes like thrift store finds for the perfect canvas to spray paint.
To prep the surface, clean the shoes thoroughly with soap and water. Then, wipe them down with nail polish remover or acetone to remove any gloss and oils.
Protect the interior of your shoes by stuffing them with plastic bags or newspaper. Also, use tape to cover areas you don’t want spray paint to reach. Painter’s tape works best to ensure sharp lines and clean edges.
Choose spray paint compatible with your shoe materials—brands like Krylon Fusion or Rust-Oleum provide durable coats without cracking. Applying a primer coat can improve paint adhesion and longevity.
Proper prep and materials will make your project a success. So, take your time getting everything ready before you start spraying!
Step-by-Step Guide to Spray Painting Your Shoes

Once you’ve prepped your shoes and workspace, start spray painting by holding the can about 6 to 8 inches away from the surface. Use light, even strokes to apply thin coats.
Make sure to spray in a well-ventilated area, moving the can constantly to avoid drips and uneven patches. Apply multiple thin layers, letting each dry for about 30 minutes.
To transform plain shoes into painted shoes that truly shine without flaws, follow these tips:
- Protect the interior with plastic to prevent unwanted paint.
- Use a red color or another shade to match your style.
- After painting, seal the shoes with a clear coat and let them cure 24 hours.
Even if you already know how to paint shoes with spray paint, you’ll love your refreshed, vibrant pair or even another pair!
Frequently Asked Questions
What Kind of Spray Paint Can I Use on Shoes?
You can use spray paints made for plastic, leather, or fabric like Krylon Fusion or Rust-Oleum Specialty Paints. Choose flexible, multi-surface types and always test a small area first to guarantee good adhesion and finish.
It’s a good idea to pick paints that can bend and move with the shoe material. That way, the paint won’t crack or peel when you wear your shoes. Just remember to do a test spot to see how it sticks and looks before going all in.
What Are the Steps to Painting Shoes?
Did you know 90% of painted shoes last months when properly prepped? You clean them first, then tape off the areas you don’t want to paint.
Next, you spray thin coats outdoors and wait between each layer. It’s important to let each coat dry to get the best results.
After that, seal everything with a clear coat. Finally, cure the shoes for 24-48 hours before wearing to ensure durability. Easy, right?
How to Make Paint Permanent on Shoes?
You make paint permanent on shoes by using high-quality paint, letting it cure at least 48 hours, and lightly sanding before sealing.
Then, apply a clear acrylic sealant to protect the design. Regularly maintaining with touch-ups helps prevent chipping and wear.
This way, your painted shoes will stay looking fresh and vibrant for a long time!
What Kind of Paint Will Stick to Shoes?
You’ll find acrylic spray paints like Krylon stick like magic to most shoes. But if you’re working with leather or vinyl, specialized paints like Angelus Leather Paint work wonders.
Make sure to prep and prime your shoes first. That way, your paint will last forever!
Conclusion
Now that you’ve prepped your shoes and mastered each spray painting step, the real magic is about to happen. Picture the vibrant colors drying, transforming your plain shoes into unique works of art.
As the final coat settles, you’ll feel that rush of excitement—ready to step out and show off your custom creation. Stay patient, because the best part is just around the corner: revealing your bold, brand-new look to the world.
Spray painting shoes is such a fun and creative way to personalize your footwear. With each layer, you’re not just adding color—you’re making a statement. So take your time, enjoy the process, and get ready to rock those amazing, spray-painted shoes wherever you go!