How You Spray Paint Brick Step by Step
First, clean your brick steps thoroughly using a brush or pressure washer. Then, let them dry completely before you start painting.
Protect nearby areas with painter’s tape and drop cloths to avoid any overspray. This will keep your space neat and save you from extra cleanup later.
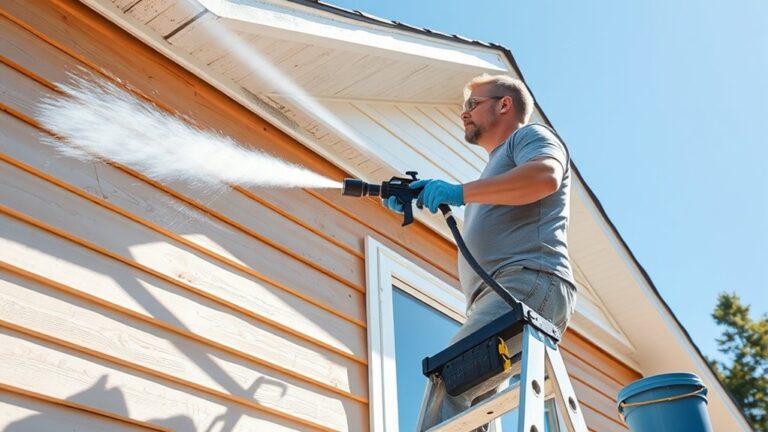
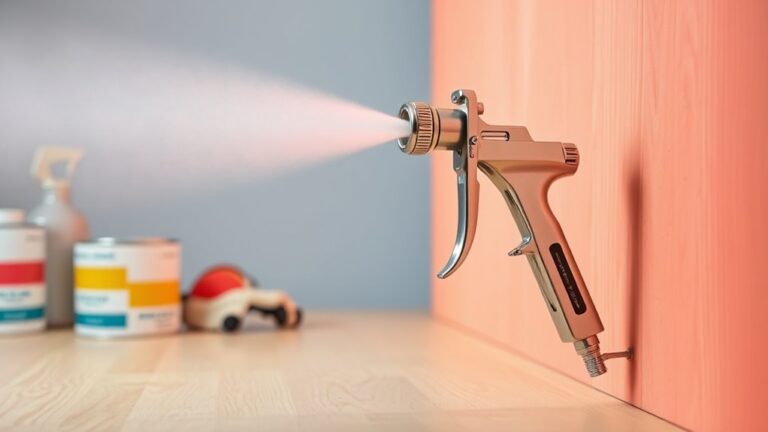
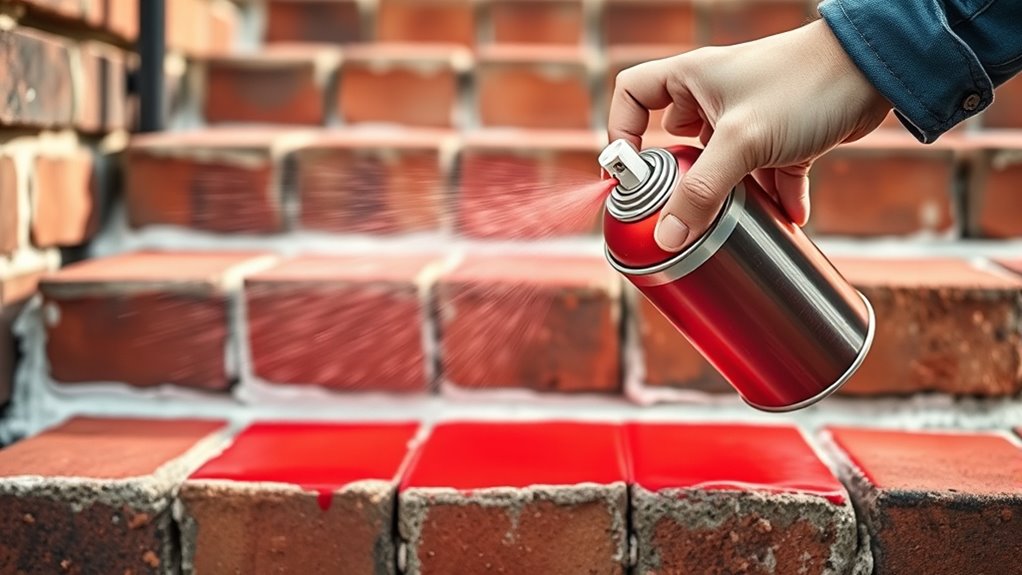
Use a quality exterior spray paint designed for brick surfaces. Hold the sprayer 6-8 inches away and apply in smooth, even strokes to get the best coverage.
Spray two thin coats, allowing drying time between each. Don’t rush—this helps ensure a durable finish.
Finally, touch up any missed spots with a brush for a flawless look. Keep these tips in mind to guarantee a neat, long-lasting finish—and discover how to perfect every detail next.
Key Takeaways
– Clean bricks thoroughly and let them dry completely for at least 24 hours before painting.
This step is super important to make sure the paint sticks well.
– Protect surrounding areas with painter’s tape and drop cloths to avoid overspray.
You don’t want paint where it doesn’t belong!
– Use a sprayer set 6-8 inches from the surface, applying smooth, even strokes from top to bottom.
Keep your movements steady to get a nice, even coat.
– Apply two thin coats of high-quality exterior brick paint, allowing each coat to dry fully before the next.
Thin coats work better than one thick one, trust me.
– Touch up missed spots with a brush and remove masking after the paint is completely dry.
Finishing touches really make a difference!
Preparing Brick Steps for Spraying
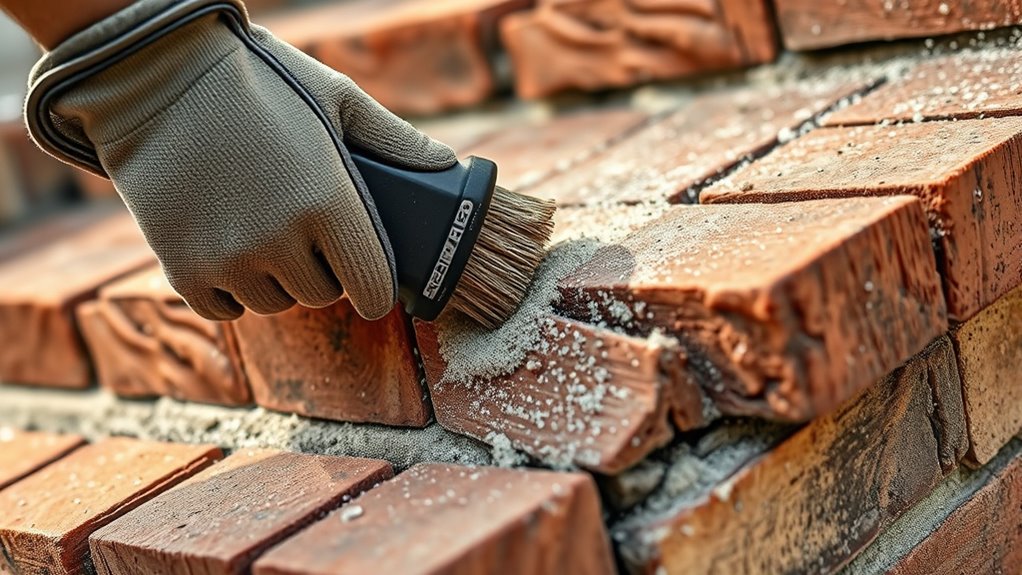
Before you begin spray painting your brick steps, you need to prepare the surface properly to guarantee the paint adheres well and lasts longer. Start by thoroughly cleaning the bricks using a pressure washer or a stiff-bristled brush with soap or TSP to remove dirt, mildew, and cobwebs.
Let the bricks dry completely for at least 24 hours. Next, inspect for any damage, cracks, or chips, and repair these with mortar patch or caulk to ensure a smooth finish.
Remove any loose debris and dust after cleaning to improve primer adhesion and achieve an even coating. Finally, protect surrounding areas by masking handrails, walls, and floors with painter’s tape and drop cloths to prevent overspray during painting.
Applying Spray Paint to Brick Steps
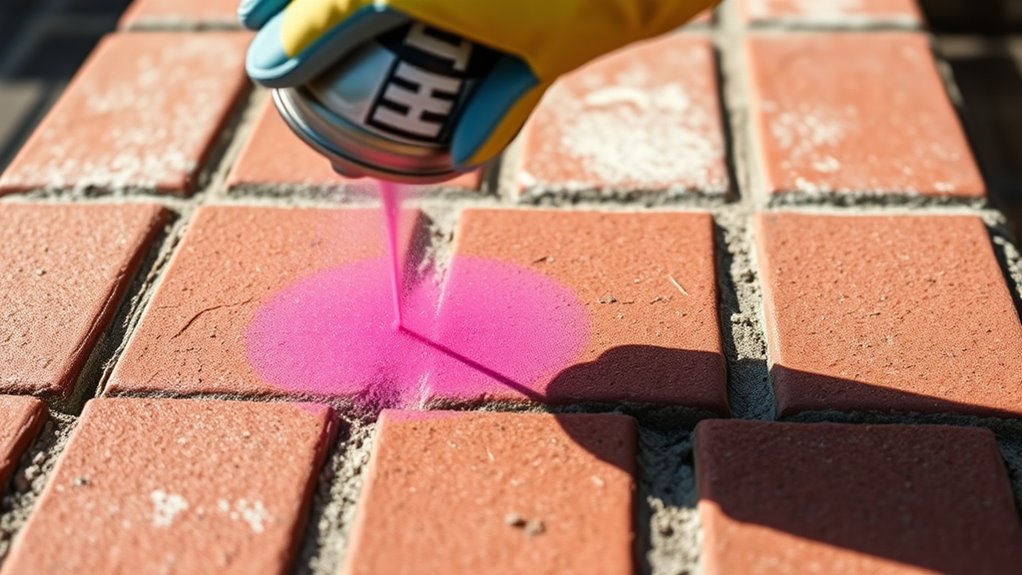
Once the brick steps are clean and dry, you can begin applying the spray paint. Start by masking surrounding areas like railings and adjacent concrete to avoid overspray.
Before spraying, ensure your brick steps are clean and dry, and mask nearby surfaces to prevent overspray.
Use a high-quality exterior paint designed for brick, and set your sprayer according to instructions. When painting a brick surface, apply spray paint in even, sweeping strokes from top to bottom. Hold the sprayer about 6-8 inches away for consistent coverage.
Remember to spray two thin coats, allowing drying time between each. Step back frequently to check coverage and uniformity.
If you spot any missed spots or edges, use a brush to touch them up. This method guarantees your brick steps will look smooth and professional after the second coat.
Frequently Asked Questions
What’s the Easiest Way to Paint Brick?
The easiest way to paint brick is by cleaning it thoroughly, applying a primer, then using a high-quality exterior spray paint with a wide nozzle sprayer.
Spray in even, sweeping motions, applying multiple thin coats for best results. This helps the paint go on smoothly and last longer.
Can You Paint Straight Over Brick?
You can paint straight over brick, but did you know 70% of paint failures come from poor prep?
What Kind of Paint Do You Use on Bricks?
You should use high-quality, exterior latex-based masonry or brick paint with a satin or eggshell finish. It adheres well and flexes to prevent cracking.
Plus, it stands up to weather and foot traffic way better than oil-based alternatives. So, it’s a solid choice for painting bricks!
Can I Paint Over Already Painted Brick?
You can paint over already painted brick, but don’t rush—prep is key. Clean, sand lightly, and prime it like setting a solid foundation.
Then, apply thin coats of quality paint for lasting results. Taking your time here really pays off in the long run.
Conclusion
Now that you’ve finished spray painting your brick steps, step back and admire your work. Just like a fresh coat of paint can brighten a room, your newly painted steps can transform your entire entryway.
Remember, with the right prep and technique, you’ve made a lasting improvement that’ll stand up to weather and wear. Keep your tools handy for touch-ups — a little care goes a long way in keeping your bricks looking sharp.
Spray painting brick is a great way to refresh your home’s exterior without a full renovation. By following these steps carefully, you ensure the paint adheres well and lasts longer. So, enjoy your beautifully painted brick steps and the boost they give to your curb appeal!