How to Use an Airless Paint Sprayer in 5 Easy Steps
To use an airless paint sprayer in five easy steps, start by taking safety precautions. Make sure to wear protective gear like gloves and goggles, and work in a well-ventilated area. This keeps you safe and comfortable while painting.
Next, securely assemble the sprayer, hose, and spray gun with the right tip for your project. Getting this right is key to a smooth painting experience.
Then, prime the sprayer by running paint through it until the flow is clear. This helps avoid clogs and ensures even coverage.
When you start spraying, hold the gun about 12 inches away from the surface. Use smooth, overlapping strokes to get an even finish without drips or missed spots.
Finally, clean the sprayer thoroughly after each use. Proper cleaning keeps your equipment in good shape and ready for your next project. Keep going to uncover tips for flawless results and long-lasting gear care.
Key Takeaways
- Assemble the sprayer by securely connecting the spray gun, hose, and spray tip. Make sure the guard is aligned properly.
- Next, prime the sprayer by running water or thinned paint through it. Keep going until the flow is clear and paint reaches the gun tip.
- Hold the sprayer about 12 inches from the surface. Use long, overlapping strokes for even coverage.
- Remember to start moving the spray gun before pressing the trigger. Keep it moving after you release the trigger to avoid uneven spots.
- Clean the sprayer right after you’re done. Flush it with water, clean the parts separately, and apply rust inhibitor before storing it away.
Follow Important Safety Precautions

Before you start using an airless paint sprayer, make sure you follow important safety precautions to protect yourself and others. Always wear protective clothing, gloves, safety glasses, and a mask to shield yourself from paint fumes and particles.
Wear protective gear like gloves, glasses, and a mask to stay safe from paint fumes and particles.
Operate the sprayer only in a well-ventilated area to minimize inhaling harmful vapors. Keep bystanders and pets far from the spraying zone to prevent accidental exposure or injury.
Always read and follow the manufacturer’s safety instructions and warnings in the manual before and during use. Remember to turn off and unplug the sprayer before cleaning, adjusting, or performing any maintenance to avoid accidental spraying.
Prioritizing safety will help ensure a smooth and secure painting experience every time you use your airless paint sprayer. Just take your time and stay safe!
Proper Sprayer Setup and Assembly

When you set up your airless paint sprayer, make sure to connect the spray gun and hose securely to prevent leaks or spills. Attach the hose firmly to both the sprayer and the water source, using any filters or clamps included to avoid clogs and guarantee a tight fit.
Next, install the correct spray tip and guard, aligning the arrow on the tip with the spray direction as specified by the manufacturer. Lock the spray gun trigger during setup to prevent accidental spraying.
Double-check all connections before you proceed to paint. Proper setup and assembly are vital for efficient operation and safety, so take your time to ensure everything fits well and is installed according to the instructions.
Priming the Sprayer for Operation
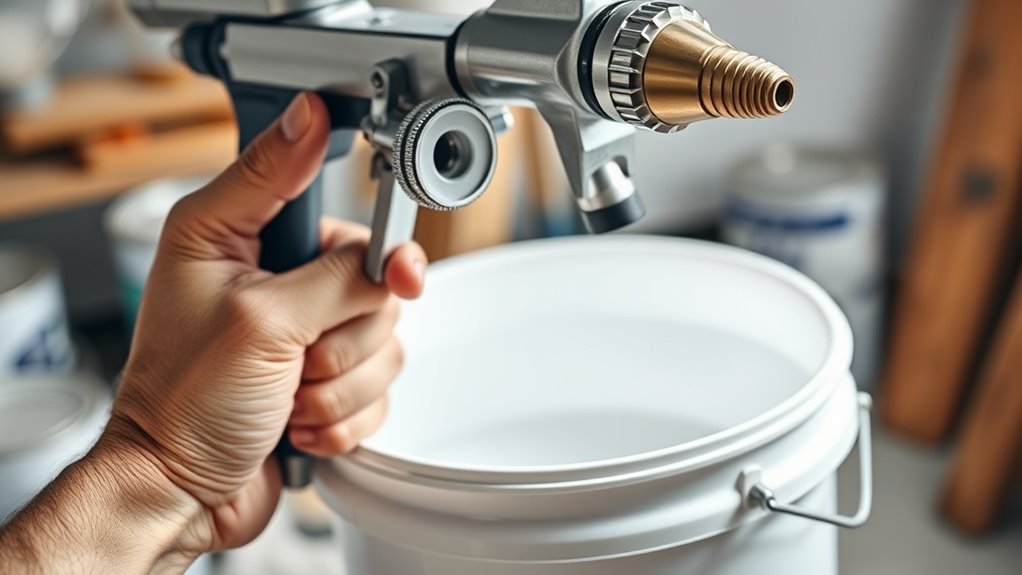
Although setting up your sprayer correctly is crucial, priming it properly guarantees smooth paint flow and prevents clogs.
Start by using Pump Armor to protect your sprayer’s pump during priming. Follow these steps for the best coverage on your painting jobs:
- Fill the paint bucket with your chosen Airless Paint and securely connect the hose to avoid leaks.
- Turn the sprayer dial to “Start” and set the lever to “Prime” to initiate priming.
- Run water or thinned paint through the system until it flows clearly, then switch to the paint bucket.
- Continue until paint appears at the gun tip, then lock the trigger and get ready to paint.
Proper priming ensures your sprayer works flawlessly for every project. So, take your time here—it really pays off!
Mastering the Proper Spray Technique
Mastering the proper spray technique guarantees your paint job looks professional and lasts longer. When using a paint sprayer, keep the spray gun about 12 inches from the surface and use long, continuous strokes.
Start moving before pressing the trigger and continue after releasing it to avoid lap marks. Overlap each pass by 50% and aim the spray tip at the edge of the previous pass for a smooth, uniform finish.
Adjust the spray pattern and direction to suit the surface for *ideal* results. It’s all about getting that consistent coverage without any streaks or blotches.
| Technique | Tip |
|---|---|
| Distance | Keep 12 inches from surface |
| Stroke | Use long, continuous motions |
| Overlap | Overlap passes by 50% |
| Spray tip positioning | Aim at previous pass edge |
These steps help you get the best from your paint sprayer. Just follow them, and you’ll see the difference right away!
Cleaning and Maintaining Your Sprayer
After perfecting your spray technique, keeping your airless paint sprayer clean and well-maintained guarantees it works smoothly every time.
Follow these steps to maintain your sprayer effectively:
- Rinse the entire paint system with water or a suitable cleaning solution immediately after use to avoid clogs.
- Detach and clean the spray tip, gun, and filters separately using a brush or compressed air to remove paint residue.
- Use a water adapter or cleaning kit to flush hoses and pump until the water runs clear.
- Apply a rust inhibitor like pump armor before storage and keep the sprayer in a dry, protected spot to prevent corrosion and damage.
Regular cleaning extends your sprayer’s lifespan and ensures consistent, reliable performance.
Trust me, a little effort now saves you a lot of hassle later!
Frequently Asked Questions
What Is the Number One Rule When Using Airless Spray Guns?
The number one rule when using airless spray guns is to always wear proper safety gear like a mask and goggles.
You shouldn’t point the gun at yourself or others to avoid serious injuries from high-pressure spray.
It’s really important to handle these tools with care to stay safe. Always be mindful of where the spray is aimed!
How to Properly Use an Airless Paint Sprayer?
You connect the hose securely and prime the sprayer until paint flows smoothly. Hold the gun about 12 inches from the surface.
Use steady, overlapping strokes to get an even coat. When you’re not spraying, lock the trigger to prevent any drips.
And don’t forget to clean the sprayer thoroughly after use. This keeps it working great for your next project!
Do I Need to Dilute Paint for an Airless Sprayer?
You don’t always need to dilute paint for an airless sprayer. Most latex paints work fine as-is, but oil-based paints often require thinning.
Always check the manufacturer’s guidelines and test a small batch first. That way, you can make sure the paint sprays smoothly without any issues.
What Are the Most Common Mistakes When Using Spray Paint?
You might occasionally indulge in overenthusiastic application, causing drips and runs.
Don’t forget to keep your sprayer clean, hold it properly, and maintain steady overlap—these simple habits help you avoid those common, pesky painting hiccups.
Conclusion
Using an airless paint sprayer might seem tricky at first, but once you get the hang of it, it’s as smooth as a brushstroke on fresh canvas. By following safety steps and setting up properly, you’ll start off on the right foot.
Next, make sure you prime the sprayer correctly. This step is key to avoiding clogs and ensuring an even spray. Then, focus on mastering your spray technique—it really makes all the difference in getting professional-looking results.
Finally, don’t forget to keep your sprayer clean. Proper maintenance helps your equipment last longer and keeps your paint jobs looking sharp. Stick with these easy steps, and you’ll finish your project faster and with less mess than you ever thought possible. Using an airless paint sprayer efficiently saves time and delivers a smooth, even finish every time.