
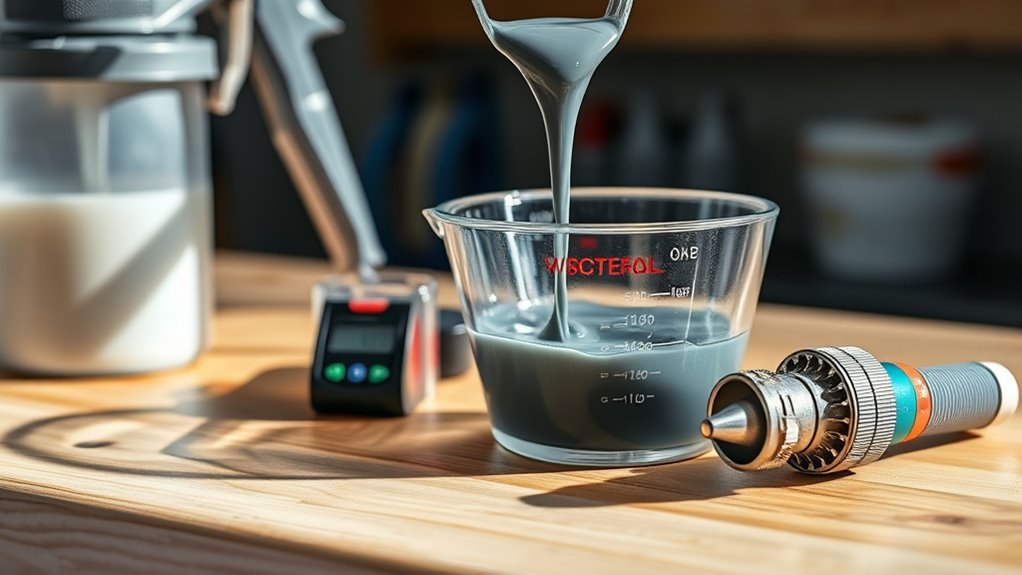
How to Thin Paint for a Paint Sprayer Step by Step
To thin paint for your sprayer, start by gathering everything you need: paint, a strainer, a stir stick, and a clean bucket. Stir the paint well to mix it evenly.
Next, strain the paint to remove any lumps that might clog your sprayer.
Add water or thinner gradually—about 10% at a time—and mix thoroughly after each addition.
Test the paint’s consistency using a viscosity cup or by spraying a small sample. You want a smooth flow without drips or sputtering.
If it’s too thick, add a bit more thinner slowly. Keep adjusting until you get that perfect balance.
With a little patience, you’ll achieve flawless coverage every time!
Key Takeaways
- Identify your paint type (latex or oil-based) and gather appropriate thinner or water accordingly before starting.
- Stir and strain the paint thoroughly to remove lumps and ensure uniform consistency.
- Gradually add thinner or water in small increments (about 10%) and mix well after each addition.
- Use a viscosity cup to measure flow time, aiming for 25-35 seconds for optimal spraying consistency.
- Conduct spray tests on a sample surface, adjusting thinning ratios until smooth, even coverage without sputtering is achieved.
Preparing Paint and Supplies for Thinning
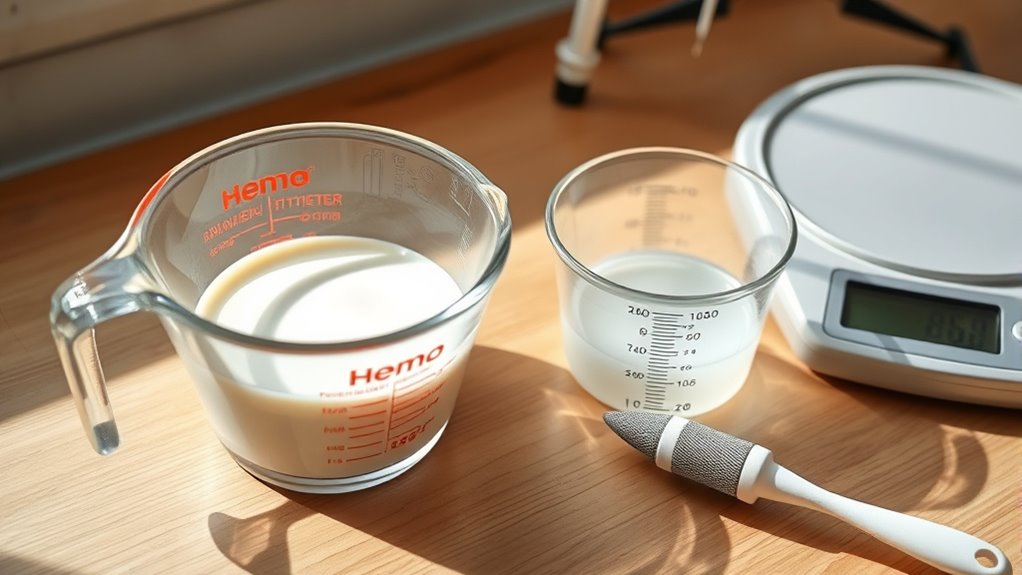
Before you begin thinning paint for your sprayer, gather all necessary supplies, including the original paint container, a clean mesh strainer, and a stir stick. Confirm the paint type—latex, oil-based, or other—to know whether you’ll use water or a specific paint thinner.
Gather your paint, strainer, and stir stick, and identify paint type before thinning for your sprayer.
Prepare a clean bucket or container for mixing and testing. Use proper mixing tools to gradually add thinner, making sure you don’t over-thin the paint.
Have a viscosity test setup ready, like a viscosity cup or test surface, to check paint consistency after each addition. This helps maintain the right flow for your spray gun and prevents clogging or uneven spraying.
Being well-prepared with these supplies and steps sets you up for a smooth thinning process and ideal paint application. It’s always better to take a little extra time getting ready than to run into problems halfway through.
Mixing and Testing Paint Consistency
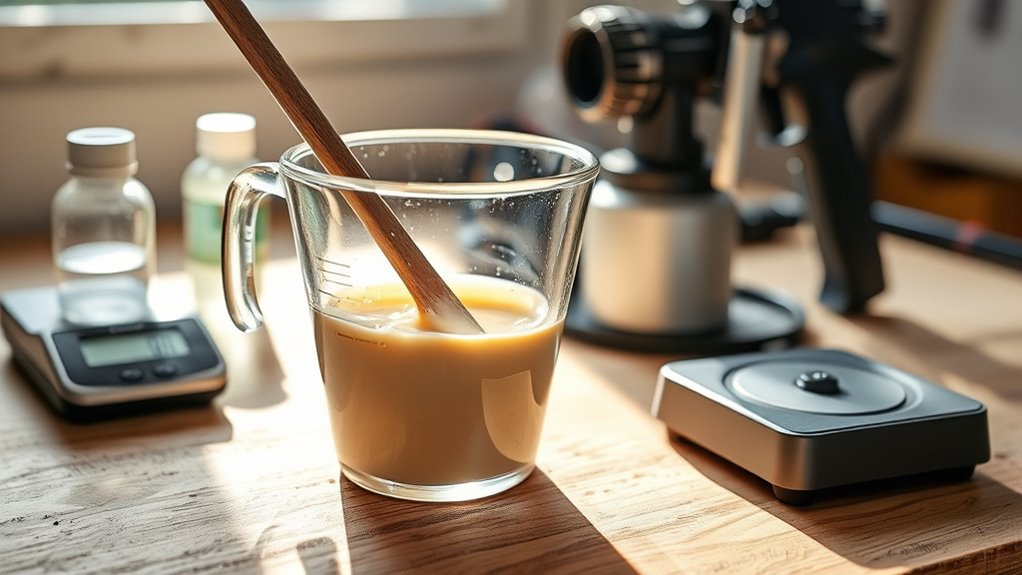
When you mix paint and water, make sure to stir thoroughly to achieve an even consistency before testing. Use a stir stick for thorough mixing, ensuring the paint and water blend uniformly.
Next, measure the paint consistency with a viscosity cup; an ideal flow time ranges from 25 to 35 seconds. Add water gradually, starting with about 10% of the paint volume, and re-test after each addition.
Before testing, strain the mixture through a mesh sieve to remove lumps that could clog your spray gun. Finally, conduct a spray test on a sample surface to check for smooth application and proper flow.
This careful mixing and testing process guarantees your paint is ready for efficient spraying without issues. Just take your time, and you’ll get great results every time!
Adjusting and Applying Thinned Paint
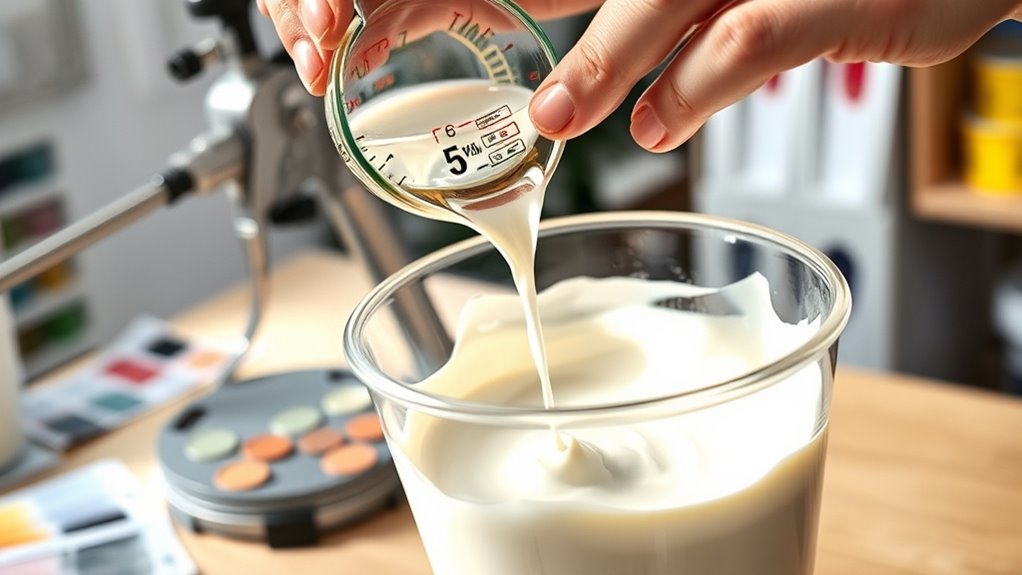
After mixing and testing your paint for the right consistency, you’ll want to fine-tune the thinning process to get the best spray results. To thin your paint correctly and apply it smoothly with a paint sprayer, follow these steps:
First, gradually add water or thinner, starting at about 10% of the paint volume. Stir thoroughly after mixing the paint to make sure everything blends well.
Next, strain the thinned paint through a paint strainer. This step helps remove any clumps that could clog your nozzle.
Then, conduct a flow test. You’re aiming for a viscosity flow time somewhere between 25 to 35 seconds.
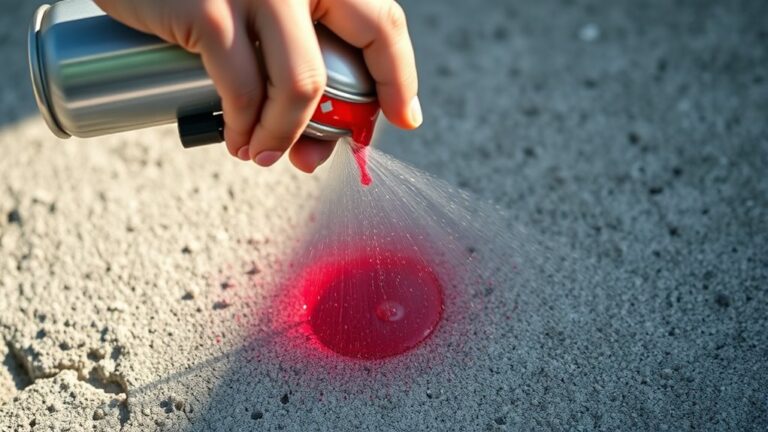
Finally, do a test spray on a sample surface. Adjust the thinning paint ratio little by little until you get even coverage without any sputtering or drips.
Using these steps will help you achieve the right paint consistency for a flawless spray paint application.
Frequently Asked Questions
What Is the Proper Mixture to Thin Paint for a Spray Gun?
You should thin your paint by adding about 10% water or thinner, roughly 12-13 ounces per gallon. Mix thoroughly and test the flow, adjusting gradually to get smooth spraying without compromising the finish.
It’s best to add the thinner little by little. That way, you can find the perfect consistency without making the paint too runny. Keep testing as you go!
What Is the Best Paint Thinner for a Spray Gun?
The best paint thinner for your spray gun depends on your paint type. Use water for latex paints and mineral spirits or paint thinner for oil-based paints.
Always follow the paint manufacturer’s recommendations to avoid clogging or damage. It’s important to get this right to keep your spray gun working smoothly.
How to Thin Down Water-Based Paint for Spray Gun?
Sure, just pour paint straight from the bucket—who needs smooth spraying?
Actually, add about 10% water, stir well, strain, and test spray.
Adjust water slightly if your sprayer sputters or spits. Easy, right?
How to Thin Paint in a Paint Sprayer?
You thin paint by adding about 10% water or thinner, stirring thoroughly, then straining it.
Test the consistency by dipping a stick, and spray test on scrap, adjusting as needed for smooth flow.
Conclusion
Now that you’ve mastered thinning paint for your sprayer, you’re ready to dance with colors like a pro. Think of your paint as a river—you want it flowing smooth and steady, not rushing or dragging.
With the right mix and a little testing, your sprayer will sing, delivering flawless coats every time. So grab your gear, trust your touch, and let your creativity splash freely across every surface!
Remember, thinning paint for a paint sprayer is all about balance. Getting it just right ensures smooth application and prevents clogs. Keep practicing these steps, and soon you’ll be spraying like a seasoned painter, making every project look professional and polished.




One Comment