How to Thin Paint for HVLP Sprayer in 7 Easy Steps
To thin paint for your HVLP sprayer, start by gathering the right materials and tools, including a suitable thinner and a viscosity cup. It’s important to choose the correct thinner based on the type of paint you’re using to get the best results. Stir your paint thoroughly to ensure it’s well mixed before adding anything.
Next, add thinner gradually while mixing well. This helps you control the consistency without over-thinning. Use a #4 Ford cup to test the viscosity, aiming for about 50 seconds flow time. This step is key because the right thickness means smoother spraying and a better finish.
Before pouring the paint into your sprayer, strain it to remove any lumps or debris. Then, perform a test spray to see how it applies. Adjust the thinner as needed based on the test spray results.
Follow these steps closely, and you’ll achieve a smooth, even finish every time. More tips can help you perfect your technique.
Key Takeaways
- Stir paint thoroughly and check for lumps before thinning to ensure uniform consistency. This helps avoid any clumps that might mess up your spray finish.
- Gradually add the appropriate thinner or water in small increments, stirring continuously. Take your time with this step to get the right mix.
- Use a Ford viscosity cup to measure flow time, aiming for about 50 seconds for optimal spray. This tool really helps you nail the perfect paint thickness.
- Test spray on a scrap surface, adjusting thinning ratio until the spray pattern is smooth and even. Keep tweaking it until you get that flawless finish.
- Strain the thinned paint before loading into the sprayer to prevent clogs and maintain finish quality. This simple step can save you a lot of headaches down the line.
Gather Necessary Materials and Tools

Before you begin thinning paint for your HVLP sprayer, gather all the necessary materials and tools to guarantee a smooth process. Start by selecting the paint that matches your sprayer’s manufacturer recommendations.
Gather the right materials and choose paint recommended by your sprayer’s manufacturer for smooth thinning.
Next, get a clean #4 Ford viscosity cup to accurately measure the paint’s thickness. This tool helps ensure your paint flows properly through paint sprayers.
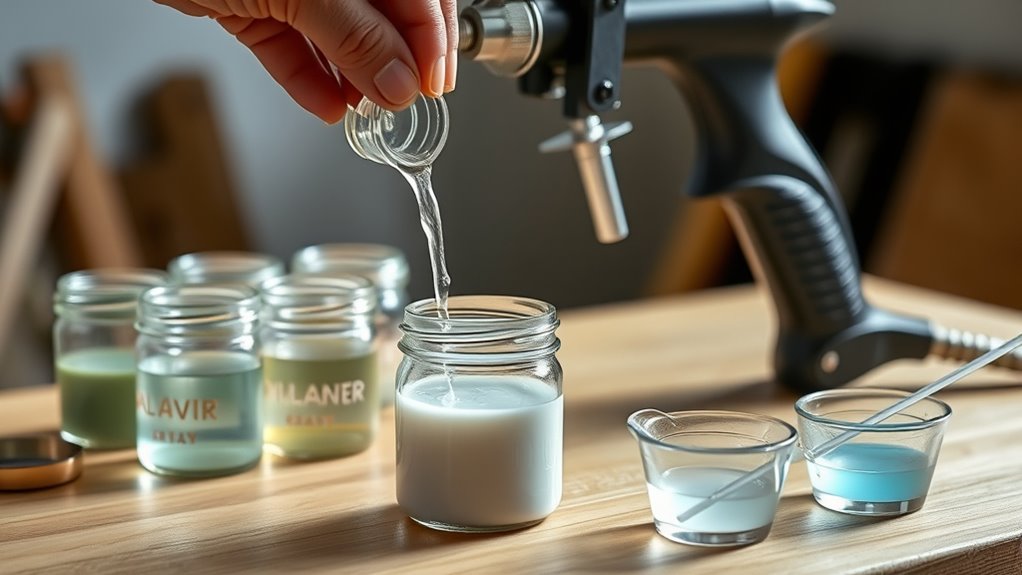
Prepare the right thinning agents—use water for latex paints or the correct thinner for oil-based types—following recommended ratios. Have a stir stick or paddle ready, so you can mix paint and thinning agents evenly.
Don’t forget to keep cleaning supplies and protective gear nearby to maintain a safe, tidy workspace while you work. With these essentials on hand, you’ll set yourself up for successful paint thinning.
Stir and Prepare the Paint Thoroughly
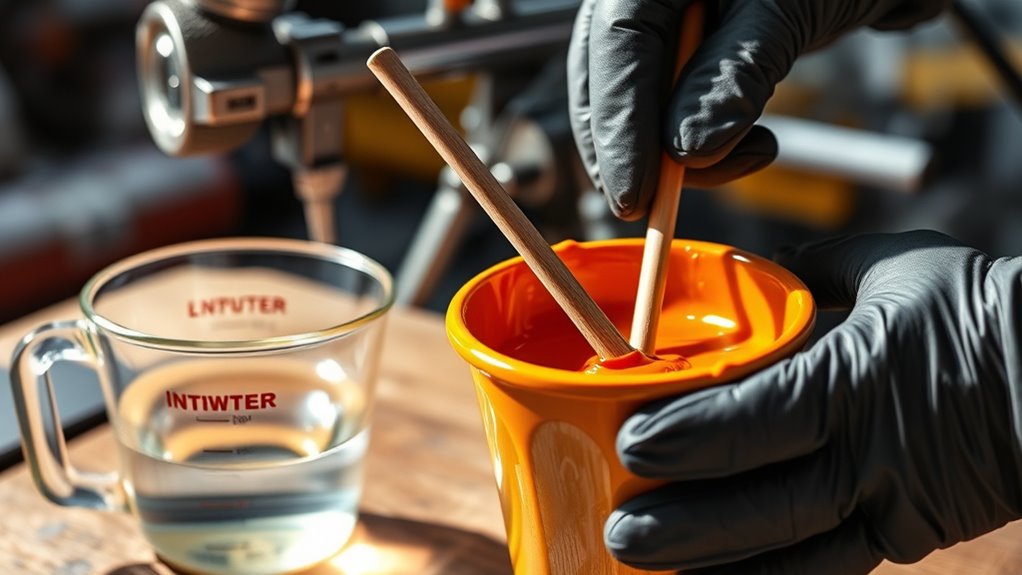
Once you’ve gathered all your materials, start by stirring the paint thoroughly for at least 2 to 3 minutes. Use a clean stir stick or paddle to prepare the paint, making sure to mix evenly without introducing air bubbles.
Stirring ensures the pigments and additives are well-distributed, which is vital for achieving the right consistency. After stirring, check the paint’s texture—if it’s lumpy or separated, keep mixing until smooth.
Properly prepared paint maintains uniform viscosity, helping you achieve accurate thinning ratios and consistent spray patterns. Remember to stir the paint before every test or spray session to keep this consistency throughout your project.
Taking the time to prepare your paint thoroughly sets the foundation for a flawless HVLP spraying experience. It might seem like a small step, but it really makes a big difference in the end!
Choose the Appropriate Thinner for Your Paint

Selecting the right thinner is essential for achieving smooth, even coverage with your HVLP sprayer. The thinner you choose affects the paint’s viscosity and flow, so always follow the manufacturer’s guidelines.
Here’s how to pick the appropriate thinner:
- Use water for thinning latex or water-based paints, starting with about ½ cup per gallon.
- For oil-based paints, opt for the manufacturer-recommended thinner or mineral spirits—never water.
- Check the paint label or manufacturer’s instructions carefully to confirm the correct thinner type.
Before full application, test a small mix to measure viscosity with a #4 Ford cup. Avoid over-thinning, as it can cause runs and poor adhesion.
Sticking to these steps ensures your paint sprays evenly and adheres properly. It really pays off in the finish you get!
Add Thinner Gradually While Mixing
Start by adding your thinner slowly, about 10% of the total paint volume at a time, while stirring continuously. Keep mixing thoroughly after each addition to make certain the thinner blends evenly with the paint.
This steady approach helps you control the paint’s consistency and avoid over-thinning. Just take it step by step, and you’ll get the perfect mix in no time.
Gradual Thinner Addition
When you add thinner gradually in small increments—like 1/4 cup per gallon of paint—you’ll avoid over-thinning. This way, you keep better control over the paint’s consistency.
Gradual thinner addition helps keep the paint viscosity just right for a smooth spray. Follow these simple steps to get the best results:
First, add thinner in small amounts and stir really well after each addition. This makes sure the thinner is evenly mixed throughout the paint.
Next, use a viscosity cup, such as a #4 Ford cup, to measure how the paint flows. You’re aiming for about 50 seconds.
Stop adding thinner as soon as you hit the desired viscosity. Over-thinning can cause spray defects, and you definitely want to avoid that.
It’s a good idea to jot down how much thinner you add each time. That way, you can replicate the perfect mix next time and keep your HVLP sprayer output consistent and looking professional.
Consistent Stirring Technique
Although adding thinner gradually is essential, you’ve got to stir consistently to blend it thoroughly with the paint. When you add thinner in small increments, like quarter or half-pints, make sure to stir thoroughly after each addition.
Use a stir stick or paddle and mix in a smooth circular motion for at least 2-3 minutes. This consistent stirring helps achieve uniform viscosity and prevents uneven thinning.
Don’t rush the process—incremental thinning combined with thorough mixing allows you to control the paint’s flow precisely. Regularly check viscosity with a #4 Ford cup during stirring to confirm you’ve reached the desired flow before spraying.
This technique ensures your paint is perfectly thinned and ready for a smooth HVLP spray finish.
Test Paint Viscosity Using a #4 Ford Viscosity Cup
To test your paint’s viscosity, fully immerse the #4 Ford cup in the paint and lift it straight up to start timing.
Measure how long it takes for the paint to flow out completely and compare that to the recommended range, usually around 50 seconds.
Keep adjusting the thinner until your flow time matches the target for a smooth, even spray. It’s all about getting that perfect consistency!
Using a Ford Cup
Since achieving the right paint viscosity is essential for HVLP sprayers, you’ll want to use a #4 Ford viscosity cup to test your paint. The Ford cup helps confirm your paint’s sprayability by measuring how quickly it flows.
Here’s how you do it: fully immerse the Ford cup in your paint without tilting or splashing, then lift it vertically. Start timing immediately as the paint flows out and stop when the stream breaks.
Compare the flow time to the recommended range—usually around 50 seconds for HVLP use—and adjust thinning accordingly. Using the Ford cup lets you fine-tune viscosity precisely, preventing runs or clogging during spraying.
This simple step guarantees ideal sprayability and a smooth finish. It’s a quick and easy way to make sure your paint job turns out just right.
Measuring Flow Time
When you measure flow time using a #4 Ford viscosity cup, you’ll get a clear indication of whether your paint’s viscosity is right for HVLP spraying. Fully immerse the cup into your paint sample without tilting it, then lift it straight up and start timing as the paint stream begins to break.
Record how many seconds it takes for the paint to drain completely. Aim for a flow time between 20 and 25 seconds, which typically signals ideal viscosity for spraying.
Compare your result with the manufacturer’s specs to decide if paint thinning is necessary. Using this method consistently ensures accurate, repeatable viscosity checks, helping you adjust your paint correctly for smooth, even application with your HVLP sprayer.
Strain the Thinned Paint Before Spraying
Although thinning paint helps it flow better, you’ll want to strain it before loading your HVLP sprayer to prevent clogs. Straining removes lumps and debris loosened during thinning, guaranteeing a smooth spray.
Thinning paint improves flow, but always strain it first to avoid clogs and ensure a flawless spray finish.
Use a fine mesh paint strainer or filter designed specifically for paint to catch any particles. Here’s what to do:
- Place the strainer over a clean container.
- Slowly pour the thinned paint through the strainer to filter out debris.
- Transfer the filtered paint into your sprayer’s cup.
Be sure to check your strainer regularly for buildup. Clean or replace it as needed to keep the paint flowing just right.
Perform a Test Spray and Adjust as Needed
Before starting your project, conduct a test spray on a scrap surface to check the paint’s flow and spray pattern. Watch closely for consistency—if the spray pattern is narrow, uneven, or drips, you’ll need to modify the thinning ratio.
Add small amounts of water or thinner, then perform another test spray until you achieve a smooth, even flow without sputtering or overspray. Aim for a flow time near 50 seconds using a #4 Ford cup to ensure proper viscosity.
Keep track of the thinning ratio you use during testing so you can replicate it throughout your project. Continue this cycle of testing and adjusting until the spray pattern is just right, ensuring a flawless finish when you move on to your actual workpiece.
Frequently Asked Questions
How to Dilute Paint for HVLP Sprayer?
You dilute paint for your HVLP sprayer by gradually adding water or thinner, mixing well, and testing viscosity with a #4 Ford cup.
Aim for about 50 seconds flow time to guarantee smooth spraying without clogs. It’s a simple trick that really helps your sprayer perform its best. Give it a try, and you’ll notice the difference right away!
Do You Thin Primer for HVLP Spray Gun?
Think of primer like pancake batter—if it’s thick, you’ll need to thin it. Usually, water-based primers require 10-20% water, but oil-based ones rarely need thinning.
Always check the label before you spray. It’s a good habit to avoid clogging your HVLP spray gun or getting uneven coverage.
How to Properly Thin Paint for a Sprayer?
You should slowly add the recommended thinner, stirring well. Then test paint flow with a viscosity cup until it reaches about 50 seconds.
Strain the mix before spraying to avoid clogs and guarantee smooth application. This step really helps keep your sprayer running smoothly.
How to Thin Automotive Paint for Spraying?
Imagine prepping your car’s red paint; you’ll thin it with 15% manufacturer solvent, stir well, then test flow using a #4 Ford cup until it runs about 50 seconds.
This ensures smooth, even HVLP spraying.
Conclusion
Now that you’ve thinned your paint properly, you’re ready to achieve that flawless finish. Just like tuning a musical instrument before a concert, the right consistency guarantees your HVLP sprayer performs smoothly and evenly.
Remember, patience and careful adjustments make all the difference. Keep testing and tweaking until your paint flows perfectly, and you’ll be spraying like a pro in no time.
Thinning paint for an HVLP sprayer isn’t just a step — it’s the key to unlocking a smooth, even coat. When your paint is just right, you avoid clogs, drips, and uneven coverage. So take your time, adjust your mixture, and trust the process. With these simple steps, your HVLP sprayer will deliver a professional finish every time. Happy painting!