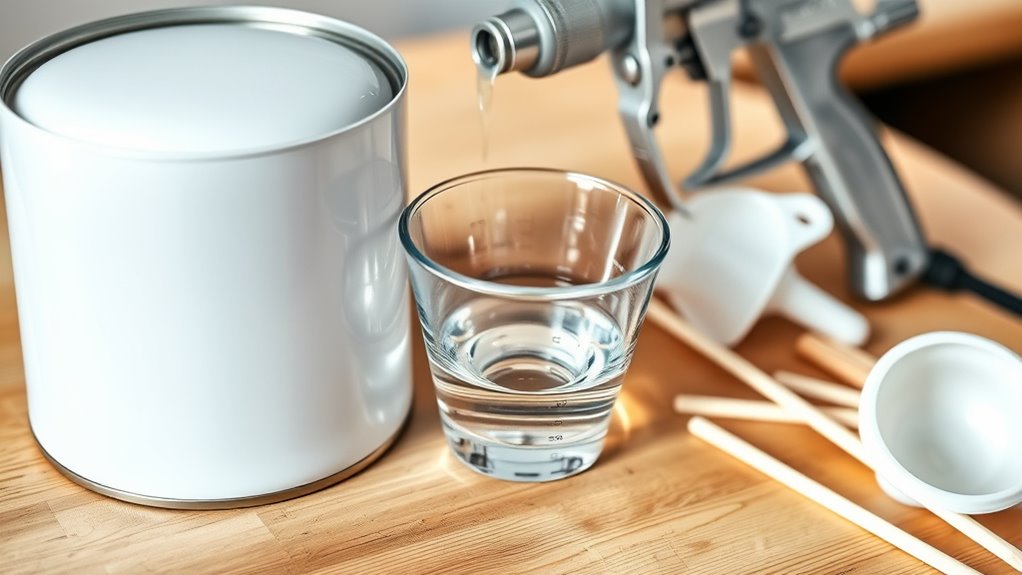
How to Thin Water-Based Paint for Sprayer in 7 Easy Steps
To thin water-based paint for a sprayer, first gather your supplies and prepare your workspace. Make sure you have everything on hand before you start—paint, water, a stir stick, and a strainer. Opening and stirring the paint thoroughly is key to getting an even mix.
Next, strain the paint to remove any lumps or debris that could clog your sprayer. Add water gradually—start with about 10%—and mix well. It’s important to go slow here, so you don’t over-thin your paint.
Test the consistency on a stir stick to see how it flows. Then spray a sample surface to check for smooth, steady coverage without sputtering. Adjust the water as needed to get that perfect spray.
Follow these careful steps, and you’ll achieve a professional finish with ease. Keep going to explore detailed tips and techniques!
Key Takeaways
- Stir water-based paint thoroughly to achieve a smooth, uniform consistency before thinning.
- Strain paint through a fine mesh filter to remove lumps and debris for clog-free spraying.
- Add water gradually, starting with about 10% of the paint volume, mixing thoroughly after each addition.
- Test paint flow by observing a steady drip on a stir stick and perform spray tests on scrap surfaces.
- Avoid over-thinning by not exceeding 20% water addition to maintain good adhesion and even spray coverage.
Gather Supplies and Prepare Your Workspace
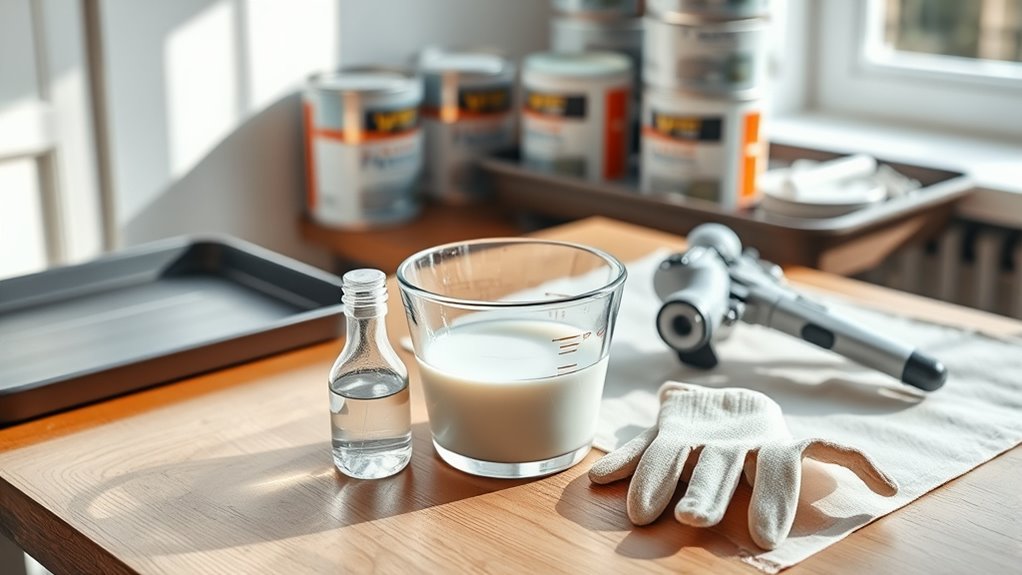
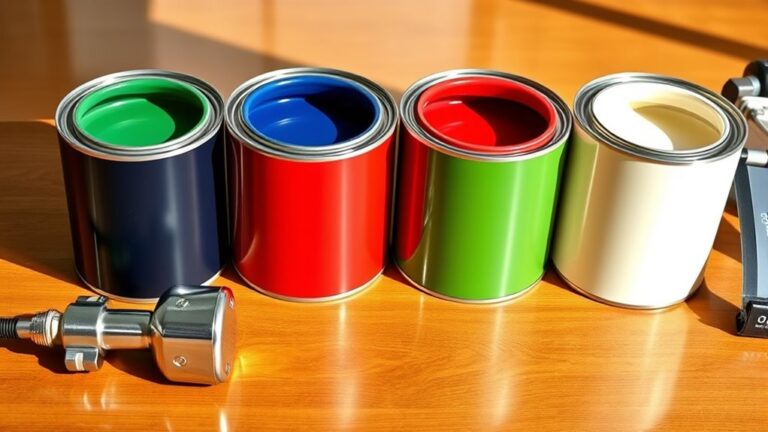
Before you begin thinning your water-based paint, gather all necessary supplies and prepare your workspace to guarantee a smooth process. Use clean containers like a spare paint bucket and a stir stick to mix and thin the paint properly.
Make sure your workspace is well-lit and ventilated to see clearly and stay safe. Clear clutter and protect nearby surfaces from splashes.
Ensure your workspace is bright, ventilated, and protected to work safely and avoid messes.
You’ll need a measuring cup for adding water precisely, which is essential when you need to thin paint just enough to spray. Use a mesh filter or strainer to remove lumps from unthinned paint before adding water.
Whether you’re using a spray gun, paint sprayers, or airless sprayers, make sure the paint is thin enough to spray without clogging your paint sprayer.
Open and Stir the Paint Thoroughly

Before you add any water, make sure you open the paint can carefully and stir the paint thoroughly. Stirring breaks up settled particles and blends pigments evenly, so your paint has a smooth, consistent texture.
Use a clean stir stick and mix vigorously for a few minutes to get the best results. This way, you’ll have paint that’s ready to go and perfect for your project.
Importance of Thorough Mixing
When you open the paint can, make sure to stir the paint thoroughly with a clean stick or paddle to evenly distribute pigments, binders, and additives. Proper mixing guarantees the paint remains consistent, preventing clumping and uneven color.
Stir for at least 2-3 minutes to create a smooth, uniform base before thinning. If you’re working with larger quantities, consider using a mechanical mixer or drill with a mixing attachment to achieve an even blend more efficiently.
After stirring, always check the paint’s consistency and color to confirm it’s homogeneous. Thorough mixing not only improves the paint’s performance but also ensures a flawless finish when you spray.
Skipping this step can lead to poor coverage and uneven texture, so don’t rush it. Take your time here—it really makes a difference!
Techniques for Even Stirring
Although it might seem simple, stirring paint evenly requires specific techniques to guarantee a smooth, consistent mixture. Use a clean stir stick or mechanical stirrer, and stir in an up-and-down motion to avoid air bubbles that can disrupt spray consistency.
Be sure to reach the container’s bottom and sides to mix in any settled pigment or additives fully. Keep stirring until the paint looks uniform, smooth, and free of streaks or lumps.
Afterward, lift the stir stick to check the flow—it should glide smoothly without clumping. Following these steps ensures your water-based paint is well-mixed, ready for thinning, and will spray evenly, giving you a flawless finish every time.
Strain the Paint to Remove Impurities

Since lumps and dried particles can clog your spray nozzles, you’ll want to strain the paint thoroughly before use. Straining guarantees a smooth, even coat by removing impurities that could disrupt your spraying process.
Use a fine mesh filter or paint strainer bag to catch debris after mixing but before pouring the paint into your sprayer. Pour slowly to avoid spills and allow the filter to do its job effectively.
Remember to clean or replace your filter regularly for consistent results. It’s a simple step that makes a big difference in your final finish.
Key points to keep in mind:
- Strain after mixing and before loading the sprayer
- Use a fine mesh filter or paint strainer bag
- Pour paint slowly through the filter
- Clean or replace the filter regularly to maintain efficiency
Add Water Gradually and Mix Evenly
To achieve the perfect paint consistency, you’ll want to add water gradually, starting with about 10-15% of the paint’s volume. Add small amounts at a time to avoid over-thinning.
After each addition, mix the paint thoroughly using a stir stick or mechanical mixer. Use an up-and-down motion to blend the water evenly without introducing air bubbles, which can affect your finish.
Mix thoroughly with an up-and-down motion to blend water evenly and avoid air bubbles.
This careful mixing ensures uniform consistency throughout the paint. Keep adding water little by little, mixing well each time, until you reach the ideal texture for spraying.
Taking your time with this step helps maintain control over the paint’s flow and prevents mistakes that can waste materials or compromise the final look.
Test the Paint Consistency on a Stir Stick
When you lift a stir stick coated with paint, watch how the paint flows down its surface; this simple test reveals whether the consistency is just right for your project. Dip the stick into the paint and lift it out slowly.
The paint should drip in a steady, continuous stream without sputtering or breaking apart. If the flow hesitates or the paint seems too thick, add small amounts of water incrementally and mix thoroughly.
Repeat this process until the paint runs smoothly the full length of the stir stick, indicating ideal thinning.
- Paint should flow evenly without breaks
- Avoid over-thinning to maintain coverage
- Add water gradually, mixing well each time
- Look for a smooth, continuous drip down the stick
Perform a Test Spray on a Sample Surface
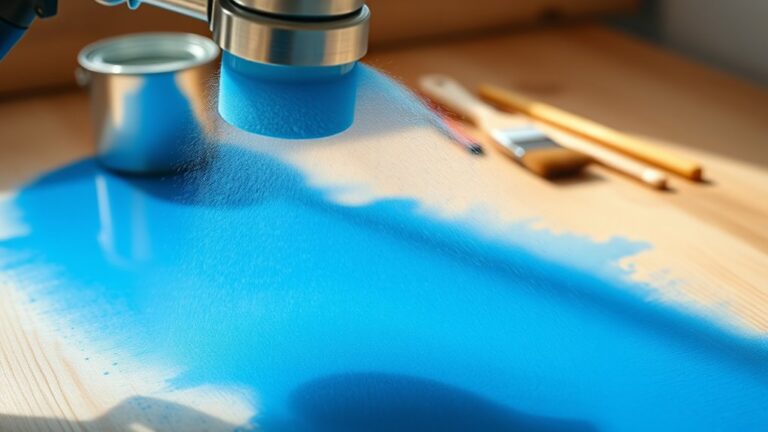
Start by spraying your thinned paint onto a scrap piece of cardboard or similar surface to see how it flows. Watch the spray pattern carefully—smooth and even means you’re on the right track, while sputtering or clumps mean you need to adjust the mix.
Keep tweaking the consistency until the spray looks consistent and dries with a smooth finish. It might take a few tries, but you’ll get there!
Choose Test Surface
Although it might seem tempting to skip this step, you should always perform a test spray on a scrap piece of material before tackling your main project. Choosing the right test surface helps you evaluate the paint’s flow and coverage accurately.
Ideally, pick a material similar in texture to your final surface to see how the paint behaves under real conditions. This allows you to spot issues like uneven application or excessive overspray early and adjust thinning ratios accordingly.
Keep these tips in mind when selecting your test surface:
- Use scrap wood or cardboard that mimics your project’s texture
- Ensure the surface is clean and dry
- Test different thinning ratios on separate areas
- Record settings that yield the smoothest, most consistent coverage for future reference
Observe Spray Pattern
Before you commit to your main project, perform a test spray on a sample surface to closely observe the paint’s spray pattern. Spray on a piece of cardboard or scrap material to evaluate flow and coverage.
Watch for an even spray fan width; it should be consistent and uniform across the surface. Look out for sputtering, splattering, or hesitation—these signs mean your paint might be too thick or thin.
The paint should flow smoothly in a continuous stream without drips or clogging. If you notice uneven coverage or irregular spray patterns, adjust your thinning ratio in small increments.
Repeat the test spray after each adjustment until you achieve a smooth, even spray pattern that promises quality results on your main project.
Adjust Paint Consistency
Once you’ve observed the spray pattern and identified any inconsistencies, it’s time to adjust the paint’s consistency. Start by conducting a test spray on a scrap surface or cardboard to evaluate flow and coverage.
The spray pattern should be smooth and steady, without sputtering, which signals the right viscosity. If needed, thin the paint by adding about 10% water and remix thoroughly before retesting.
Check the paint’s drip rate on a stir stick; it should flow continuously without globs or drips. Repeat test sprays and fine-tune the water ratio until the paint sprays evenly, ensuring a professional finish.
Remember to:
- Test on a sample surface before the actual project
- Add water incrementally, remixing well each time
- Observe consistency through drip rate and spray quality
- Perform multiple tests for ideal results
Adjust Water Amount Based on Spray Results
When you start thinning your water-based paint, add small amounts of water—around 10% of the total volume—and test the spray performance before making further adjustments. After each addition, spray on a scrap surface to check for smooth, even coverage.
Begin thinning water-based paint with about 10% water, testing spray coverage after each addition.
If you notice sputtering or an uneven spray pattern, increase the water slightly, but don’t exceed 20%. Use a clear measuring cup for precise water increments, helping you maintain control over the thinning process.
Be careful not to over-thin; too much water can cause drips and weaken adhesion. Stop adding water once the paint flows steadily and evenly in a continuous stream, ensuring ideal spray results without clogging or spattering.
This gradual adjustment helps you achieve the perfect consistency for your sprayer. It’s all about finding that sweet spot for a smooth finish.
Frequently Asked Questions
How to Thin Down Water-Based Paint for Spray Gun?
You’ll stir the paint well, then slowly add about 10-15% water by volume, mixing thoroughly.
Test the flow on a stick, aiming for a heavy cream consistency. Make sure to strain it before spraying to avoid clogs.
How Much Water Do You Add to Thin Paint for Sprayer?
You should add about 10-15% water per gallon of paint, roughly 1/8 to 1/4 cup.
Add gradually, mix well, and test the consistency to avoid over-thinning before spraying.
It’s always better to add water little by little. That way, you can get the paint just right for your sprayer without any issues.
What Can I Use to Thin My Water-Based Paint?
You can use clean, room-temperature tap water to thin your water-based paint—it’s like a gentle whisper that smooths the mix.
If your tap water’s too harsh, distilled water’s your best friend. Avoid solvents!
How to Make Water Base Paint Thinner?
You thin water-based paint by slowly adding about 10-15% room-temperature water, stirring thoroughly after each addition.
Keep mixing until the paint flows smoothly without lumps. This helps ensure it sprays evenly and covers well.
Conclusion
Now that you know how to thin water-based paint for your sprayer, you’re set to achieve a smooth, even finish every time.
Did you know that properly thinned paint can improve spray efficiency by up to 30%? That means less clogging, less waste, and a more professional result.
Just follow these simple steps, and you’ll save time and frustration on your next project. Happy painting! Thinning water-based paint correctly is key to getting the best results from your sprayer. It helps the paint flow smoothly, prevents nozzle blockages, and creates an even coat. So, next time you’re ready to spray, remember these easy techniques to thin your paint perfectly and enjoy a hassle-free painting experience every time.