How You Spray Paint a Clay Pot Step by Step
First, clean your clay pot thoroughly and let it dry completely. This step is crucial to ensure the paint sticks well and lasts longer.
Next, seal the inside of the pot to protect it against moisture, which can cause damage over time. After that, lightly sand the exterior to create a better surface for the paint to adhere to.
Apply painter’s tape around the rim of the pot to avoid any paint seepage where you don’t want it. When you’re ready, spray a light coat of primer about 12 inches away from the pot. Let it dry fully before moving on.
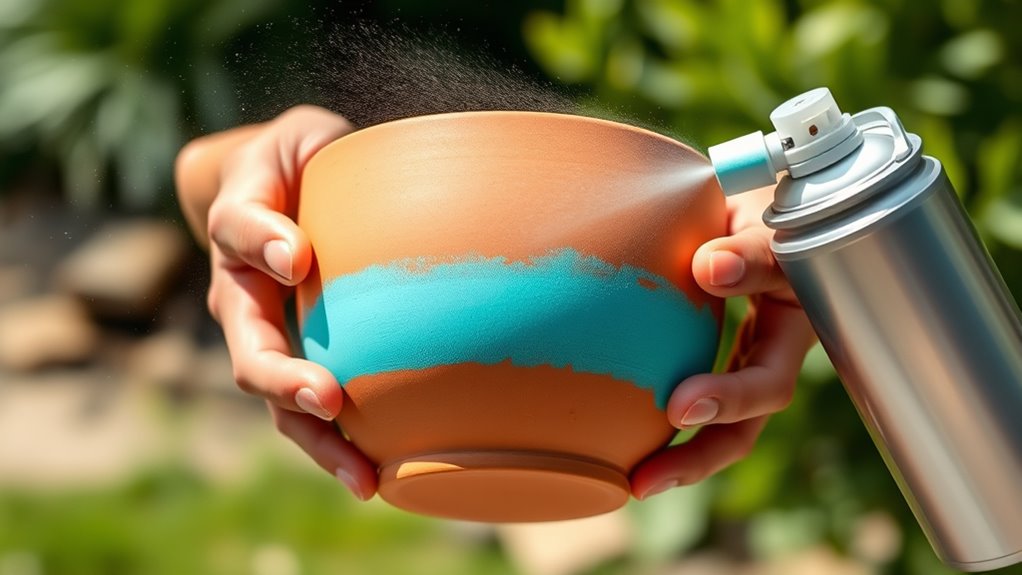
Then, apply multiple thin coats of spray paint, making sure each layer dries before applying the next. This method guarantees a smooth, durable finish that looks professional.
Keep going to uncover expert tips for a flawless look.
Key Takeaways
- Clean and dry the clay pot thoroughly. Then, apply a water sealant inside and sand the exterior lightly for better paint adhesion.
- Use painter’s tape to mask the top edge. This helps prevent paint seepage and ensures a neat finish.
- Spray a light, even coat of primer from about 12 inches away. Let it dry completely before applying additional coats.
- Apply multiple thin coats of spray paint with overlapping passes. Make sure to let each coat dry fully to avoid streaks and get smooth coverage.
- Allow the painted pot to dry completely between coats. Also, wait before handling it to ensure a durable, long-lasting finish.
Preparing and Sealing Terra Cotta Pots
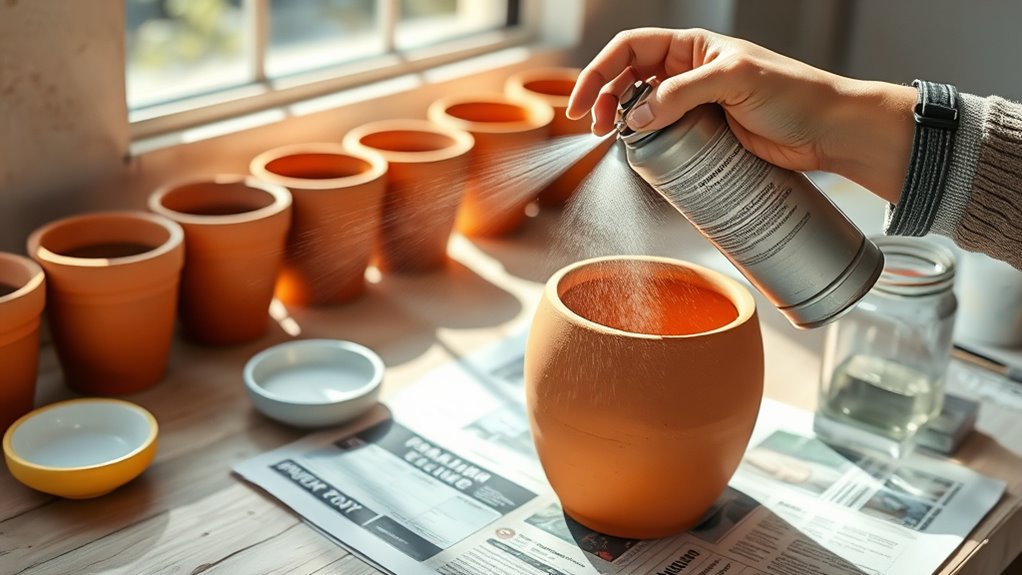
Before you start painting, make sure to clean your terra cotta pot thoroughly with a damp cloth to remove any dust or dirt. Proper surface preparation is key for good spray paint adhesion.
If the pot’s been soaked, wait 24-48 hours so it’s completely dry. Next, apply a water sealant inside the pot to provide moisture protection. Use painter’s tape to seal the top edge and prevent seepage.
Lightly sand the exterior with high-grit sandpaper to smooth rough spots and help the primer and paint stick better. Allow the sealant and any primer layers to dry fully, respecting the recommended dry time—usually around 24 hours.
This careful sealing and prep work ensures your terra cotta pot holds paint beautifully and lasts longer. It really makes a difference!
Applying Primer and Spray Paint Coats
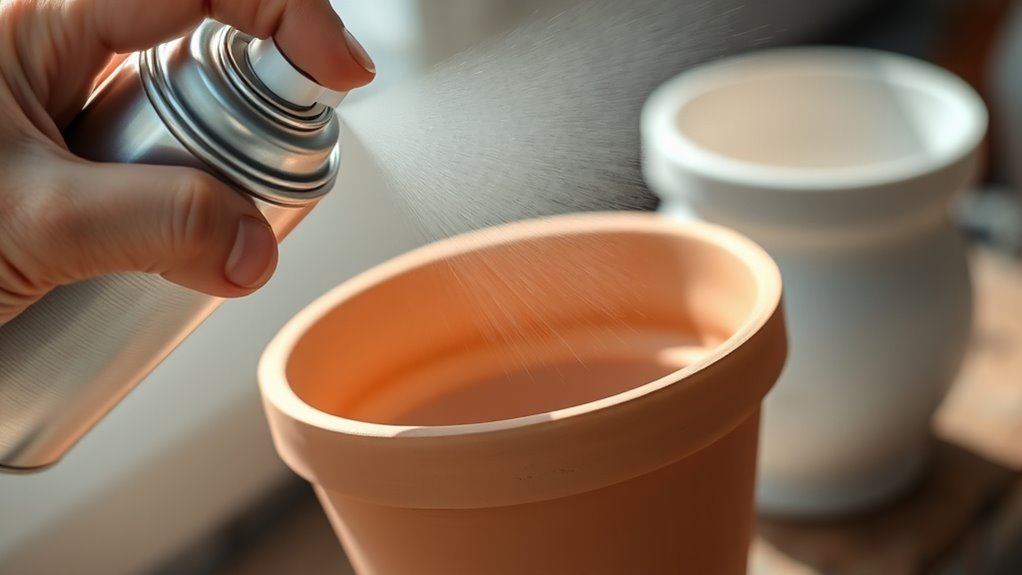
Although it might be tempting to rush, applying primer and spray paint carefully is key to achieving a smooth, durable finish on your clay pot. Start by spraying a light, even coat of primer, holding the can about 12 inches away and using steady sweeping motions.
Let the primer dry completely, about 10–15 minutes, before moving on. When you apply spray paint, use multiple thin coats rather than one heavy layer. Overlap each pass slightly to ensure even coverage and avoid streaks or thin spots.
Allow each coat to dry fully between applications. For the best finish, consider a second layer of primer if needed, drying it thoroughly before applying your final spray paint layers. This method guarantees a flawless, long-lasting finish on your pot.
Frequently Asked Questions
What Kind of Spray Paint to Use on Clay Pots?
You should use spray paint labeled for ceramic or terracotta, like Rust-Oleum Painter’s Touch or Krylon Fusion.
Choose exterior-grade, acrylic-based paint with primer included for durability and good adhesion on porous clay pots. This kind of paint sticks well and holds up against the elements.
What Kind of Paint Will Stick to Clay Pots?
You’ll want to use acrylic or latex paint since they stick well to porous clay.
For better results, apply a ceramic primer first, and seal afterward with a clear acrylic or polyurethane sealer to protect your work.
This way, your paint job will last longer and look great!
Will Spray Paint Stick to Clay?
Yes, spray paint will stick to clay, but you’ll need to clean, sand, and prime the surface first to guarantee good adhesion.
Using the right paint, like acrylic or exterior spray, helps it last longer on clay. Just take your time prepping the clay, and you’ll get great results!
How to Seal a Clay Pot Before Painting?
Think of sealing a clay pot like wrapping it in a raincoat. You’ll apply a high-quality water sealant evenly on the dry pot, inside and out.
Make sure to let each thin coat dry fully before moving on. This helps prevent peeling once you start painting.
Conclusion
Now that your clay pot gleams with fresh, vibrant color, imagine it basking in sunlight, ready to brighten any space. You’ve sealed in durability, wrapped each curve with primer’s smooth embrace, and layered paint like a gentle breeze brushing petals.
With every spray, you transformed a simple pot into a blooming work of art. Keep this rhythm in mind—prepare, protect, paint—and watch your garden dreams come alive, one stroke at a time.
Spray painting a clay pot isn’t just about adding color; it’s about bringing new life and personality to your garden decor. By following these steps carefully, your clay pot will not only look beautiful but also withstand the elements, making it a lasting piece in your outdoor or indoor space. So grab your spray paint, and let your creativity flow—your perfect painted clay pot is just a few sprays away!