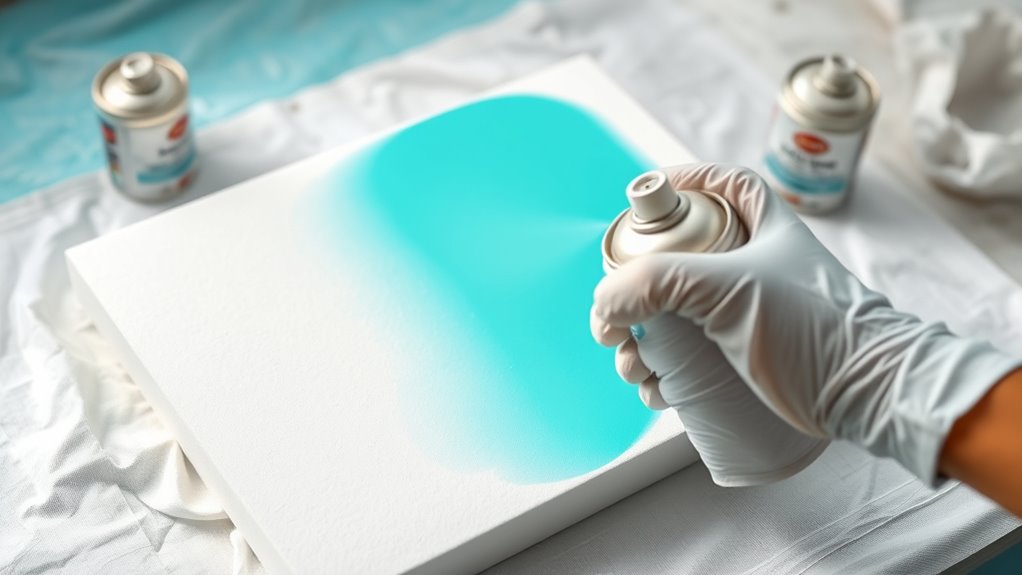
How You Can Spray Paint Foam Board Without Damage
You can spray paint foam board without damaging it by first sealing the surface with a protective layer like diluted white glue or Mod Podge. This sealing step is crucial because it prevents the spray paint from eating into the foam, which can cause melting or warping.
Let this sealant dry completely before spraying to ensure the best results.
Next, use multiple thin coats of spray paint designed specifically for foam. Applying thin layers helps avoid drips and keeps the finish smooth.
Make sure to let each coat dry fully before applying the next one.
Always test on a small area first to guarantee compatibility with your foam board.
Following these simple steps will help you achieve a smooth, durable finish every time.
Keep going to discover more expert tips for flawless results.
Key Takeaways
- Seal foam board with diluted white glue or Mod Podge and let it dry fully before painting. This step helps protect against solvent damage.
- Use spray paints that are formulated specifically for foam, or choose those with low harsh solvent content. This way, you avoid melting the foam.
- Apply multiple thin coats of spray paint, making sure each layer dries completely before adding the next. This prevents drips and uneven coverage.
- Always test the spray paint and sealant on a small hidden area first. That way, you can be sure they’re compatible and won’t cause damage.
- You might also want to apply an acrylic paint base coat or sealant for extra durability. Plus, it gives you a nice smooth finish.
Preparing and Sealing Foam Board for Spray Painting

Before you begin spray painting foam board, you need to seal its exposed surfaces to protect them from damaging solvents. Foam is sensitive to many spray paint solvents, which can burn, melt, or dissolve it.
To prevent this, apply a sealant like a mixture of white glue and water or Mod Podge evenly across all foam surfaces. Let this protective layer dry completely before painting.
Alternatively, a base coat of acrylic paint can also act as an effective sealant, creating a barrier between the foam and the solvent in spray paint. Always test your sealant by applying a small spray coat first to ensure it’s compatible and won’t cause unexpected damage.
Proper preparation with a reliable sealant keeps your foam board safe during the spray painting process. It’s worth taking the time to do it right!
Best Practices and Tips for Spray Painting Foam Board
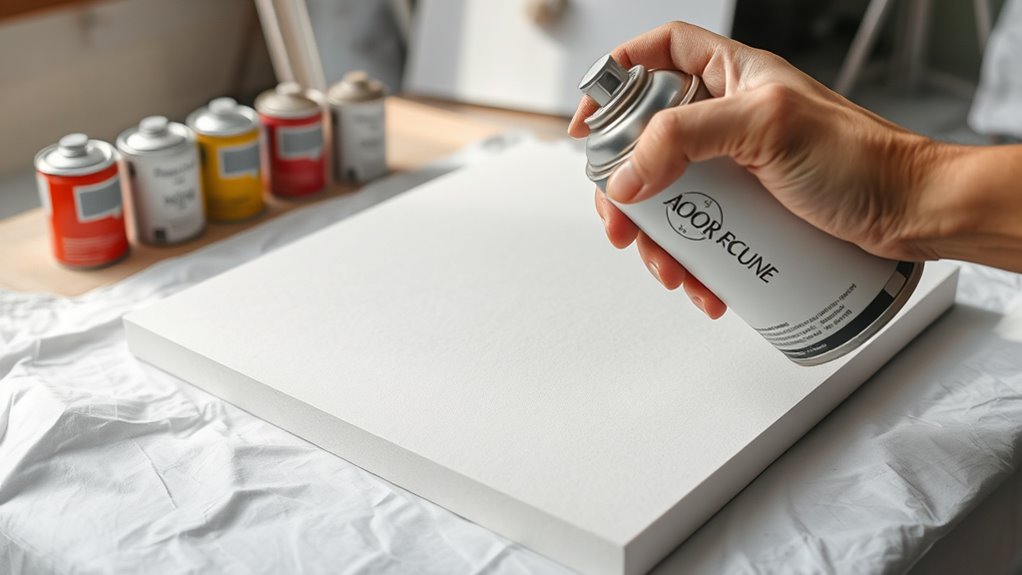
Once you’ve sealed your foam board properly, you can focus on techniques that guarantee a smooth, durable finish. When spray painting, make sure to apply multiple thin coats rather than one thick layer to avoid drips and uneven coverage.
Always test your spray paint on a small hidden area of the foam board first to ensure it doesn’t react negatively. Use spray paints low in harsh solvents or designed specifically for painting foam to prevent damage.
After each coat, let it dry completely before applying the next. Consider adding an acrylic base coat or sealant for extra protection.
Frequently Asked Questions
Will Spray Paint Stick to Foam Board?
Yes, spray paint can adhere to foam board, but you’ll need to seal the surface first. Otherwise, the paint’s solvents might damage the foam.
Always test on a small spot to avoid surprises and ensure good adhesion. It’s a simple step that can save you from ruining your project.
Can I Paint Over a Foam Board?
Yes, you can paint over foam board. Just make sure to seal the surface first with a glue-water mix or Mod Podge.
This step is important because it protects the foam from getting damaged by the paint. After sealing, use acrylic-based paint or primer. That way, you avoid damage from harsh solvents and keep the board intact.
What Kind of Paint Do You Use on Foam Board?
Imagine your foam board as a delicate flower—use water-based acrylic or latex paints to nurture it gently. These paints won’t harm your “petals,” letting your artwork bloom without melting or warping the surface.
You want to keep your foam board in tip-top shape, right? So, stick with these gentle paints to make sure your creation stays beautiful and intact.
What Spray Paint Can I Use on Foam?
You can use acrylic-based or foam-safe spray paints designed specifically for foam or plastics. Avoid solvent-based paints—they’ll damage foam.
Always test first on a small spot to guarantee compatibility and protect your project from harm. It’s a simple step that can save you a lot of trouble later!
Conclusion
Now that you know how to properly prepare and seal your foam board, spray painting it without damage becomes much easier. Imagine you’re creating a vibrant school project—by applying a light primer coat and using gentle, even sprays from a distance, your design stays crisp and smooth.
With these simple steps, you’ll avoid melting or warping, turning your ideas into polished, professional-looking creations every time. Spray paint foam board carefully to keep it intact and looking great. Remember, patience and technique are key to achieving the best results without damage.