How You Spray Paint a Pumpkin Step by Step
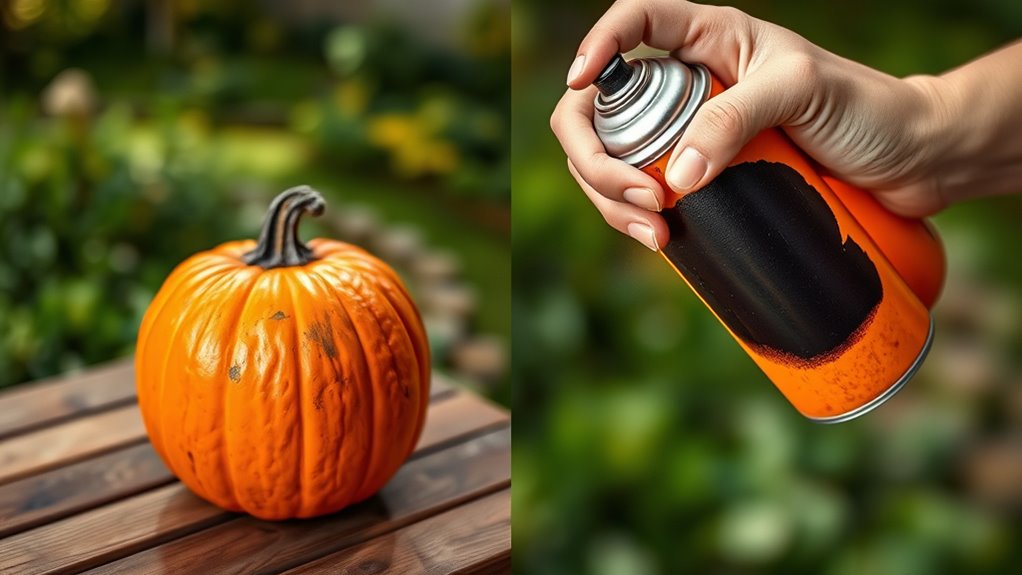
To spray paint a pumpkin, start by cleaning it well to remove any dirt or debris. This helps the paint stick better and gives you a smooth finish. Also, make sure to protect your workspace with newspaper or a drop cloth to avoid any mess.
Next, shake your spray paint can thoroughly to mix the paint inside. Hold the can about 8 to 10 inches away from the pumpkin for the best coverage. Apply light, even coats using smooth sweeping motions to avoid drips and uneven spots.
Let each coat dry briefly before adding another. This step is key to building up color without making the paint run. Once the final coat has dried for about 20 minutes, take a close look to check if any touch-ups are needed.
Finish your design with any additional details or embellishments you like. Keep practicing, and you’ll soon discover tips for achieving a flawless finish that makes your pumpkin stand out!
Key Takeaways
- Clean the pumpkin and protect your work surface before starting to ensure a smooth painting process.
- Shake the spray paint can well and hold it 8-10 inches from the pumpkin for even application.
- Apply light, even coats in sweeping motions, allowing about one minute to dry between layers.
- Use multiple thin coats rather than one heavy coat to avoid drips and achieve rich color.
- Let the final coat dry for at least 20 minutes and touch up any imperfections before displaying.
Preparing and Setting Up for Spray Painting
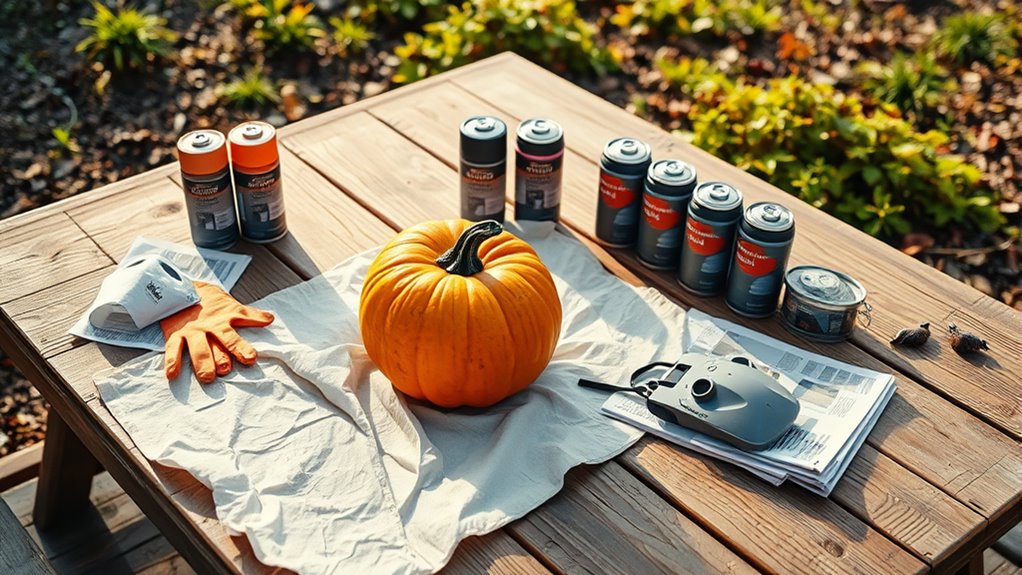
Before you start spray painting your pumpkin, make sure you pick a well-ventilated area—preferably outdoors or somewhere with good airflow. This keeps the process safe and mess-free.
Begin by cleaning the pumpkin thoroughly with a damp cloth to remove any dirt, debris, or oils. Those things can stop the spray paint from sticking properly.
Next, protect your work surface by laying down cardboard, newspaper, or a drop cloth to catch any overspray. It’s a small step that saves you a big cleanup later.
Use painter’s tape to mask off the pumpkin stem or any parts you want to keep paint-free. This way, you get nice, clean lines.
To make painting easier and avoid sticking, elevate the pumpkin on a small stand or stack. These prep steps will set you up for a smooth, hassle-free spray painting experience.
Applying Spray Paint and Finishing Touches
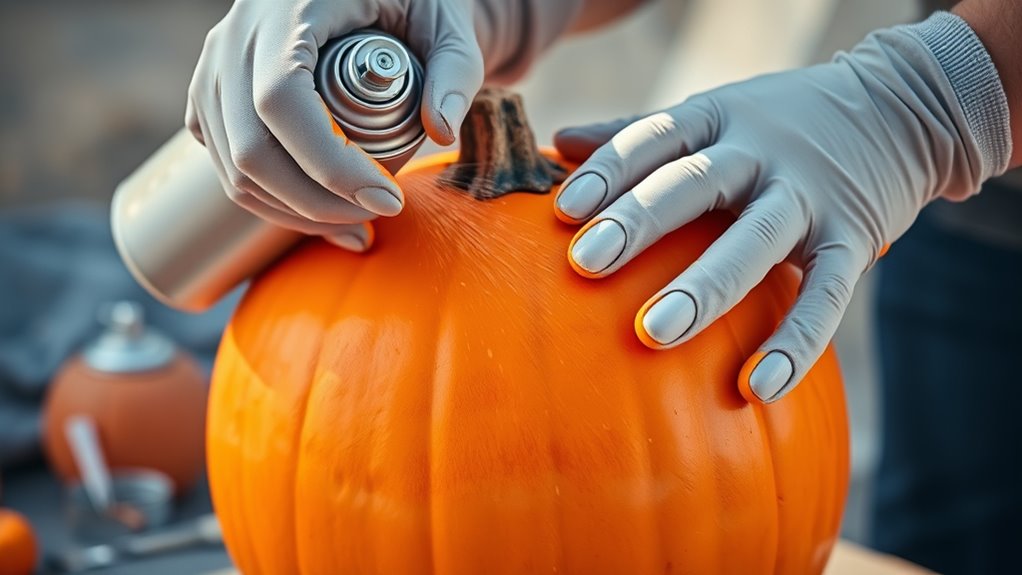
How do you achieve a smooth, even finish when spray painting your pumpkin? Start by shaking the spray paint can thoroughly for about two minutes to ensure even distribution. Hold the can 8-10 inches from the pumpkin and apply thin, smooth coats using sweeping motions.
Multiple light coats are key—allow about one minute of dry time between each to prevent drips and maintain even coverage. Recoat as needed to deepen color but avoid over-saturating to prevent runs.
Once you’re satisfied with the color, let the final coat dry for at least 20 minutes before handling. For finishing touches, inspect your pumpkin for any uneven spots and gently touch up with light sprays.
Following these steps guarantees pumpkins with smooth coats and a flawless finish. Easy, right? Just take your time and enjoy the process!
Frequently Asked Questions
How Do I Spray Paint a Pumpkin?
You shake the spray can well, hold it about 8-10 inches from the pumpkin, and spray in smooth side-to-side motions. Apply thin coats, let each dry for 20 minutes, and rotate the pumpkin for even coverage.
It’s pretty simple, really. Just take your time and keep those strokes nice and even so the paint goes on smoothly.
How to Paint Pumpkins for Beginners?
Did you know 75% of beginners find painting pumpkins easier than expected?
You’ll want to prep your pumpkin, use light coats of paint, wait between layers, and let it dry fully—this keeps your design smooth and vibrant.
Trust me, taking it slow really makes a difference. Plus, it’s a fun way to get creative without any stress!
Will Spray Paint Stick to a Real Pumpkin?
Yes, spray paint will stick to a real pumpkin if you clean and dry it well. You should also sand lightly and apply primer or sealer first.
Multiple thin coats help the paint adhere better. This way, your paint job will look smooth and last longer.
What to Spray on Pumpkin Before Painting?
You should spray a clear primer or sealer on the pumpkin before painting. This helps the paint stick better, prevents peeling, and creates a smooth surface.
Make sure the pumpkin is clean and dry first for best results. It really makes a difference in how your design turns out!
Conclusion
Spray painting your pumpkin is a simple, satisfying step to stylish seasonal décor. By preparing your painting place properly and applying paint patiently, you’ll produce a perfectly painted pumpkin that pops with personality.
Remember to rinse, rest, and revamp as needed to retain its radiant look. So, grab your gear, get going, and give your gourd a gorgeous glow that grabs great gazes this fall!
With just a little effort, you can transform an ordinary pumpkin into a stunning focal point. Spray paint offers a quick and easy way to add bold colors or subtle shades, enhancing your autumn decorations.
Whether you want a matte finish or a glossy shine, the right spray paint technique will help you achieve a look that fits your style. So, get ready to create a vibrant, eye-catching pumpkin that will impress friends and family all season long!