How Do You Thin Paint for a Sprayer in 10 Easy Steps
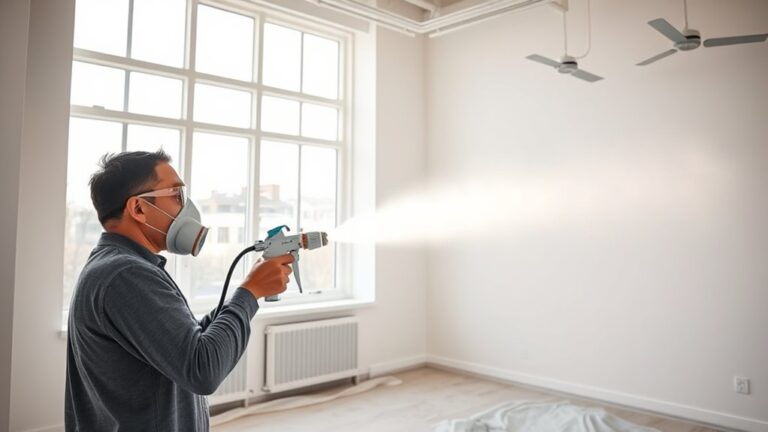
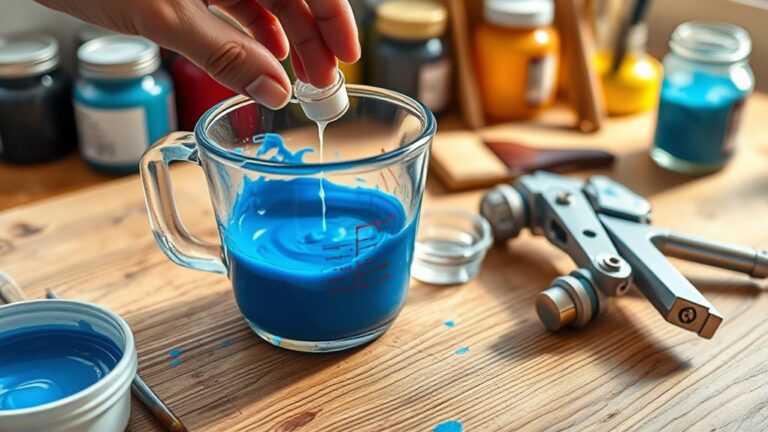
To thin paint for a sprayer, start by stirring and straining your paint to remove lumps. This step is super important to get a smooth finish without clogging your sprayer.
Next, choose the correct thinner—water works for water-based paints, while mineral spirits are best for oil-based ones.
Add the thinner gradually, mixing thoroughly each time to avoid over-thinning. You’re aiming for a consistency similar to pancake batter—that’s just right to keep the paint flowing smoothly.
Once mixed, test spray on a scrap surface. This helps you see if the paint flows evenly or if you need to adjust the thinner ratio.
Prepare your sprayer by filtering the paint mix, then adjust your sprayer settings accordingly.
With these simple steps, you’ll get professional results every time. Keep reading to discover the full step-by-step process to thin paint perfectly for your sprayer!
Key Takeaways
- Stir and strain paint thoroughly to ensure even consistency and remove debris before thinning.
- Use the appropriate thinner: water or Floetrol for water-based paints, paint thinner or mineral spirits for oil-based paints.
- Start thinning with a 3:1 paint-to-thinner ratio and add thinner gradually, mixing well after each addition.
- Test spray on scrap material frequently to adjust thinning until the paint flows smoothly without clogging or dripping.
- Prepare and clean the sprayer, strain thinned paint before use, and adjust sprayer settings for optimal application.
Gather Your Materials and Tools
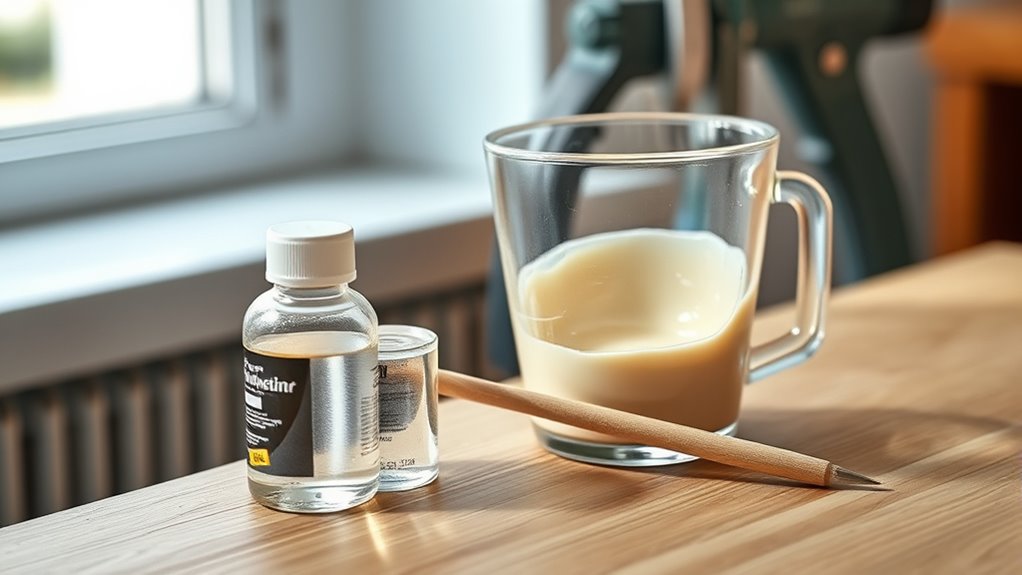
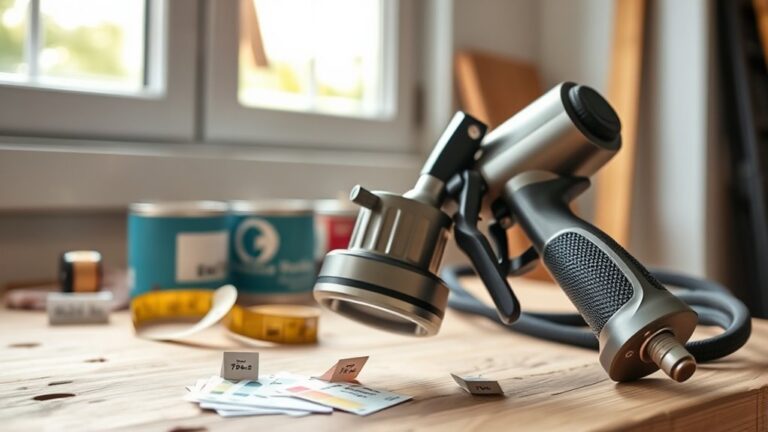
Before you begin thinning your paint, gather all the necessary materials and tools to streamline the process. Start with the paint you plan to use and select an appropriate thinning agent like water or Floetrol, depending on your paint type.
Gather your paint and choose the right thinner—water or Floetrol—to prepare for smooth application.
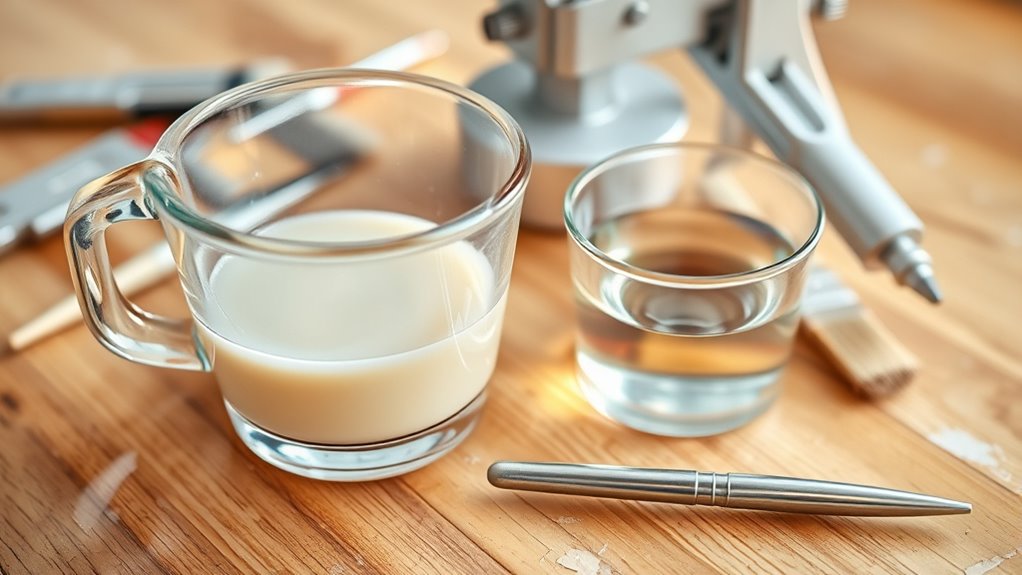
Prepare a clean container or palette for mixing, making sure it’s large enough to blend your paint and thinner thoroughly. Use measuring tools such as a graduated cup or tablespoon to maintain accurate measurement, which is vital for consistent paint thinning.
Have stirring sticks or a drill with a mixing paddle ready to achieve a smooth, uniform consistency. Keep a spray test surface, like scrap cardboard, nearby to check the flow and consistency during preparation.
These steps guarantee your paint thinning is precise and efficient for your sprayer. It really helps to have everything ready before you start mixing!
Choose the Right Paint Type for Spraying
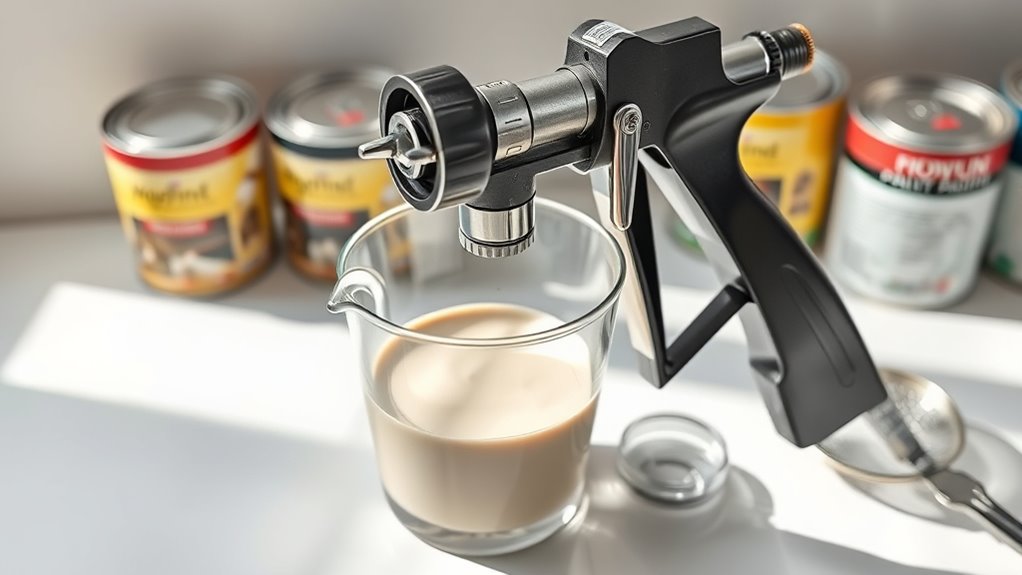
When selecting paint for your sprayer, you’ll want to pick a type that suits both your project and the sprayer’s capabilities.
Water-based paints like emulsion paint and latex paints are often sprayable and easy to thin with water for a uniform consistency.
Oil-based paints require paint thinner or mineral spirits for proper thinning and spraying.
Always check compatibility with your sprayer to avoid clogs or uneven finishes.
| Paint Type | Thinning Agent | Notes |
|---|---|---|
| Water-based | Water | Use sprayable emulsion paint |
| Latex paints | Water | Offers smooth spraying |
| Oil-based paints | Paint thinner | Requires mineral spirits |
| Emulsion paint | Water | Good for indoor walls |
| Sprayable | Depends on type | Label indicates compatibility |
Choosing the right paint ensures smooth spraying and ideal results.
Stir and Strain the Paint Thoroughly
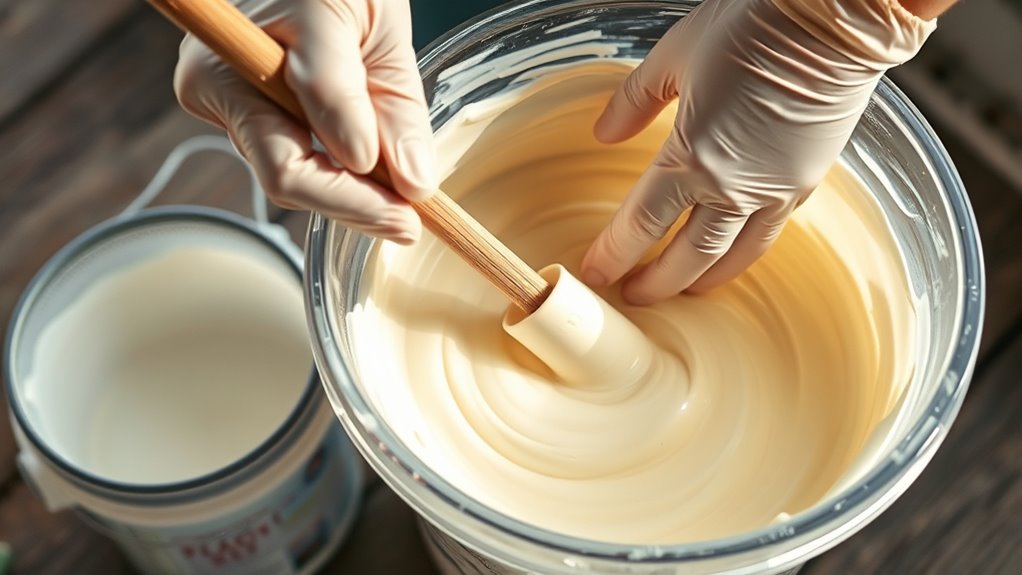
Start by stirring the paint thoroughly to mix all pigments and additives evenly. This helps prevent clogs and uneven spraying.
Then, strain the paint to remove any lumps or debris that could block your sprayer’s nozzle. Taking these steps guarantees a smooth, consistent flow for the best finish.
Importance of Stirring
Although thinning paint is vital, you’ll get the best results only if you stir and strain it thoroughly. Stirring plays a fundamental role in achieving a uniform consistency by evenly distributing pigments, binders, and additives throughout the mixture.
Use a paddle or stick to stir the paint thoroughly for at least 2-3 minutes. This helps prevent separation that could affect viscosity and disrupt smooth spray flow.
Proper stirring ensures the paint’s components blend well, maintaining the right thickness for your sprayer. Without this step, you risk uneven pigment distribution and clogging caused by lumps or dried bits.
Benefits of Straining
After stirring the paint to distribute pigments and prevent separation, straining it is the next step to guarantee a flawless spray application. Straining ensures even distribution by removing lumps, dried paint, and foreign particles with a fine mesh filter.
This step is vital for maintaining paint consistency and achieving a smooth flow through your sprayer. By filtering out debris, you reduce clogging prevention issues that can disrupt the spraying process.
Proper paint preparation through straining not only enhances finish quality but also extends sprayer maintenance intervals by protecting the nozzle from blockages. Skipping straining risks uneven spraying and sputtering, compromising your project’s look.
Select an Appropriate Thinning Agent
You’ll want to pick the right thinning agent based on the type of paint you’re using. For water-based paints, clean water or Floetrol works best.
While oil-based paints need mineral spirits or paint thinner. Always check the manufacturer’s guidelines to make sure your choice won’t affect the paint’s performance.
Water vs. Solvents
When deciding how to thin your paint for spraying, selecting the right thinning agent is essential to achieving a smooth, even finish. Water is best for thinning water-based paints like acrylic or latex, maintaining proper paint consistency for spray application.
Solvents such as mineral spirits work well for oil-based paints but require careful use to preserve adhesion. Always follow manufacturer instructions to ensure proper flow and avoid damaging the paint.
| Thinning Agent | Suitable Paint Type | Key Benefit |
|---|---|---|
| Water | Water-based (acrylic, latex) | Easy cleanup, safe |
| Mineral Spirits | Oil-based, alkyd | Effective thinning |
| Turpentine | Oil-based, alkyd | Strong solvent |
| Paint Thinner | Oil-based | Controlled viscosity |
| Manufacturer’s | All types | Correct ratios ensure adhesion and flow |
Choosing Based on Paint
Selecting the right thinning agent depends largely on the type of paint you’re using. For water-based paints like acrylics and latex, water is usually the best choice for thinning, applied at paint ratios between 10-30%.
You can also add Floetrol or similar conditioners to improve paint consistency and sprayability. For oil-based paints, solvents such as mineral spirits, turpentine, or commercial paint thinners work well, typically at a 3:1 paint-to-solvent ratio.
Always consult the manufacturer instructions or the technical datasheet to confirm the proper thinning agent and ratios. Using the correct thinning agents ensures your sprayer won’t clog and maintains the finish quality you expect.
Following these guidelines helps you achieve ideal paint consistency and smooth application every time.
Measure the Initial Thinning Ratio
How much thinner should you add to your paint before spraying? Start by figuring out if your paint is water-based or oil-based. This helps you pick the right solvent.
To measure the initial ratio for paint thinning, grab a clean spray cup or a measuring tool. A good starting point is mixing three parts paint with one part water or thinner.
For small batches, fill about three-quarters of your spray cup with paint, then add one-quarter thinner. Always stir the mixture thoroughly to blend the paint and solvent evenly.
This initial ratio gives you a baseline to test. It makes sure the paint flows smoothly through your sprayer without clogging or running.
Mix Paint and Thinner Gradually
Start by adding thinner in small amounts, like a tablespoon at a time, to your paint. Stir thoroughly after each addition to blend the mixture evenly.
This careful process helps you avoid over-thinning and keeps the paint ready for smooth spraying. Take it slow and steady—you’ll get the perfect consistency in no time.
Add Thinner Incrementally
When you add thinner incrementally, you’ll prevent over-diluting the paint and guarantee a smooth flow through your sprayer. Start by adding small thinner amounts—a tablespoon of your chosen thinning agent like water or Floetrol at a time.
After each addition, stir thoroughly to create a consistent mixture. This approach helps you avoid over-thinning and ensures the paint maintains good sprayability.
After mixing, test on scrap material to check for the desired consistency and smooth flow. Continue adding thinner incrementally until the paint sprays without clogging.
This careful method lets you control the mixture precisely, preventing common issues like clogging or uneven coverage. By working gradually, you’ll achieve the perfect balance for efficient and professional results every time.
Stir Thoroughly Between
Although adding thinner gradually is essential, you’ll need to stir thoroughly between each addition to keep the mixture uniform. Stirring thoroughly after each incremental addition ensures proper blending and prevents lumps or separation.
This careful mixing maintains a consistent texture and helps you accurately adjust the paint’s flow. Don’t rush the blending process—take your time to achieve the right consistency before adding more thinner.
- Use a stirring stick or paddle to blend the paint and thinner completely.
- Stir for at least 30 seconds after each addition to ensure uniform mixing.
- Test spray on scrap material to check consistency and adjust as needed.
Check the Consistency of the Thinned Paint
Once you’ve thinned the paint, you need to check its consistency to guarantee smooth application. Start by dipping a stir stick or brush into the paint and observe its flow. The paint should move smoothly without resistance, resembling pancake batter in texture.
Next, spray a small amount onto scrap cardboard to test coverage and drip behavior. Watch for an even, steady flow from the sprayer—no sputtering or clogging. If the paint feels too thick or runs excessively, adjust the thinning ratio accordingly.
Aim for a smooth, bump-free finish on the test surface, indicating the right balance. Checking these elements ensures the paint’s flow and consistency are perfect for your spraying project, providing ideal coverage and minimizing drip issues.
Test Spray on a Sample Surface
Before you start your project, always test spray on a scrap piece of cardboard or wood to check the paint’s flow and coverage. This sample surface should mimic your project surface to give accurate feedback.
During the test spray, watch the spray pattern carefully—look for smooth, consistent paint flow without splattering or clogging. This helps you evaluate results effectively.
When you test spray, focus on spray consistency and droplet size. Also, pay attention to coverage uniformity on the sample surface. Don’t forget to check for any issues like runs or dry spots.
Recording the thinning ratio that produces the desired spray pattern lets you replicate it easily. If the paint doesn’t spray well, you can adjust thinning accordingly before moving on to your project surface.
Adjust Thinning Ratio Based on Test Results
After testing the spray on your sample surface, use the results to fine-tune your thinning ratio. Begin with a baseline mix of 3 parts paint to 1 part water or Floetrol, then observe paint flow and coverage during the spray test.
If the spray seems uneven or clogs, adjust by adding more thinning agent in small increments. Conversely, if the paint runs or drips excessively, reduce thinning by adding more paint or less water.
Make these adjustments gradually to avoid over-thinning or thickening. Once you achieve ideal consistency and coverage, record the exact thinning ratio.
Keeping track ensures consistency throughout your project and saves time on future applications. Always rely on your test results to guide precise adjustments for the best finish.
Prepare the Sprayer for Application
Although thinning your paint is essential, you need to prepare your sprayer carefully to guarantee smooth operation. Proper preparation ensures the sprayer functions flawlessly, providing even coverage and consistent flow.
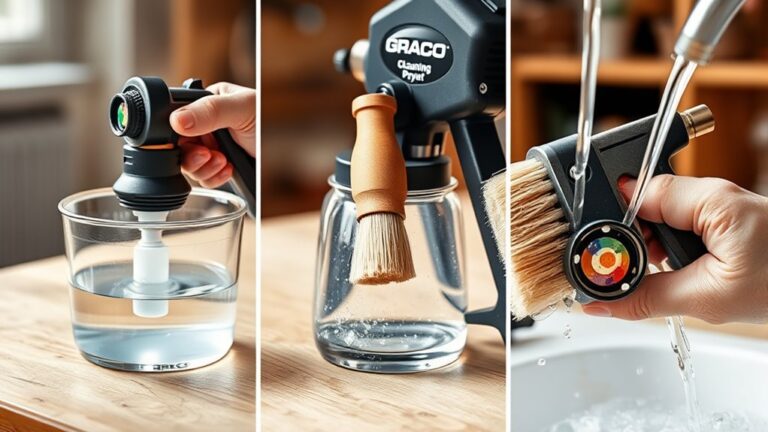
Start by thoroughly cleaning and assembling the sprayer, making sure all parts fit securely. Next, strain your thinned paint through a filter to remove debris that could clog the sprayer.
Then, adjust the spray pattern, material flow, and air settings according to the manufacturer’s guidelines. Finally, test the sprayer on scrap material to check the paint’s consistency and coverage.
Keep an eye on the spray during application and make adjustments as needed to maintain smooth, even results.
- Clean and assemble the sprayer before thinning paint
- Use a mesh filter to strain paint before pouring
- Test spray and adjust settings for ideal coverage
Frequently Asked Questions
What Is the Best Way to Thin Paint for a Sprayer?
You thin paint by mixing three parts paint with one part water or thinner, adding slowly while stirring.
Test on scrap material, adjust until the paint flows smoothly through the sprayer without clogging or dripping.
It’s all about finding that perfect balance so your sprayer works just right!
What Is the Ratio of Paint to Thinner for a Spray Gun?
You’ll typically use a 3:1 paint-to-thinner ratio for oil-based paints, but don’t just stick to that blindly.
Test and adjust gradually, ensuring the paint flows smoothly through your spray gun for the best finish.
It’s all about finding that sweet spot so your spray gun works perfectly every time.
What Is the Best Paint Thinner for a Spray Gun?
You’ll want mineral spirits or paint thinner for oil-based paints and water or Floetrol for water-based ones. Always check your paint’s label to pick the best thinner and avoid clogs or poor finishes.
It’s pretty important to get this right because using the wrong thinner can mess up your spray gun’s performance. Plus, it might ruin the look of your paint job. So, take a moment to read those instructions carefully before you start spraying.
Can You Use Acrylic Paint in a Spray Gun Without Thinning?
You can use acrylic paint in a spray gun without thinning if its consistency matches milk.
About 80% of acrylic paints work fine as-is, but thinning improves flow and prevents clogging for smoother results.
Conclusion
By thinning your paint correctly, you improve spray quality and reduce overspray, making your project look professional. Did you know that using the right thinning ratio can boost your sprayer’s efficiency by up to 30%?
Following these 10 simple steps guarantees smooth application and saves you time and paint. So, take the time to prepare properly—you’ll get a flawless finish that’s well worth the effort.
Ready to spray like a pro? Thinning paint for a sprayer isn’t just about diluting the paint; it’s about achieving the perfect consistency for even coverage and optimal spray performance. When you thin your paint correctly, you reduce clogging and get a smoother, more professional-looking finish. Plus, it helps your sprayer work more efficiently, saving you both time and paint.
By mastering how to thin paint for a sprayer, you ensure your project looks polished and professional every time. So, follow these simple steps, and you’ll be amazed at how easy it is to get great results with your paint sprayer.