How You Can Spray Paint a Pool Noodle Safely and Effectively
To spray paint a pool noodle safely and effectively, you first want to give it a good clean and make sure it’s completely dry. This helps the paint stick better and prevents any dirt from messing up your finish.
It’s super important to protect yourself too—wear a respirator mask, gloves, and safety glasses before you start.
Make sure you work outdoors or in a space with plenty of ventilation. The fumes from spray paint can be pretty strong, so fresh air is a must.
Use spray paint that’s specially made for foam or plastics to avoid any damage to the noodle.
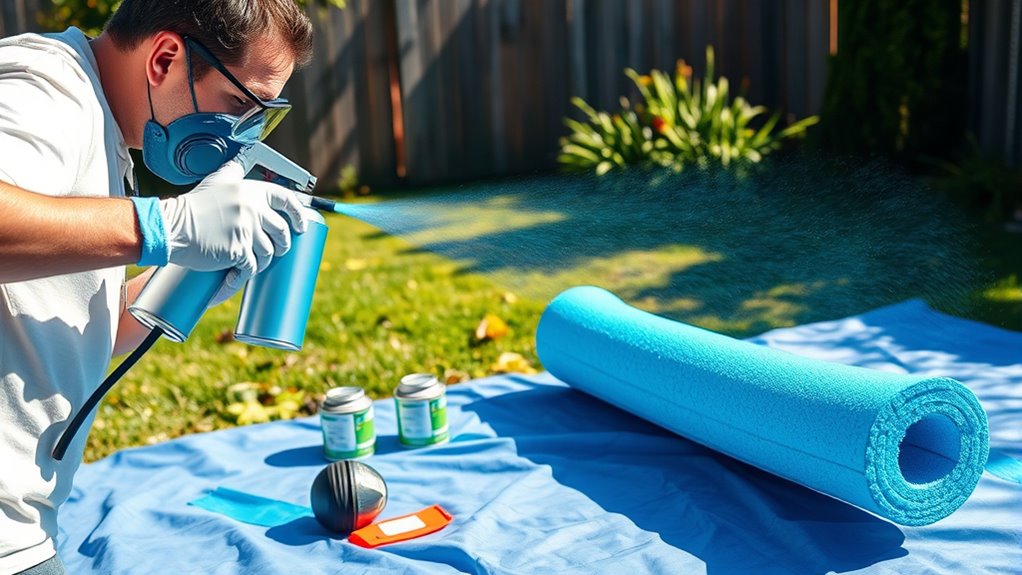
When you’re ready to paint, spray several light, even coats from about a foot away. Don’t rush—let each coat dry before adding the next one.
After the final coat, wait around 24 hours before handling your freshly painted pool noodle.
Follow these steps, and you’ll get a smooth, lasting finish every time. Want some tips for perfect results? There’s more to learn!
Key Takeaways
- Wear a respirator mask, safety glasses, gloves, and protective clothing to guard against fumes and overspray during spray painting.
- Clean and dry the pool noodle, then lightly sand or apply plastic primer for better paint adhesion before painting.
- Use water-based or latex spray paint designed for plastics and foam. Apply thin, even coats from about one foot away.
- Spray in multiple light layers with 20-minute drying intervals. Keep a consistent distance and motion to prevent drips and ensure smooth coverage.
- Allow at least 24 hours of drying time in a well-ventilated area before handling or exposing it to water. This will give you the best results and keep things safe.
Essential Safety Measures for Spray Painting
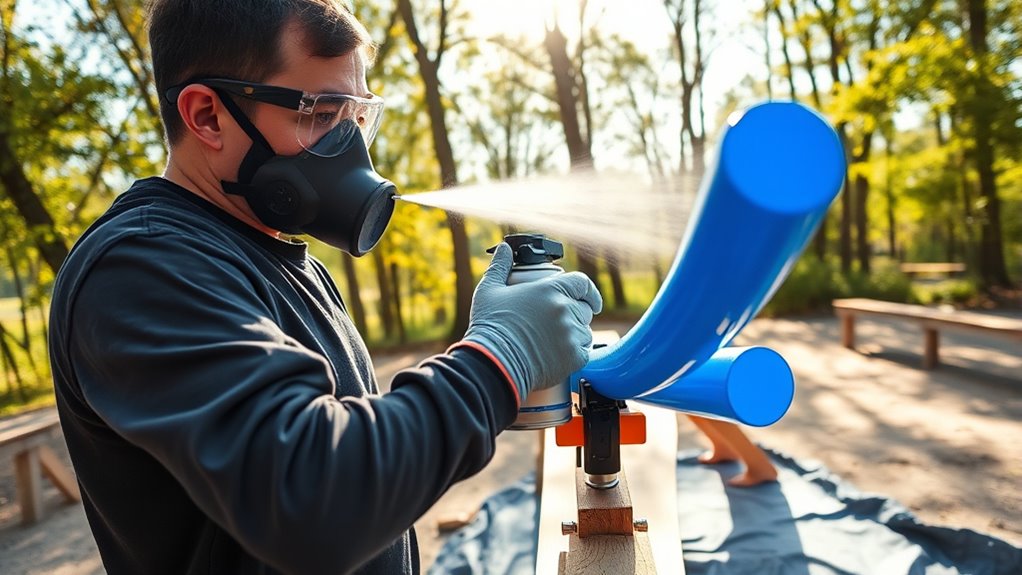
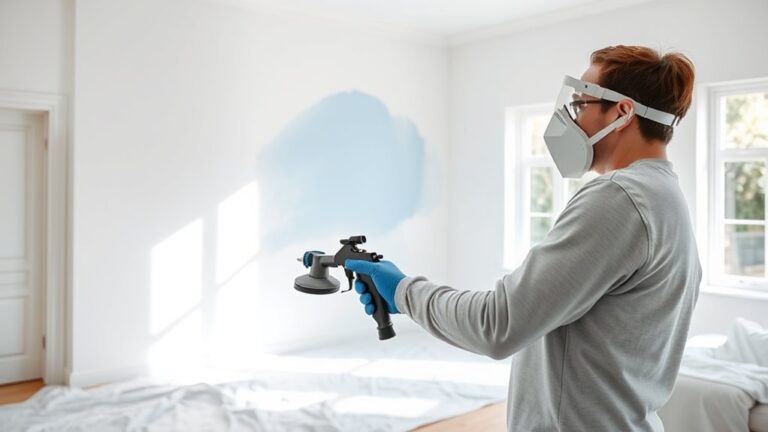
Before you begin spray painting your pool noodle, make sure you’re fully protected by wearing a respirator mask, safety glasses, and gloves to guard against fumes and chemicals. Proper safety gear is vital to prevent chemical exposure during the process.
Always wear a respirator mask, safety glasses, and gloves before spray painting to protect against harmful fumes and chemicals.
Work in a well-ventilated area—preferably outdoors or near open windows—to reduce inhaling harmful fumes. Wearing protective clothing with elastic cuffs helps shield your skin from overspray.
Also, lay down drop cloths to protect surfaces around you. Keep spray paint cans away from heat sources or flames to avoid accidents.
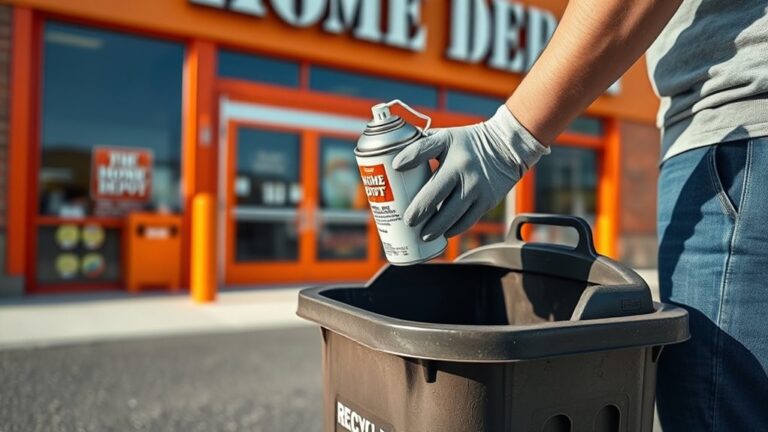
Finally, follow proper disposal guidelines by recycling empty aerosol cans safely without puncturing or burning them. Taking these essential safety measures ensures a safe, effective spray painting experience with minimal risks.
Step-by-Step Guide to Preparing and Painting Pool Noodles
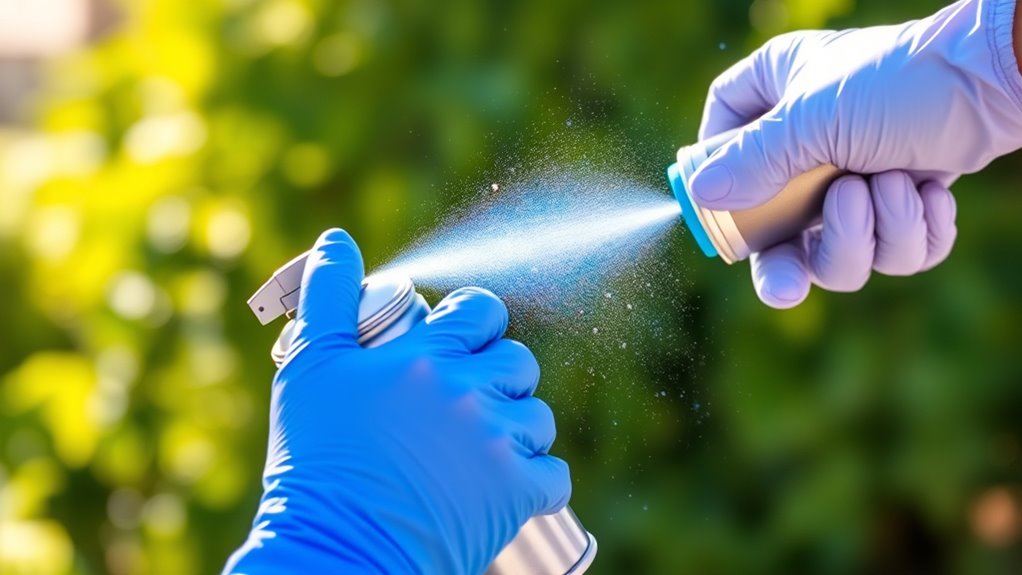
Although pool noodles are made of a flexible foam, you can still prepare them properly to guarantee your paint adheres well and lasts longer. Start by cleaning the pool noodles with mild soap and water, then dry thoroughly to remove dirt and residues.
Lightly sand the foam surface or apply a plastic primer to improve paint adhesion. Choose water-based or latex spray paint designed for plastics to avoid damage.
Set up the noodle in a well-ventilated area, wearing proper safety gear to ensure safety during spray painting. It’s a good idea to elevate the noodle if possible.
Spray in thin, even coats from about one foot away. Let the noodle dry at least 20 minutes between coats.
Wait 24 hours before handling or exposing it to water for the best results. This way, your paint job will last longer and look great!
Frequently Asked Questions
What Kind of Spray Paint Can I Use on Pool Noodles?
You should use water-based or latex spray paints labeled safe for plastics on pool noodles. Avoid oil-based paints since they can melt the foam.
Always test a small area first to make sure of good adhesion and no damage. It’s better to be safe than sorry when working with foam materials like these!
Will Spray Paint Stick to Pool Noodles?
Spray paint can cling to pool noodles like ivy on a wall, but you’ll need plastic-specific paint and prep.
Without this, paint may slide off or melt the foam, so test a spot before diving in.
Does Paint Stick to Pool Noodles?
Paint doesn’t stick well to pool noodles because their foam surface resists adhesion. You’ll need to use water-based paint and prep the surface carefully.
But even then, expect some peeling or tackiness over time. It’s kind of tricky to get it to stay on nicely. So, keep that in mind before you start painting!
Can You Use Acrylic Paint on a Pool Noodle?
Think of acrylic paint as a cozy sweater for your pool noodle—it sticks well without harming it.
You can definitely use acrylic paint, just apply thin layers, preferably water-based, for the best, long-lasting finish.
This way, the paint won’t crack or peel, and your noodle will look great for a long time.
Conclusion
Now that you’ve safely spray painted your pool noodle, you’re all set to impress like it’s the Roaring Twenties again! Just remember to work in a well-ventilated area and wear your mask—no need to bring back the days of smoky speakeasies.
With proper prep and patience, your colorful creation will be vibrant and durable. So go ahead, enjoy your fresh, fun pool accessory, and make a splash with your handiwork!
Spray painting a pool noodle is a simple way to add some personality and flair to your pool time. Just follow safety tips and good techniques, and you’ll have a bright, long-lasting result that stands out. Happy crafting!