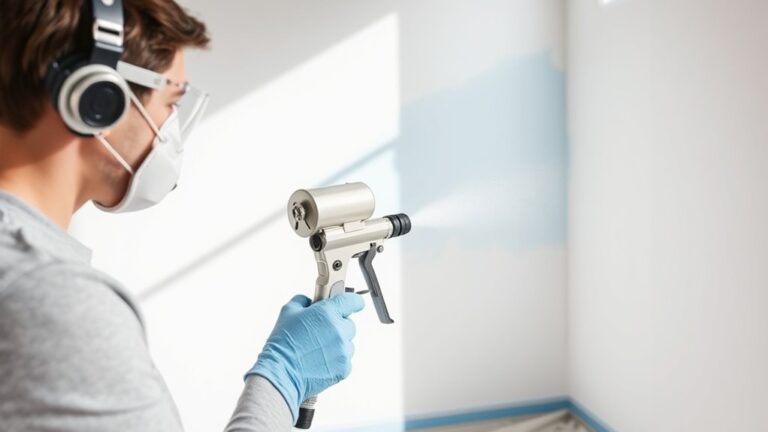
How You Spray Paint Glass Step by Step
To spray paint glass, start by cleaning it thoroughly with rubbing alcohol to remove dust and oils. This step is crucial because any residue can affect how the paint adheres to the surface.
Next, shake your glass-specific spray paint can well. Hold it about 12 inches away from the glass, applying several light, even coats with sweeping motions. It’s better to build up the color gradually than to apply one heavy coat.
Let each coat dry completely before applying the next one. If you want to add patterns or designs, use stencils for a neat finish.
Finally, finish with a clear top coat to protect your paint job and ensure durability. Keep practicing, and you’ll uncover tips to get a flawless, long-lasting finish every time!
Key Takeaways
- Thoroughly clean glass with rubbing alcohol and a lint-free cloth to ensure proper paint adhesion.
- Shake the spray paint can vigorously for at least one minute before use.
- Hold the spray can about 12 inches from the glass and apply multiple thin, even coats using light, sweeping motions.
- Allow each coat to dry for 10-15 minutes before applying the next layer.
- After the final coat dries completely, optionally apply a clear top coat for durability and protection.
Materials Needed for Spray Painting Glass
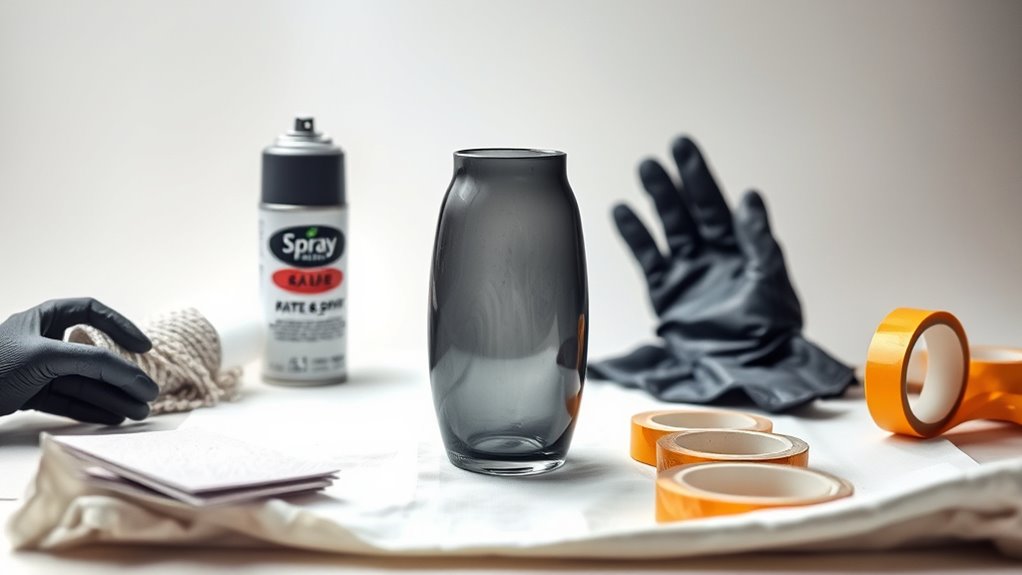
Before you begin spray painting glass, make sure you have all the right materials on hand. Start with a piece of glass that’s clean and free from dust or residues.
Gather all materials and start with clean, dust-free glass for the best spray painting results.
A thorough cleaning using rubbing alcohol and a lint-free rag helps the spray paint adhere well. Choose a spray paint for glass specifically designed to stick to smooth surfaces like yours.
Don’t forget protective gear—wear a mask and eye protection to guard against fumes and irritation. Lay down a drop cloth or newspaper to shield your work area from overspray.
If you want extra durability or a particular finish, consider using a clear top coat spray after painting. Having these materials ready ensures your project goes smoothly and your painted glass looks great.
Step-by-Step Spray Painting Process
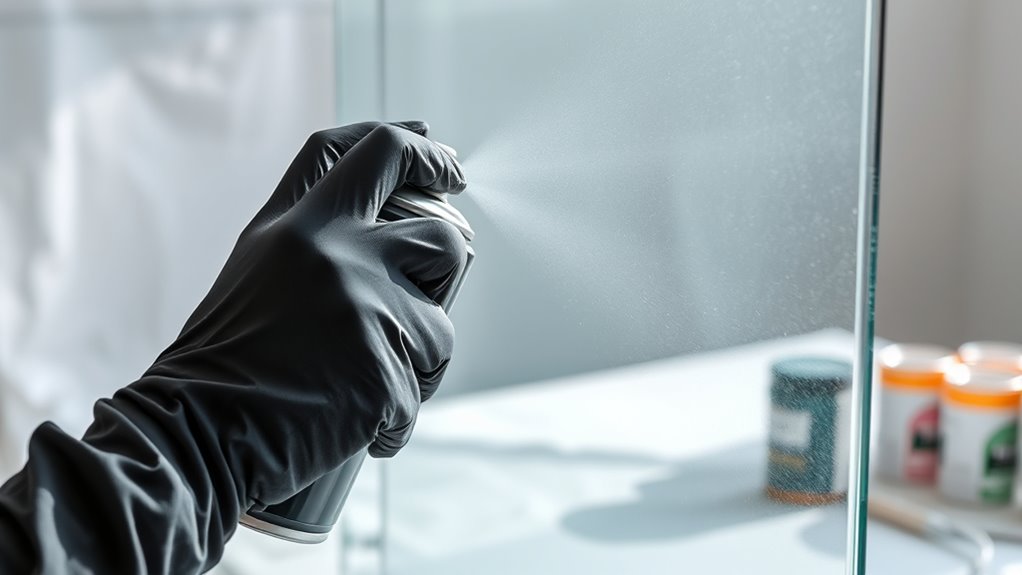
Once you’ve gathered your materials and prepped the glass, you’ll want to shake the spray paint can vigorously for at least a minute to guarantee an even mist.
Test the spray on scrap material to verify a consistent mist before starting. Follow these steps for the best results:
- Hold the spray paint can about 12 inches from the glass, spraying in light, sweeping motions to avoid drips.
- Apply multiple thin coats, waiting 10-15 minutes of drying time between each for smooth, even coverage.
- Use adhesive stickers or stencils for detailed designs, carefully removing them once the paint is dry to the touch.
- Let the final coat dry completely for several hours or overnight before handling or displaying your painted glass.
This method ensures clean, vibrant results without smudges or uneven paint.
Frequently Asked Questions
Can You Spray Paint Directly on Glass?
Yes, you can spray paint directly on glass, but you’ll need to clean it thoroughly and use paint made for glass.
Apply multiple thin coats and seal it with a clear top coat for durability and a smooth finish.
It’s all about prepping the surface well and being patient with the layers. This way, your paint job will last longer and look great!
What Kind of Spray Paint Will Stick to Glass?
You’ll want spray paints labeled for glass or enamel, like Krylon or Rust-Oleum’s glass-specific formulas. These contain special binders that stick well to smooth glass, ensuring your paint doesn’t chip or peel easily.
It’s pretty important to use these types because regular spray paint just won’t hold up on glass surfaces. So, if you want your project to last, sticking with glass-specific spray paint is the way to go.
What Is the Best Way to Paint Glass?
The best way to paint glass is to clean it thoroughly, use glass-specific spray paint, apply thin, even coats from 8-12 inches away. Let each layer dry completely before moving on.
Then, finish with a clear topcoat for durability and shine. This helps protect your work and keeps it looking great longer.
Which Paint Will Stick to Glass?
You’ll want to choose paints that “befriend” glass—like acrylic or enamel spray paints labeled for glass use. Brands like Rust-Oleum or Krylon work well, especially with a good primer to help the paint truly stick.
It’s all about making sure the paint grabs onto the glass surface. So, don’t skip that primer step—it really makes a difference!
Conclusion
Now that you’ve mastered the art of spray painting glass, your creativity can truly shine through every smooth, colorful layer. Remember, patience is your best friend—each coat builds your masterpiece, much like how raindrops quietly shape a river.
So, don’t rush; embrace the process, and watch your plain glass transform into something uniquely beautiful. With every spray, you’re not just painting—you’re breathing life into art.
Keep experimenting and enjoy the journey of how you spray paint glass. This technique not only adds vibrant color but also personalizes your glass pieces, making them stand out. The more you practice, the better your results will be, turning simple glass into stunning, custom masterpieces.