How You Can Spray Paint Wood Furniture Step by Step
To spray paint wood furniture, start by cleaning it thoroughly to remove dirt and grease. This step is crucial because any leftover grime can affect how well the paint sticks.
Next, lightly sand the surface to smooth imperfections and guarantee paint adhesion. After sanding, wipe away dust with a tack cloth to ensure a clean base.
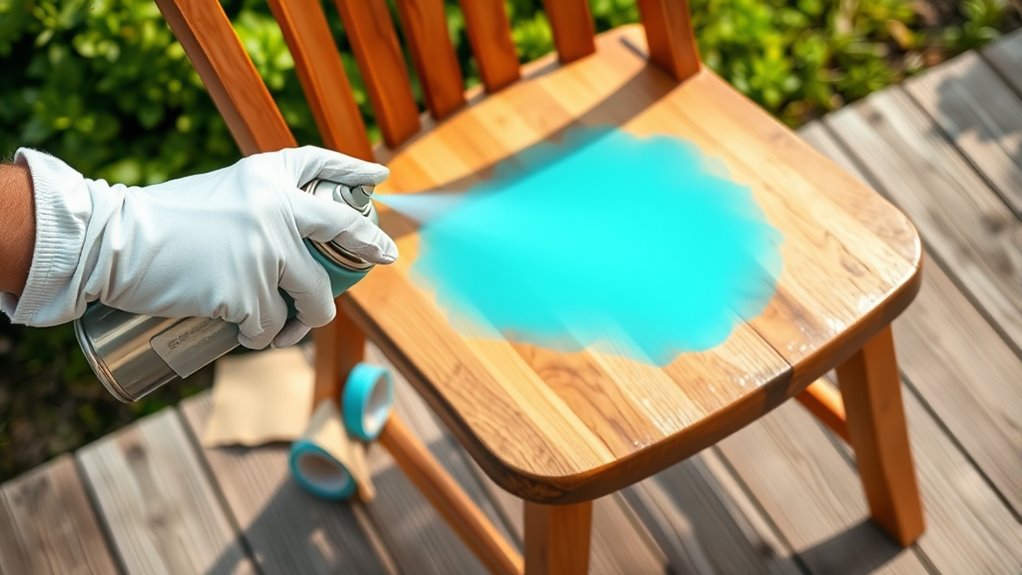
When you’re ready to paint, use light, even spray coats, holding the can about 10-12 inches away from the surface. This helps prevent drips and uneven coverage.
Let each coat dry completely before adding another. For an ultra-smooth finish, sand lightly between layers.
Once you’re happy with the coverage, carefully remove any tape you used and finish by applying a protective clear topcoat.
If you want to master every step for a flawless finish, keep exploring. Spray painting wood furniture can transform your pieces beautifully when done right!
Key Takeaways
- Clean and sand the wood surface thoroughly to remove dirt and old finish. This ensures smoothness and helps the paint stick better.
- Remove hardware and tape off areas you don’t want to paint. This way, you keep those parts safe while spraying.
- Hold the spray can about 10-12 inches from the surface. Apply light, even coats using overlapping sweeping motions for the best coverage.
- Let each coat dry for 30-60 minutes. Then, lightly sand between coats to get a smooth, durable finish.
- Once the final coat is dry, carefully remove the tape and reattach the hardware. If you want, you can add a clear topcoat for extra protection.
Preparing Your Wood Furniture for Painting
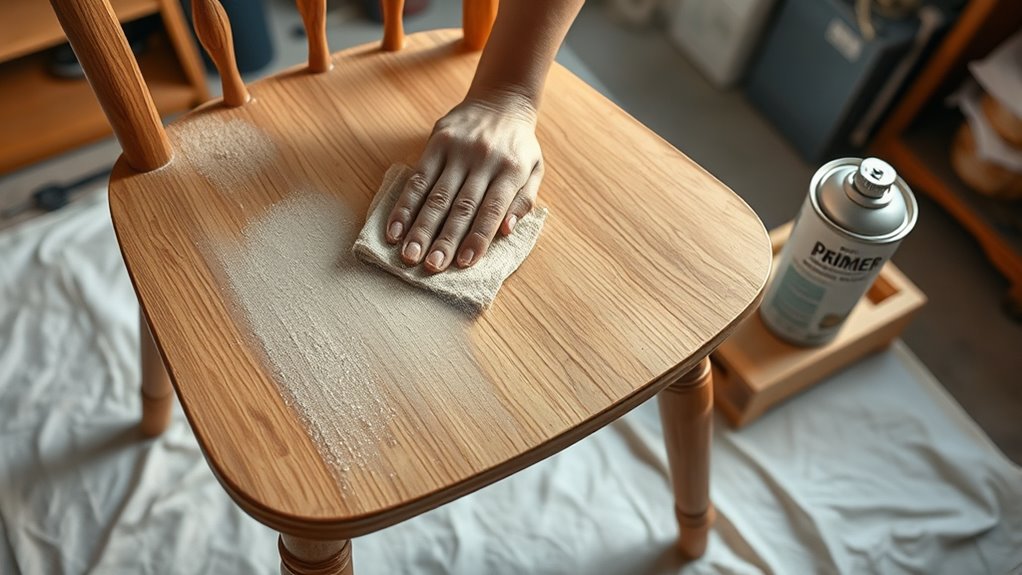
Before you start painting, you need to prepare your wood furniture properly to make sure the paint adheres well and lasts. Begin by thoroughly cleaning the piece with a mild soap or degreaser like Murphy’s Oil Soap to remove dust, grease, and dirt.
Next, remove all hardware and tape off areas you don’t want to paint. The key to good surface preparation is sanding: lightly sand with 220-320 grit sandpaper following the wood grain to create a smooth, paintable surface.
For old or glossy finishes, sand more aggressively to de-gloss and fix rough patches. After sanding, focus on dust removal by wiping the furniture with a tack cloth or damp, lint-free cloth.
This essential prep work ensures the primer bonds evenly to the clean, smooth surface. It really makes a difference in how your paint job turns out!
Applying Spray Paint and Finishing Touches
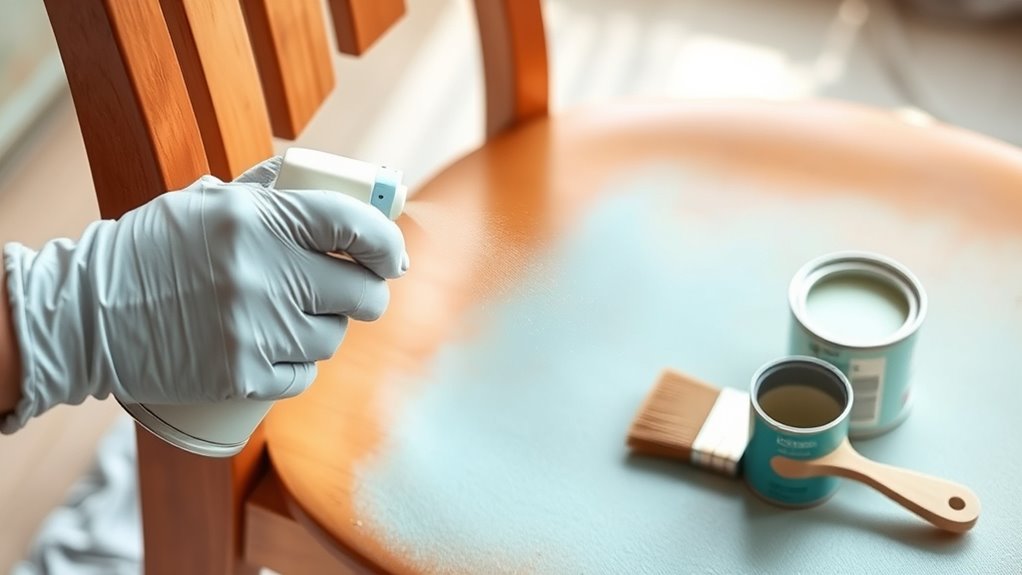
When you start applying spray paint, hold the can about 10-12 inches from the surface and use light, sweeping motions to lay down several thin, even coats. Overlap each pass by one-third to guarantee an even finish without streaks.
Allow each coat of paint to dry completely—usually 30 minutes to an hour—before applying the next layer. Lightly sand between coats to help the next layer adhere better.
Wait 30-60 minutes for paint to dry; lightly sand between coats for better adhesion and a smoother finish
When spray painting furniture, patience is key to a smooth finish. After the final coat is dry, carefully remove painter’s tape and reattach any hardware.
To protect your work, apply a clear topcoat using a brush or spray to seal the paint. This technique adds durability and keeps your finish looking fresh for years.
Frequently Asked Questions
Can I Just Spray Paint Wood Furniture?
Yes, you can spray paint wood furniture, but you should clean and lightly sand it first for better adhesion.
Using a primer helps, too, ensuring a smooth, durable finish.
Choose a spray paint made for wood. It makes all the difference in the final look!
What Is the Best Spray Paint to Use on Wood Furniture?
Did you know 75% of DIYers prefer Krylon Fusion All-In-One?
You’ll love it for wood furniture since it sticks without priming or sanding.
It gives you a smooth, durable finish effortlessly.
Is It Better to Brush Paint or Spray Paint Wood Furniture?
It’s better to spray paint wood furniture if you want a smooth, even finish quickly, especially on large surfaces.
But if you need precision or detailed work, brushing gives you more control.
Choose based on your project.
Can You Spray Paint Directly Onto Wood?
You can spray paint directly onto wood, but think of it as planting seeds—you’ll want to prep the soil first.
Sand and prime the surface to help your paint blossom beautifully and last long without peeling.
Conclusion
Now that you’ve prepped perfectly and painted precisely, your wood furniture will wow with a wonderful, fresh finish. Remember, rushing ruins results, so take time to treat each step thoughtfully.
Spray smoothly, seal securely, and savor the stunning transformation. With patience and practice, you’ll turn tired timber into timeless treasures.
Keep crafting confidently, and your creativity will continuously create mesmerizing, colorful comforts that brighten any space beautifully! Spray painting wood furniture is a fantastic way to refresh your pieces and add a personal touch. By following these steps carefully, you ensure a durable, smooth finish that lasts. So, take your time, enjoy the process, and watch your wood furniture come to life with vibrant color and charm.