How You Spray Paint Terra Cotta Pots Step by Step
To spray paint terra cotta pots, start by cleaning them thoroughly with a damp cloth to remove dirt. Then, let them dry completely before moving on.
Next, apply an even coat of spray primer from 6-8 inches away, making sure to cover all surfaces and edges.
Wait about an hour for the primer to dry.
Shake your spray paint well, then spray thin, even coats in sweeping motions.
Allow each layer to dry before applying the next to avoid drips.
Finish with a sealer to add durability and protect your beautiful paint job.
Keep going to uncover tips for a flawless finish and lasting color on your terra cotta pots.
Key Takeaways
- Clean terra cotta pots thoroughly with a damp cloth and let them dry completely before painting. This helps the primer stick better.
- Apply an even spray primer coat from 6-8 inches away, covering all surfaces. Then, wait 30-60 minutes for it to dry.
- Shake the spray paint can well. Spray thin, even layers from 6-8 inches away, and give each coat 10-15 minutes to dry before adding the next.
- Don’t forget to rotate the pot while spraying. Cover all sides, including the bottom and rim, to get a uniform finish.
- Once the final paint layer is dry, apply a spray sealer or shellac. This adds durability, shine, and long-lasting protection to your pot.
Preparation and Priming of Terra Cotta Pots
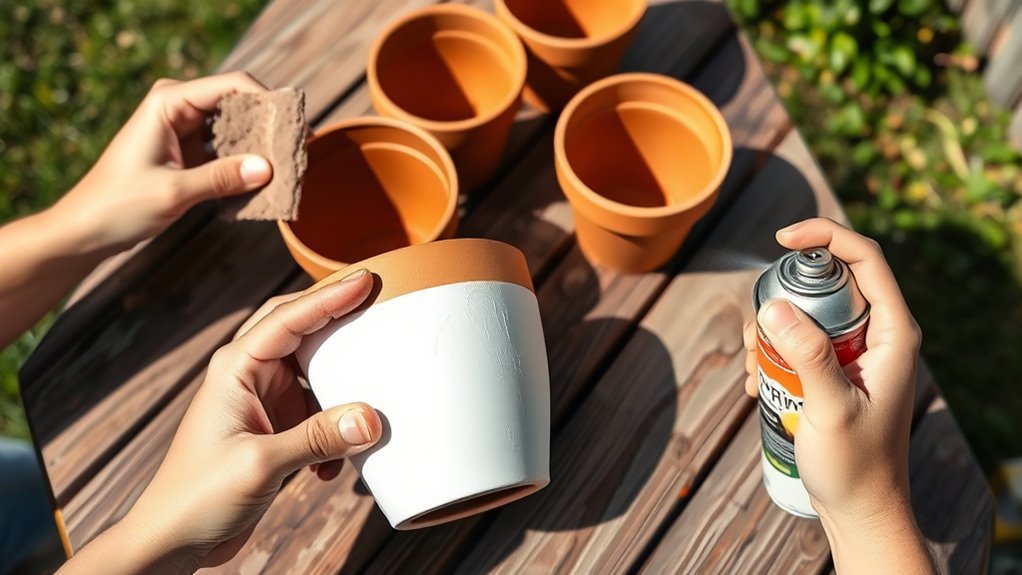
Before you start painting your terra cotta pots, make sure to clean them thoroughly with a damp cloth or mild cleaner to remove any dirt and dust. Once clean, let the pots dry completely to guarantee primer adhesion isn’t compromised by moisture.
Thoroughly clean and dry terra cotta pots before painting to ensure the primer adheres properly.
Hold your spray can about 6-8 inches from the surface and apply an even coat of spray primer. Don’t forget to cover the inside edges for full protection.
Use light strokes with sweeping motions to avoid drips and achieve a smooth coat. This technique helps the primer settle uniformly on all surfaces.
After spraying, allow a drying time of 30 minutes to an hour before moving on. Proper preparation and priming set the foundation for a lasting, vibrant finish on your terra cotta pots.
Applying Spray Paint and Finishing Touches

Once your primer has dried thoroughly, you can start applying the spray paint. Shake the can well for at least one minute to guarantee even pigment distribution. Hold it 6-8 inches from your terracotta pots and spray in smooth, sweeping side-to-side motions.
Apply thin coats rather than thick ones, allowing each layer to dry completely—about 10-15 minutes—to achieve uniform coverage. Don’t forget to turn the pot to cover all sides, including the bottom and rim.
After the final coat of acrylic paint dries, gently remove dust before adding finish touches. For extra durability and shine, spray sealer or spray shellac works perfectly. These steps will give your pots a professional look and lasting protection.
Frequently Asked Questions
Can Terra Cotta Pots Be Spray Painted?
Yes, you can spray paint terra cotta pots. Just make sure you clean and prime them first to help the paint stick and last longer.
Finish with a sealant to protect your beautiful, customized pots. It’s a simple way to give your pots a fresh, new look!
What Kind of Paint Will Stick to Terracotta Pots?
Think of acrylic or latex paints as best friends that stick to terracotta pots effortlessly.
You can also use oil-based paints if you prime first. Just seal your work to keep it looking fresh and vibrant!
What Is the Easiest Way to Paint Terracotta Pots?
The easiest way to paint terracotta pots is to use spray paint. You’ll clean, prime, then apply thin, even coats while turning the pot.
This method guarantees smooth coverage with minimal effort and long-lasting results. It’s pretty straightforward and quick, too!
How to Seal Terra Cotta Pots After Painting?
You’ll want to spray a clear, water-based sealant in thin, even coats, letting each dry fully.
Imagine a gentle mist protecting your pot, sealing vibrant colors while keeping moisture out—wait 24 hours before using it outside.
Conclusion
Just like a blank canvas waiting for your brush, your terra cotta pot starts plain but full of potential. With each spray of paint, you’re not just adding color—you’re giving it a fresh story, a new life.
Remember, patience and care are your trusty brushes, shaping the final masterpiece. So, go ahead, transform that humble pot into a vibrant garden guardian.
When you spray paint terra cotta pots, you’re not just enhancing their look—you’re creating a personalized piece that brightens your garden or home. With the right steps, your pot becomes more than just a container; it’s a statement of your creativity and style. So grab your spray paint, follow the process carefully, and watch your terra cotta pot transform into a colorful, eye-catching addition to your space.