Why Is My Wagner Paint Sprayer Spitting and How Can I Fix It Fast?
Your Wagner paint sprayer is spitting because you haven’t fully pulled the two-stage trigger or waited for the turbine to reach full speed before spraying.
Start by gently pulling the trigger to activate airflow, then pause a few seconds for the turbine to spin up.
After that, pull the trigger fully to begin spraying smoothly. This quick fix usually solves uneven coverage and blotchy patterns.
Keep going to uncover more tips for flawless spray results.
Key Takeaways
- Spitting often happens if the trigger isn’t fully pulled. You need to pull it all the way to get a steady flow of paint.
- Also, wait a few seconds after pulling the trigger slightly. This gives the turbine time to reach full speed.
- Try not to pull the trigger partially or rush it. That can cause uneven spray and blotchy spots.
- A good trick is to start the turbine airflow first with a gentle pull. Then, fully pull the trigger to start spraying.
- If you’re unsure, check out your model’s guide or look for videos. They’ll show the right trigger technique and other quick fixes.
Understanding the Two-Stage Trigger Operation
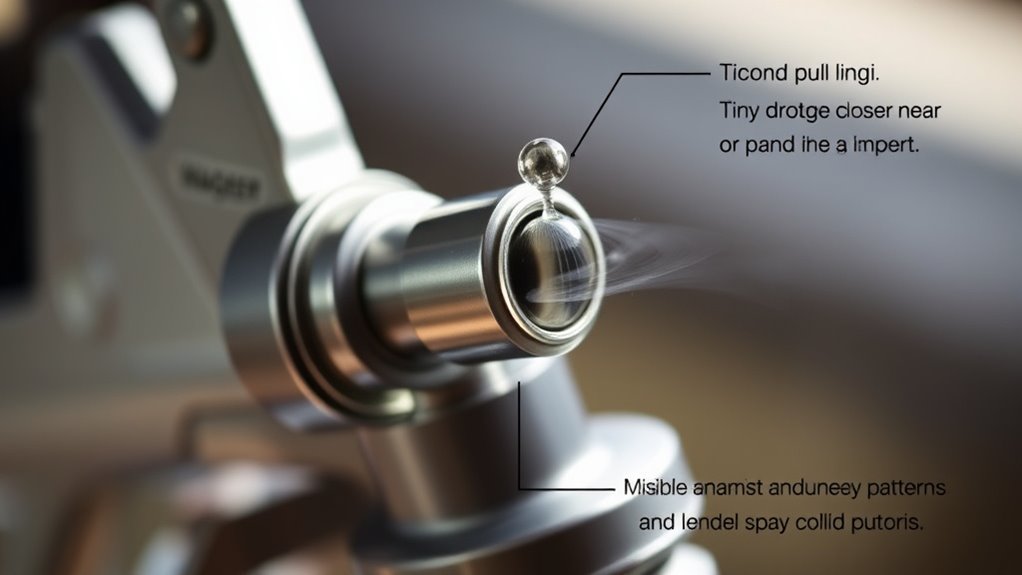
Although it might seem straightforward, understanding how to use the Wagner sprayer’s two-stage trigger is key to getting a smooth, even coat.
When you slightly pull the trigger, you activate the turbine, which starts the airflow but doesn’t spray any paint yet. This allows the turbine to reach full speed before material begins flowing.
Once the turbine is spinning steadily, fully pull the trigger to start the material flow. This sequence ensures the spray pattern remains consistent and prevents uneven coverage.
If you don’t wait for the turbine to spin up or only partially pull the trigger, you risk inconsistent material delivery and a blotchy spray pattern.
Mastering this two-stage trigger operation helps you achieve a professional finish every time.
Common Causes of Spray Pattern Issues and How to Address Them
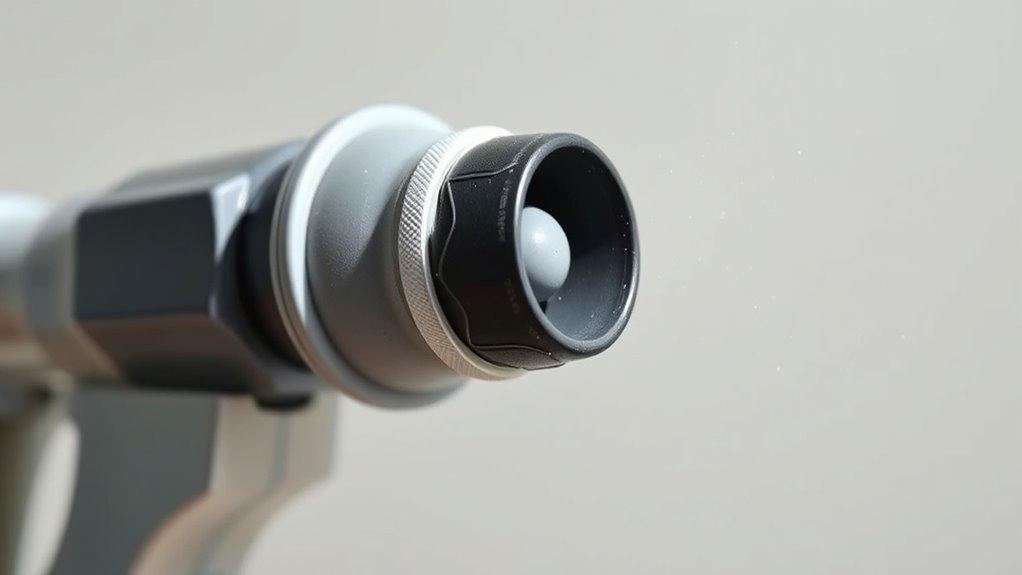
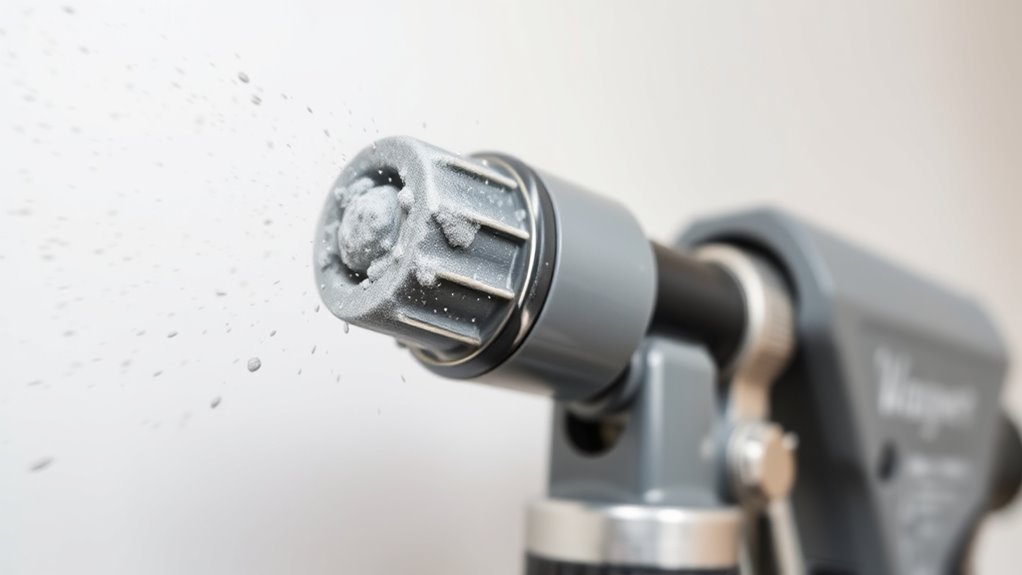
When your spray pattern looks blotchy or spits paint, it usually means you didn’t fully pull the trigger or wait for the turbine to reach full speed.
Partial trigger pulls cause inconsistent flow, leading to spitting and uneven coverage.
For Wagner models 575, 592, 2000, and 3000, using the two-stage trigger correctly is critical.
Always allow the turbine to spin up completely before engaging the trigger fully.
If you pull the trigger too soon or not all the way back, the paint flow can become erratic and cause spitting.
To fix this, start the turbine first, wait for it to reach its full speed, then firmly pull the trigger to maintain a smooth, consistent spray.
This simple adjustment often resolves most spray pattern issues quickly.
Tips for Proper Use and Additional Support Resources
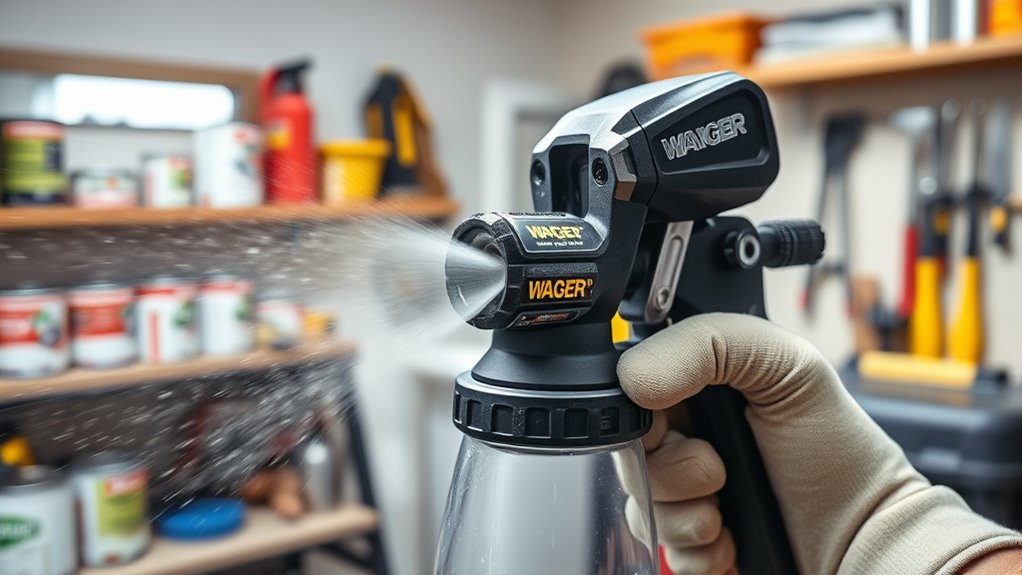
To get the best results from your Wagner paint sprayer, always pull the trigger gently at first to start the turbine. Then fully engage it once the turbine reaches full speed. This approach guarantees consistent paint flow and prevents spitting or uneven spray patterns.
Allow the turbine a few seconds to spin up before fully pulling the trigger. Make sure you’re using the correct trigger technique and refer to your model-specific guide to avoid issues caused by incorrect operation.
If you encounter problems, check out the helpful videos or contact live support on the Wagner Spray Tech website for detailed troubleshooting assistance. Following these tips and using available resources will keep your sprayer performing smoothly and save you time fixing common issues.
Frequently Asked Questions
How to Stop Paint Sprayer Spitting?
You can stop paint sprayer spitting by fully pulling the trigger to engage the turbine. Let it spin up for a few seconds before you start spraying.
Also, make sure to use the two-stage trigger properly. This helps guarantee a consistent paint flow.
Why Is My Paint Splattering From My Spray Gun?
Your paint splatters because you’re pulling the trigger too gently or not fully, disrupting paint flow.
Let the turbine reach full speed before spraying, and always pull the trigger completely to avoid inconsistent spray and splattering.
What Causes a Spray Gun to Spit?
Your spray gun’s hiccups usually happen because you’re not pulling the trigger fully or rushing the startup.
Also, worn parts or clogs might be causing the stutter—give everything a quick clean and steady trigger pull.
Why Is My Airless Spray Gun Spitting and Leaking at the Tip?
Your airless spray gun’s spitting and leaking likely come from a partially pressed trigger or worn tip seal.
Make sure to fully pull the trigger each time. Also, check the tip—clean it or replace it if it’s worn out.
Doing this will stop leaks and guarantee smooth spraying every time.
Conclusion
When your Wagner paint sprayer starts spitting, it’s like a garden hose struggling to flow—frustrating but fixable. By understanding the two-stage trigger and checking for clogs or air leaks, you can restore that smooth, steady spray.
This will turn your project back into a breeze. Keep these tips in mind, and soon your sprayer will glide like a brushstroke on a canvas. It makes every coat seamless and satisfying.
Don’t let a hiccup stall your masterpiece. With a little quick troubleshooting, your Wagner paint sprayer spitting issues can be resolved fast. Getting it back to perfect spraying performance ensures your painting job stays on track and looks professional every time.