How to Build a Do It Yourself Paint Sprayer
You can build a DIY paint sprayer using two 6-inch PVC pipes, plastic bottles with flexible necks, and bubble tea straws for paint delivery.
This simple project is perfect if you want an affordable, homemade tool for painting small projects or crafts.
Start by cutting and notching the PVC pipes to hold the bottle neck securely. Then, attach the bottle to the pipe handle using screws and glue to guarantee stability.
Fill the bottle with paint and screw on a cap with a straw fitted airtight. When you squeeze gently, the paint sprays out smoothly.
Keep going, and you’ll uncover tips for perfect spraying control and maintenance.
It’s easier than you think, and you’ll save money while making a handy paint sprayer yourself!
Key Takeaways
- Cut two 6-inch PVC pipe sections and notch them to securely hold flexible-neck plastic bottles as paint reservoirs.
- Attach plastic bottles to PVC pipes using wood screws and hot glue, reinforcing with tape for a stable handle.
- Insert a bubble tea or standard straw through the bottle cap to create an airtight paint delivery tube.
- Fill the bottle with pre-mixed paint, tightly screw the cap, then invert and squeeze gently to spray paint.
- Ensure all connections are airtight, apply gentle pressure for controlled spraying, and clean components after use.
Materials and Preparation
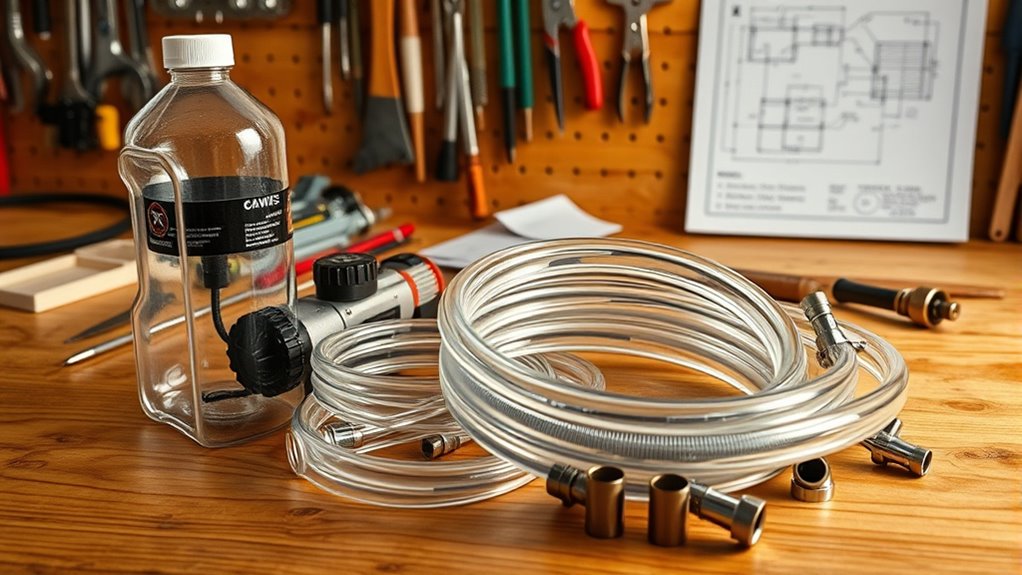
Before you begin assembling your DIY paint sprayer, gather essential materials including a bubble tea straw, a standard straw, two 6-inch PVC pipe sections, and two plastic bottles with flexible necks. These materials form the core of your paint sprayer, with the bottles acting as paint reservoirs—one for spraying, the other serving as a handle.
You’ll also need tools like a drill, hot glue gun, saw, shop vac, and wood screws to prepare and join the parts. Cut the PVC pipes to about 6 inches, then notch them carefully to hold the bottle necks securely.
Take time to measure and mark the bottles and pipes accurately before starting assembly. Having all these materials ready assures a smooth build process for your paint sprayer.
Assembly and Operation
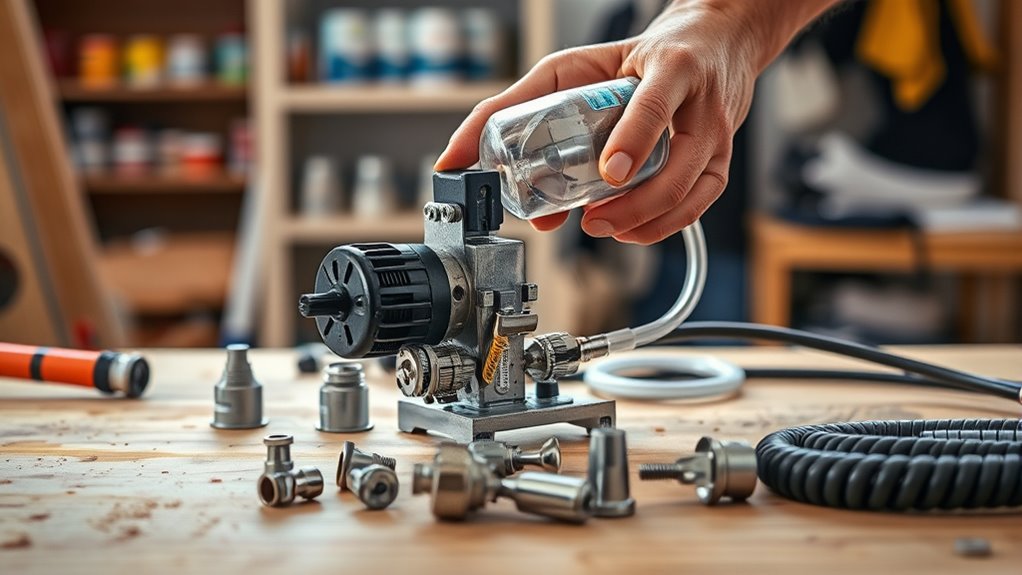
How do you bring your DIY paint sprayer to life? Follow these steps to assemble and operate it smoothly:
- Secure the PVC pipe to the plastic bottle with screws and glue, creating a stable handle. Another option is reinforcing with tape if the fit isn’t long enough or tight.
- Make sure the straw fitting in the bottle cap is airtight to prevent paint leaks.
- Fill the bottle with your mixed paint, then tightly screw the cap on.
- To spray, turn the bottle upside down and squeeze gently, forcing paint through the straw and nozzle. Turn upright to stop.
Frequently Asked Questions
Can I Make a DIY Airless Spray Gun?
Yes, you can make a DIY airless spray gun, but you’ll need a high-pressure pump, durable hose, and proper spray tip.
Just be cautious—handling high pressure requires careful construction to avoid leaks or safety hazards.
It’s definitely doable if you have the right materials and take your time setting it up.
Safety first, though! Make sure everything is secure before you start spraying.
How Can I Make a Home-Made Paint Spray Gun?
You can make a homemade paint spray gun by using a plastic bottle, straw, and PVC pipe.
First, drill a hole near the cap and insert the straw. Then, secure all the parts with glue so nothing falls apart.
Next, fill the bottle with paint. When you’re ready, just squeeze the bottle to spray the paint.
It’s a simple setup but works surprisingly well for small projects!
How Can I Make a DIY Spray Pump?
Imagine spraying paint evenly on your fence using a DIY spray pump. You simply connect two plastic bottles with PVC pipes, insert straws for nozzles, and seal everything tightly.
Then, you use a shop vac to pressurize the system and spray efficiently. It’s a clever and budget-friendly way to get the job done!
What Is the Best Paint Sprayer for DIY Projects?
You’ll want an HVLP paint sprayer for DIY projects since it offers precision and minimal overspray.
Choose a cordless, gravity-feed model for ease and portability. And look for adjustable settings to handle various paint types.
Conclusion
By building your own DIY paint sprayer, you’re blending boldness with brilliance. Taking time to tackle materials thoughtfully transforms tools into treasures.
Assembling with attention and applying with accuracy assures a smooth, satisfying spray every time. Remember, practice perfects proficiency, pushing past pitfalls to paint with pride.
So, seize the spirit of self-sufficiency, saving money while savoring the sweet success of your skilled, sprightly spraywork. Keep creating confidently!
Building a do-it-yourself paint sprayer not only boosts your confidence but also gives you control over your painting projects. With patience and the right materials, your custom paint sprayer can deliver professional-quality results at a fraction of the cost. Plus, mastering this handy tool means you’re ready for any painting challenge ahead. Keep practicing, stay creative, and enjoy the satisfaction that comes from your own DIY paint sprayer!