• How You Use a Stain Sprayer for Paint Application

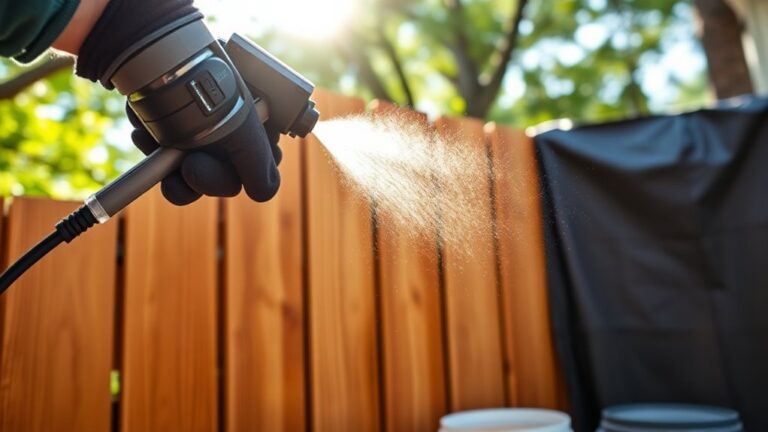
    To use a stain sprayer for paint application, first clean and fill the sprayer with well-stirred stain. Keep the sprayer about 10-12 inches from the surface and spray evenly, overlapping each pass by 50%.

    Adjust the tip size for a smooth spray pattern, and cover nearby areas to catch overspray. After spraying, clean the equipment thoroughly to avoid clogs and damage.

    Follow these basics, and you’ll master applying stain quickly and evenly. Stick around for more pro tips ahead.
  • How to Use an Airless Paint Sprayer in 5 Easy Steps

    To use an airless paint sprayer in five easy steps, first follow safety precautions like wearing protective gear and working in a ventilated area.

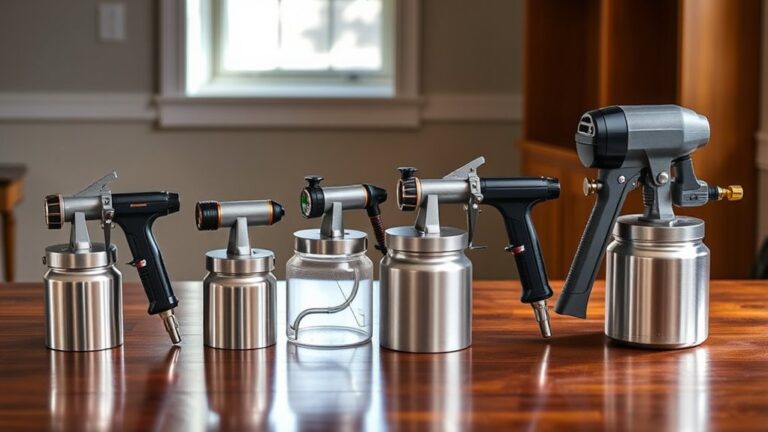
    Next, securely assemble the sprayer, hose, and spray gun with the right tip.

    Then prime the sprayer by running paint until it flows clearly. When spraying, hold the gun 12 inches away and use smooth, overlapping strokes for even coverage.

    Finally, clean the sprayer thoroughly after use.

    Keep going to uncover tips for flawless results and long-lasting gear care.

  • 5 Price Points for Renting a Paint Sprayer

    You can rent a paint sprayer for around $40 to $70 per day, depending on the model and capacity. Weekly rates usually range from $150 to $250, while monthly rentals cost between $400 and $700, offering better savings.

    Just keep in mind there might be extra fees like cleaning, delivery, or late returns. For occasional use, renting makes sense, but if you have frequent projects, buying might be the better option.

    So, keep these points in mind as you explore how to get the best deal for your needs.

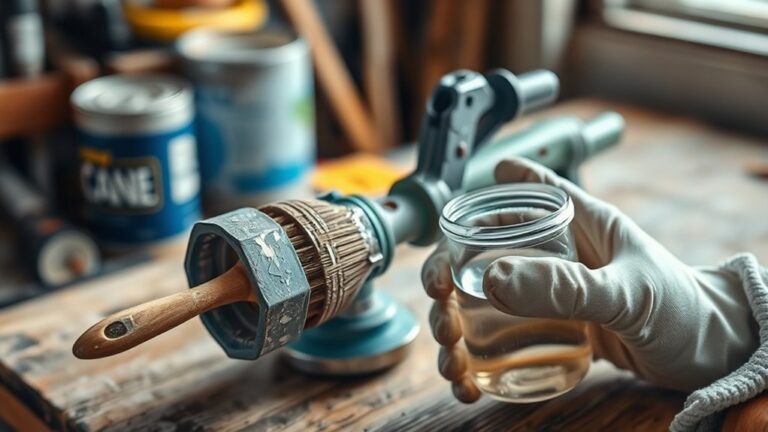
  • How to Clean a Paint Sprayer With Dried Paint in 3 Easy Steps

    To clean a paint sprayer with dried paint, first disassemble all removable parts like the nozzle and spray tip.

    Next, soak them overnight in warm water mixed with a mild cleaner to loosen dried paint, then gently scrub away residue.

    Finally, reassemble the sprayer and flush it with clean water until clear.

    Doing this maintains your sprayer working smoothly and prevents clogs.

    Keep going to discover tips that guarantee your sprayer lasts even longer.

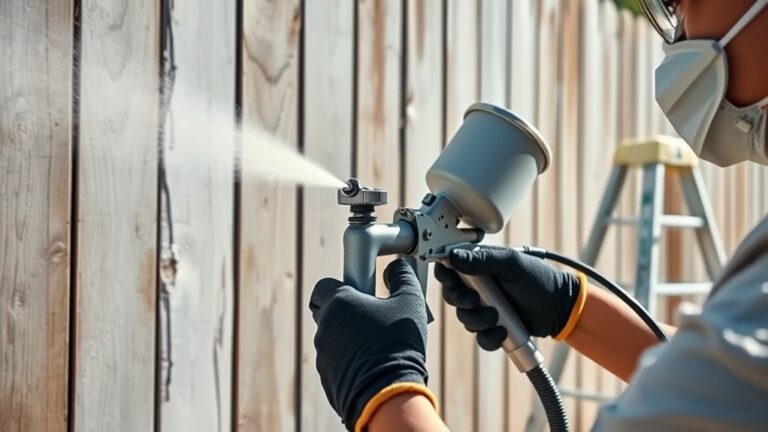
  • How to Paint a Fence With a Sprayer in 3 Easy Steps

    To paint your fence with a sprayer, start by cleaning it thoroughly and letting it dry for at least 48 hours.

    Next, set up your sprayer with a wide tip. Adjust the flow and pressure, then test it on scrap wood to guarantee an even spray.

    Finally, apply thin, overlapping coats from 6-8 inches away. Let each layer dry completely before adding the next.

    Follow these steps, and you’ll get a smooth, professional finish—plus handy tips to perfect the process. Easy, right? Just take your time and enjoy the transformation!

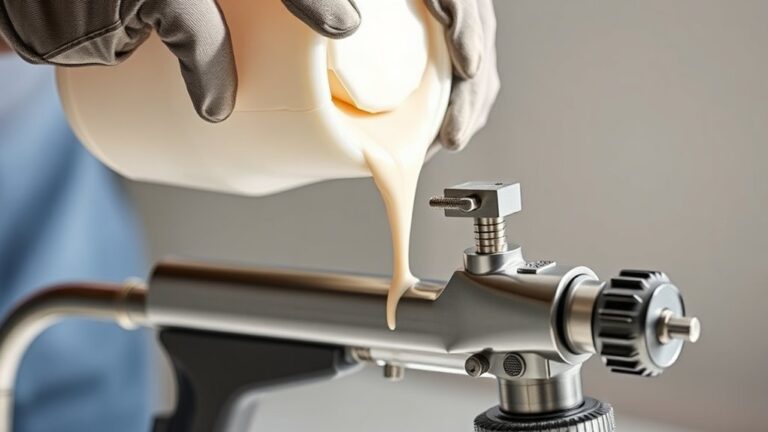
  • How You Put Primer in a Paint Sprayer Step by Step

    To put primer in your paint sprayer, start by checking the manufacturer’s instructions and strain the primer through a fine mesh filter to avoid clogs.

    Pour it into the reservoir without overfilling, making sure it’s properly mixed or thinned if needed.

    Attach the container securely to the sprayer, adjust the nozzle and pressure for smooth application, then test spray for even flow.

    Keep going, and you’ll discover tips to perfect your primer application process.

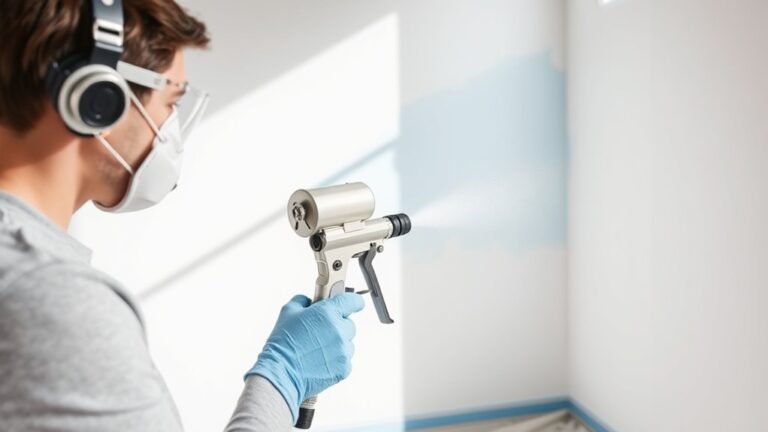
  • How to Use a Paint Sprayer on Walls in 7 Easy Steps

    To use a paint sprayer on walls, start by cleaning and repairing the surface. Then, protect floors and trim with masking materials.

    Choose and assemble your sprayer. Mix and thin paint as needed, and test the spray pattern on a scrap piece.

    Hold the sprayer about 12 inches away, applying paint with steady, overlapping strokes. Once done, clean and maintain your equipment properly.

    If you want to master each step for flawless results, keep exploring these tips.

  • How to Unclog a Paint Sprayer in 5 Easy Steps

    To unclog your paint sprayer, first turn it off and relieve the pressure to stay safe. Next, remove and closely inspect the spray tip for dried paint or debris.

    Use a fine needle or solvent to clear any stubborn blockages. Then, flush the system with the recommended cleaning fluid to clean internal parts.

    Finally, reassemble the sprayer and test the spray pattern to guarantee it’s running smoothly. Keep going to find out more helpful tips and details.

  • How to Clean Paint Sprayer Tips in 3 Easy Steps

    To clean your paint sprayer tips in 3 easy steps, first carefully remove and rinse the spray tip and guard under running water. This helps prevent paint from hardening and clogging your equipment.

    Next, grab a soft-bristled brush and gently scrub away any leftover paint. Make sure to focus on the orifice and the surrounding areas where paint tends to build up.

    Finally, flush the components thoroughly by running water through all passages. Once clean, dry them completely before putting everything back together.

    Follow these simple steps for a smooth spray every time. Trust me, keeping your equipment in top shape makes all the difference!

  • What Does HVLP Paint Sprayer Mean?

    An HVLP paint sprayer means High Volume, Low Pressure technology that delivers a large amount of air at low pressure to atomize paint into a fine mist. You’ll get smooth, precise coatings with minimal overspray and better control over your finish.

    It’s perfect for detailed work like furniture or cabinets, though it may work slower on large surfaces. Stick around to find out how this sprayer can make your painting project both efficient and eco-friendly.