• How to Clean a Wagner Paint Sprayer in 7 Easy Steps

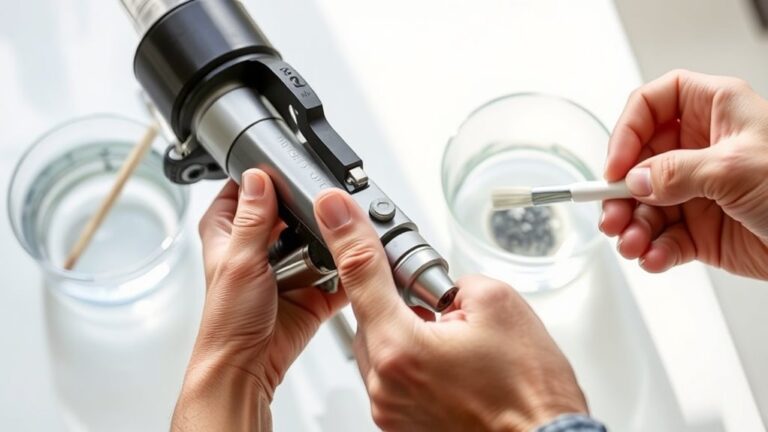
    To clean your Wagner paint sprayer in 7 easy steps, start by preparing it—remove the filter and detach the handle for access.

    Next, disassemble key parts like the nozzle, trigger, and paint cup.

    Choose the right cleaning solution based on your paint type—warm soapy water for water-based or mineral spirits for oil-based paints.

    Thoroughly scrub all components, tackle any stubborn buildup, rinse everything well, then reassemble securely.

    Keep following along to discover detailed tips for keeping your sprayer in top shape.
  • How to Use a Wagner Paint Sprayer in 3 Easy Steps

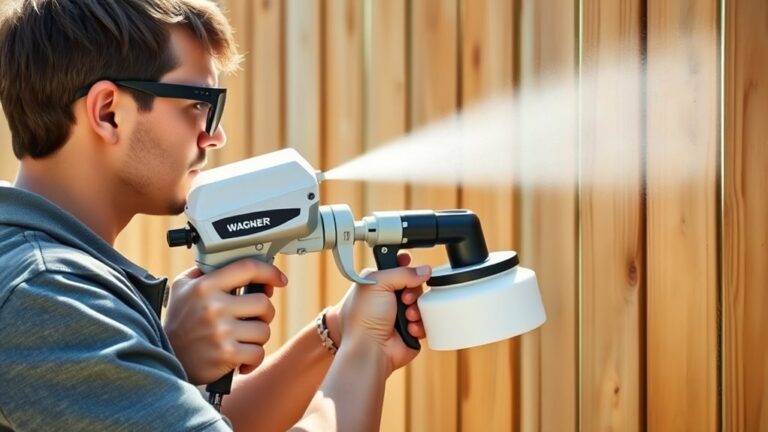
    To use your Wagner paint sprayer in three easy steps, first prepare your workspace by clearing the area and covering items with plastic.

    Next, fill the sprayer reservoir with the right paint, adjust the nozzle for your desired spray pattern, and test it on a scrap surface to guarantee proper flow.

    Finally, hold the sprayer 6-12 inches from the surface, using steady, overlapping passes for even coverage.

    Keep going to discover more tips for a flawless finish.

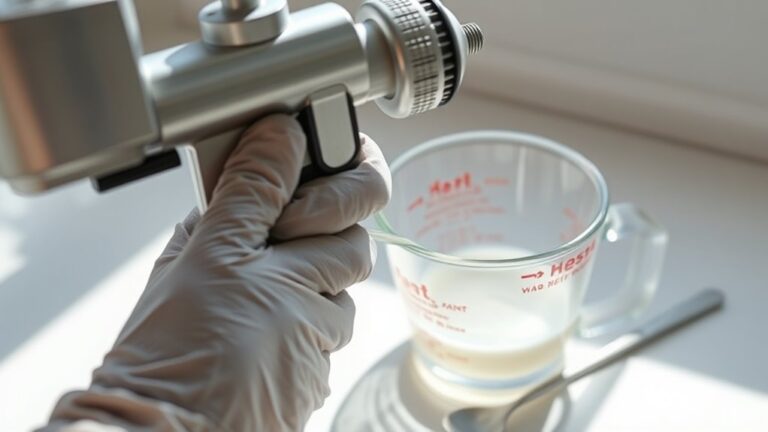
  • How to Thin Latex Paint for Sprayer in 7 Easy Steps

    To thin latex paint for your sprayer, start by gathering clean containers, stir sticks, and room-temperature water. Open and stir the paint thoroughly to break up lumps.

    Pour paint into a separate container, then slowly add 10-15% water, mixing well each time. Test the flow on a stick, ensuring it runs smoothly without sputtering.

    Once consistent, filter the paint through a fine mesh to remove debris. Follow these steps, and you’ll get a smooth, clog-free spray—you’ll find even more tips to perfect your technique.

  • How to Clean a Paint Sprayer in 5 Easy Steps

    To clean your paint sprayer in 5 easy steps, first unplug it and remove the paint container. Flush out leftover paint at low pressure by running water or cleaner through the system until clear.

    Next, wipe down the exterior and thoroughly flush hoses and tips. Then, run the sprayer at full pressure to clear debris.

    Finally, clean tips and filters, purge fluids, and store with proper storage fluid to prevent damage. Keep going and you’ll discover tips to extend your sprayer’s life.

  • How to Clean a Paint Sprayer in 3 Simple Steps

    Start by pushing out any leftover paint at low pressure and wiping down all accessible parts to prevent buildup. This helps keep everything clean and ready for next time.

    Next, flush your hoses, tips, and internal components by running the sprayer at full pressure with clean water or cleaner until the fluid runs clear. It’s like giving your sprayer a deep clean from the inside out.

    Finally, pressurize the system for a few seconds for a last rinse, then verify everything’s dry before storing. Keep following these steps, and you’ll master the best way to keep your sprayer clean and ready.

  • How to Thin Paint for Sprayer in 3 Easy Steps

    To thin paint for your sprayer, first pick the right thinner—water for water-based paint or mineral spirits for oil-based.

    Next, measure carefully, typically mixing 70% paint with 30% thinner. Adjust as needed.

    Stir thoroughly to guarantee consistency.

    Finally, test spray on scrap material and tweak the ratio until the paint flows smoothly without clogging or splattering.

    Follow these simple steps, and you’ll achieve a flawless finish. There’s more to know for perfect results.

  • How Much Does It Cost to Rent a Paint Sprayer

    You can expect to pay between $50 and $100 per day or $200 to $400 for a week to rent a paint sprayer, depending on the model and rental duration.

    Keep in mind, extra charges like cleaning fees, late returns, and delivery can add to the cost. Renting is usually a smart choice if you only need it for a few short projects.

    If you want to understand all costs and when renting makes the most sense, there’s more to uncover. Let’s dive in!