• Do You Need an Air Compressor for a Paint Sprayer?

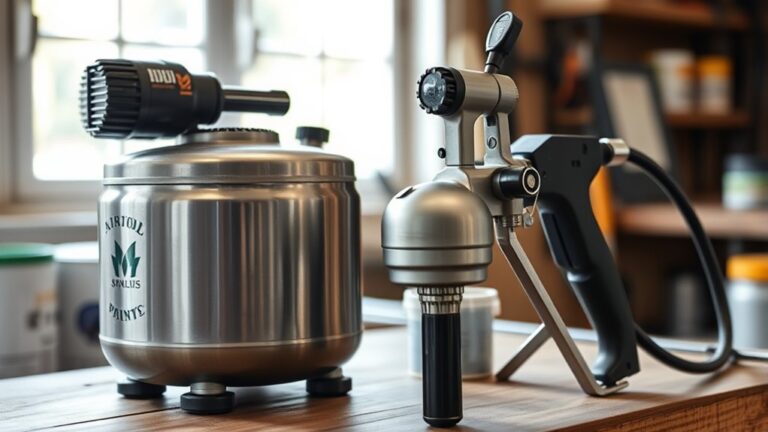
    You don’t always need an air compressor for a paint sprayer. Electric paint sprayers come with built-in motors that generate pressure and allow you to skip the external compressor. This makes them perfect for small jobs or quick touch-ups.

    However, compressor-based sprayers rely on external air compressors to handle thicker paints and larger surfaces with better atomization. If you want to know which option suits your project and paint type best, keep exploring your choices.

  • How to Use Cleaning Solutions to Clean a Paint Sprayer

    To clean your paint sprayer, first identify your paint type—use warm, soapy water for latex paints or mineral spirits for oil-based ones.

    Safely flush the system by running the appropriate cleaning solution through the pump and hoses until it runs clear.

    Next, deep clean the spray gun, filters, and tips, inspecting parts for damage.

    Finally, dry and store everything properly to prevent rust and keep your sprayer ready.

    Keep going to discover detailed tips for maintaining your equipment’s performance.

  • How to Clean Oil-Based Paint From a Sprayer in 3 Easy Steps

    First, depressurize your sprayer by turning it off, releasing pressure, and removing the intake tube.

    Next, flush out the oil-based paint by pumping mineral spirits or a compatible solvent through the system until clear fluid flows.

    Finally, disassemble key parts, soak them in solvent to dissolve paint, scrub gently, rinse, and dry thoroughly before storing.

    Follow these steps to prevent clogs and keep your sprayer working smoothly—there’s more detailed advice ahead to help you perfect the process.

  • How You Can Use a Paint Sprayer for Primer Step by Step

    To use a paint sprayer for primer, start by mixing and thinning your primer as instructed. Then, pour it into the spray gun’s container.

    Next, adjust the spray pressure between 40-60 PSI. Test the spray pattern on scrap material to make sure it’s just right.

    Hold the gun 6-12 inches from the surface. Use smooth, overlapping strokes for even coverage.

    After spraying, clean the sprayer thoroughly to prevent clogs. Keep these basics in mind, and you’ll be ready to perfect your priming technique with a few more tips.

  • 7 Reasons a Paint Sprayer Is Better Than a Roller

    You’ll work faster and easier with a paint sprayer, covering large surfaces in one pass and cutting your project time dramatically. It preserves surface textures without brush marks and guarantees smooth, even coverage—even in tight spots.

    Sprayers provide precise control, keeping your work clean and professional-looking. Plus, quick paint changes and reduced prep make your job simpler and more efficient.

    Keep exploring to discover how sprayers can truly transform your painting projects. You might be surprised at just how much easier and better your painting can be!

  • How Much Does a Paint Sprayer Cost?

    You can expect to spend between $50 and $250 for an entry-level paint sprayer, perfect for small DIY projects and light coatings.

    If you need more power and versatility, mid-range models cost $250 to $800 and handle thicker paints with adjustable settings.

    Professional-grade sprayers start around $1,000 and go much higher for heavy-duty, frequent use. Your choice depends on project size and paint type, with more details coming up to help you pick the right one.

  • How to Use the Wagner Paint Sprayer in 10 Easy Steps

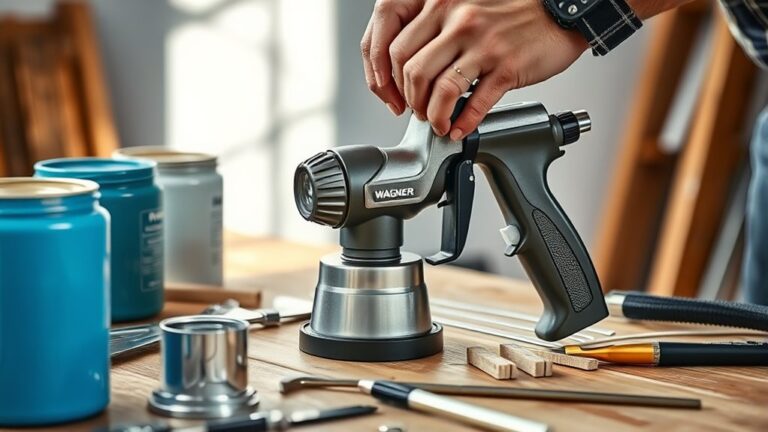
    To use your Wagner paint sprayer in 10 easy steps, first assemble the parts and prepare your paint by thinning it properly. Test the paint’s consistency with a viscosity cup, then fill the container and securely attach the nozzle.

    Next, adjust the spray pattern and flow to your preference. Perform test sprays on scrap material to make sure everything looks good before you begin.

    Apply the paint with steady, even strokes for the best coverage. After you’re done, clean and store your sprayer well to keep it in top shape.

    Keep going to discover tips for flawless results and maintenance. You’ll be a pro in no time!

  • 5 Reasons to Use a Paint Sprayer or Roller for Better Results

    You’ll work faster with a paint sprayer, especially on large, smooth surfaces, covering areas 2-3 times quicker than rollers. Sprayers give smooth, even finishes but can waste more paint without proper prep.

    Rollers offer better control on textured surfaces and use paint more efficiently. Combining spraying and rolling balances speed, quality, and cost.

    Knowing which tool suits your project and surface will help you get professional results more easily. And there’s plenty more to explore about each method’s advantages.

  • Where Can You Rent a Paint Sprayer?

    You can rent a paint sprayer from major home improvement stores like Home Depot and Lowe’s, specialized rental outlets such as United Rentals, or local hardware shops. Many places offer electric, gas-powered, and HVLP sprayers tailored to your project size.

    Rentals typically cost between $85 and $100 daily, with additional fees for cleaning or damage. If you want to know how to pick the right sprayer and avoid unexpected costs, keep exploring your options.

  • How to Thin Paint for Wagner Sprayer Step by Step

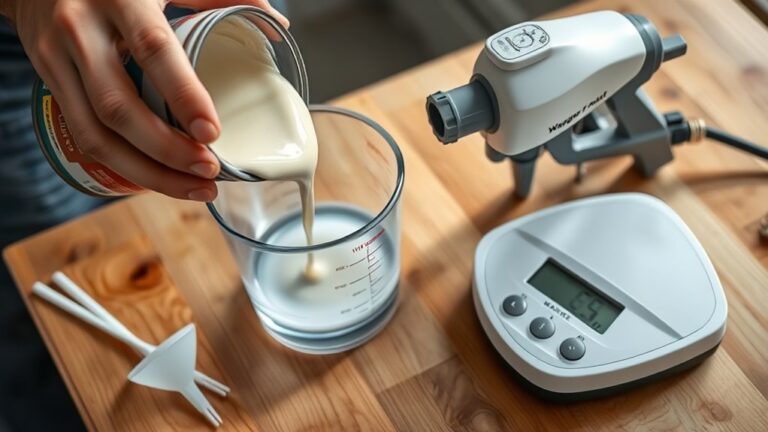
    To thin paint for your Wagner sprayer, start by choosing water-based or compatible oil-based paint and stirring it well. Add about 2 tablespoons of solvent per half jar, mixing thoroughly for an even consistency.

    Check the flow using a viscosity cup, aiming for 25-40 seconds to ensure smooth spraying without clogs. Test spray and adjust thinner gradually if needed.

    Follow these steps closely, and you’ll get a flawless finish while avoiding common spraying issues—there’s more you can learn to perfect the process.