• 10 Steps to Paint Kitchen Cabinets With a Sprayer

    To paint your kitchen cabinets with a sprayer, start by choosing a sprayer with adjustable pressure and a fine finish nozzle. Remove doors and hardware, then clean and sand surfaces well.

    Mask surrounding areas before applying 1-2 thin primer coats, sanding between. Set up your sprayer and test the pattern on scrap wood.

    Apply multiple thin paint coats, allowing drying time and light sanding. Finish by sanding imperfections, reassembling hardware, and inspecting for touch-ups.

    Keep going to master each step. It might take some practice, but you’ll get there!

  • Does a Paint Sprayer Use More Paint Than a Roller?

    Yes, a paint sprayer generally uses more paint than a roller because of overspray, atomization, and paint drift that waste material. Sprayers can consume 25% to 50% more paint, especially if you’re not careful with your technique or equipment maintenance.

    Rollers apply paint more efficiently by delivering it directly onto the surface, minimizing waste. If you want to optimize your paint use and reduce excess, understanding these factors will help you get better results.

  • How to Thin Paint for a Paint Sprayer Step by Step

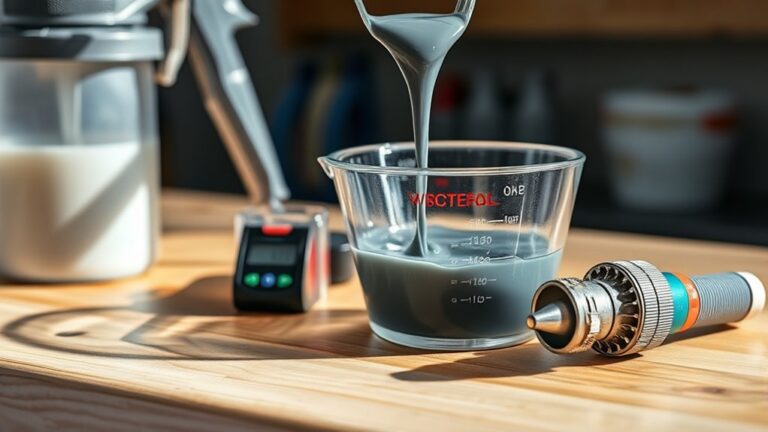
    To thin paint for your sprayer, first gather your paint, strainer, stir stick, and a clean bucket. Stir the paint well and strain it to remove lumps.

    Add water or thinner gradually, about 10% at a time, mixing thoroughly after each addition. Test the consistency with a viscosity cup or by spraying a sample—aim for smooth flow without drips or sputtering.

    Adjust slowly for the perfect balance, and keep experimenting to achieve flawless coverage. It might take a couple of tries, but you’ll get there!

  • Why Is My Paint Sprayer Splattering and How Can I Fix It

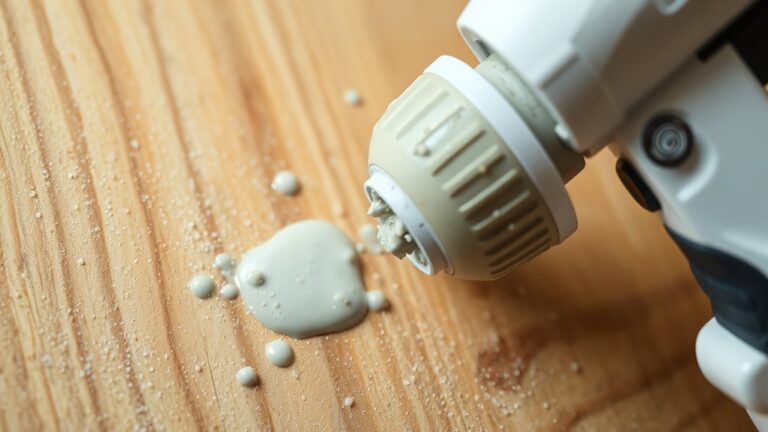
    If your paint sprayer is splattering, it’s likely due to clogged spray tips, worn or misaligned parts, or incorrect adjustments disrupting the spray pattern.

    You can rectify this by cleaning the tips, inspecting and replacing damaged seals or springs, and adjusting the screw at the back to guarantee proper pin seating.

    Also, avoid over-tightening parts and flush your system regularly to prevent buildup.

    Keep your sprayer well-maintained, and you’ll get smoother, consistent results — there’s more you can do to perfect your spraying technique.

  • Should You Use a Paint Sprayer Indoors Safely?

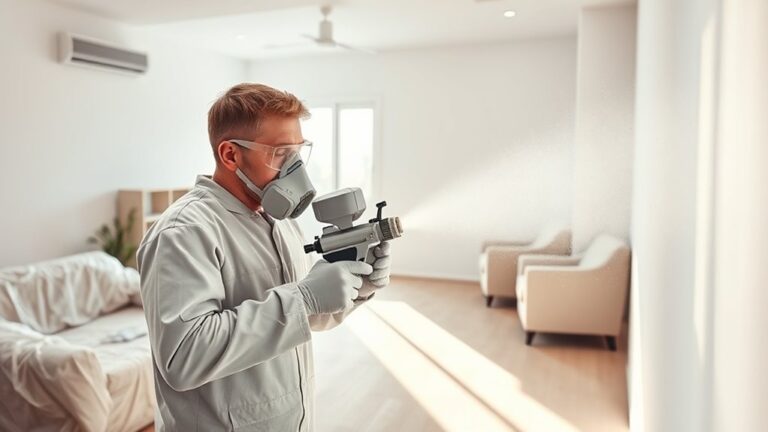
    You can use a paint sprayer indoors safely if you take the right precautions. Make sure to ventilate the area well, wear protective gear like a respirator and goggles, and turn off any gas appliances.

    Prepare your space by covering furniture and floors, and choose an electric sprayer with adjustable pressure for better control. Following these steps reduces health risks and keeps your home clean.

    Keep going to discover more tips for a smooth indoor painting project.

  • How You Use Chalk Paint in a Paint Sprayer

    To use chalk paint in a paint sprayer, start by thinning it with up to 10% water for a smooth flow. Stir thoroughly and strain the paint to remove lumps and bubbles.

    Fill your sprayer halfway and set the flow dial to 2, adjusting the nozzle for your desired spray pattern. Keep the sprayer 10-12 inches from the surface, spraying in overlapping, continuous strokes.

    With fine-tuning, you’ll achieve an even finish. If you’re ready, there’s more to fine-tune your technique and maintain your equipment for flawless results.

  • How to Use Wagner Paint Sprayer 350 in 10 Easy Steps

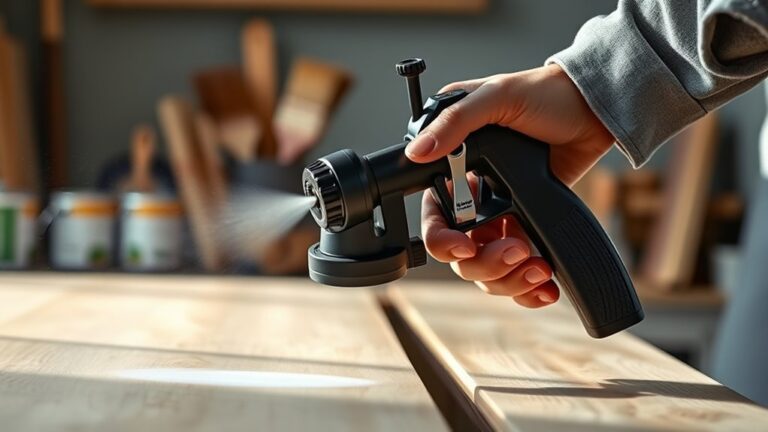
    To use your Wagner Paint Sprayer 350 effectively, start by gathering safety gear and assembling the sprayer components securely. Prepare and thin your paint to the right consistency, then test it with the viscosity cup.

    Fill the container, practice your spray technique on scrap material, and apply even coats with steady, overlapping strokes. After painting, clean and disassemble the sprayer thoroughly to keep it in top condition.

    Keep exploring to master every tip for perfect results. You’ll get the hang of it faster than you think!

  • Why Is My Paint Sprayer Spitting?

    Your paint sprayer is spitting because worn tips, clogged filters, or misaligned internal parts are disrupting paint flow. Dirt or dried paint buildup can block the nozzle, while seals or pins that aren’t seated properly cause leaks and inconsistent spraying.

    You’ll want to check and clean filters, inspect for damaged components, and adjust the seat and tip for a smoother finish. Keep reading, and you’ll find helpful tips to fix and maintain your sprayer for reliable results.

  • How to Clean Out a Paint Sprayer in 7 Easy Steps

    To clean out your paint sprayer in seven easy steps, first unplug it and clear your workspace. Then, empty any leftover paint from the container.

    Next, prepare buckets with water or cleaning solution suited to your paint type and flush the system thoroughly.

    Remove and clean filters, nozzles, and spray tips to prevent clogs. Scrub the gun components and rinse everything well.

    Finally, dry all parts before putting your sprayer back together. Keep going to discover detailed tips for each step.

  • How Much to Thin Paint for Sprayer €“ Step-By-Step Guide

    You should thin your paint by about 10%—that’s roughly one part thinner to ten parts paint—to get a smooth spray finish. Start by adding thinner gradually and mix thoroughly.

    Then test the flow on a stick and strain the mixture to avoid clogs. If you’re using an HVLP sprayer, you might need to thin up to 20%.

    Proper thinning guarantees even coverage and a professional result. Keep following along to discover the best approach for your spray system.