How You Can Spray Paint Styrofoam Without Damage
To spray paint Styrofoam without damage, you’ll want to choose spray paints labeled safe for foam, such as acrylic-based or Designmaster products. These types of spray paint are specially formulated to avoid melting or warping the delicate Styrofoam surface.
Avoid regular enamel or latex sprays because they contain solvents that can quickly dissolve the foam.
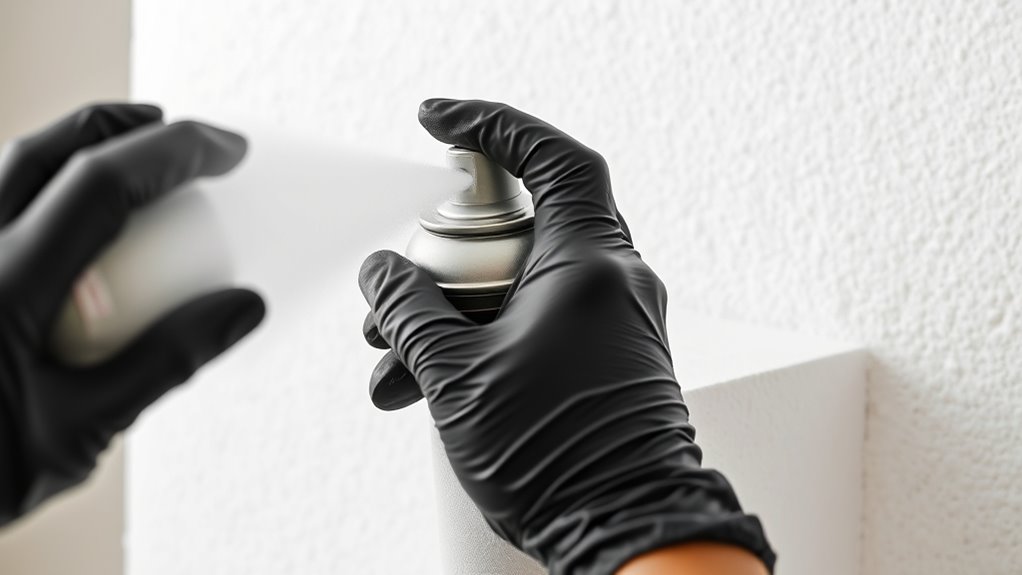
Hold the can about 6–12 inches away from the surface and apply light, even coats in short bursts. This technique helps prevent bubbling or dissolving of the foam.
Make sure each layer dries completely before applying the next one.
Keep the spray can moving continuously to avoid over-saturating any one spot.
Also, work in a well-ventilated space for the best results and your safety.
If you want to perfect your spray painting technique on Styrofoam, there’s even more useful advice ahead.
Key Takeaways
– Choose spray paints specifically formulated and labeled safe for Styrofoam to avoid melting or damage.
It’s super important to pick the right kind of paint, so your foam doesn’t get ruined.
– Test paint on a small, hidden foam section before full application to ensure compatibility.
This little test helps you make sure the paint won’t react badly before you go all in.
– Hold the spray can 6-12 inches away and spray in short bursts for even, safe coverage.
Keep the can moving and don’t spray too close—that way you avoid drips and nasty spots.
– Apply multiple thin coats, allowing each to dry completely, instead of one thick layer.
Patience is key here! Thin layers dry better and look way nicer than one thick blob.
– Use good ventilation and keep the spray can moving to prevent drips and surface damage.
Open a window or work outside if you can. Fresh air keeps things safe and helps the paint dry right.
Choosing the Right Spray Paint for Styrofoam
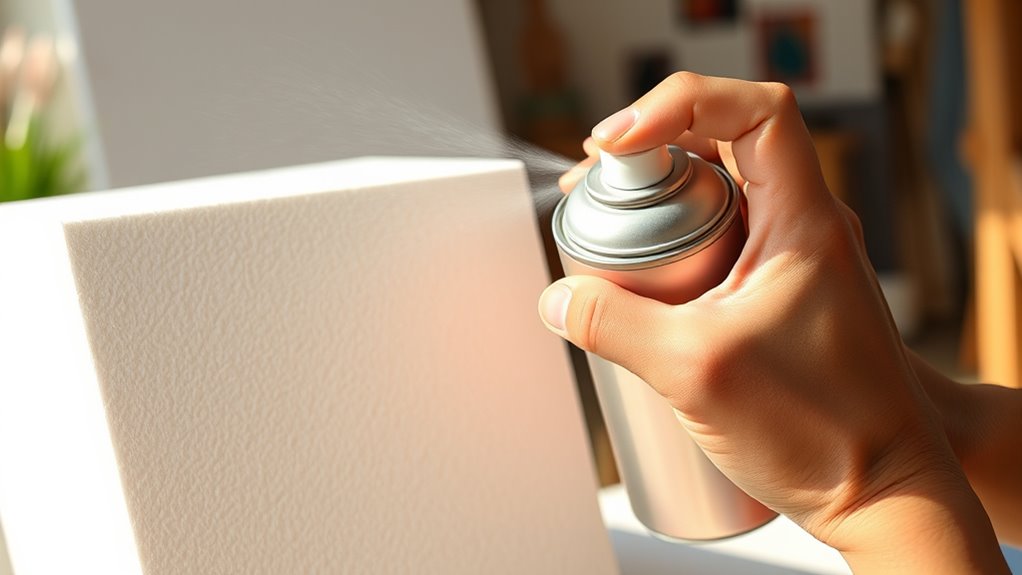
When choosing spray paint for Styrofoam, you’ll want to pick products specifically formulated to prevent damage. Regular latex spray paints and enamel sprays can melt or disintegrate the foam, so avoid them.
Instead, opt for Designmaster spray paint or acrylic spray paints labeled safe for foam or crafting projects involving Styrofoam. Always check the paint label to confirm compatibility with Styrofoam before buying.
To be extra cautious, test the spray paint on a small, hidden section of the foam first. This simple step helps you ensure the paint won’t harm the surface.
Techniques to Apply Spray Paint Without Damaging Styrofoam
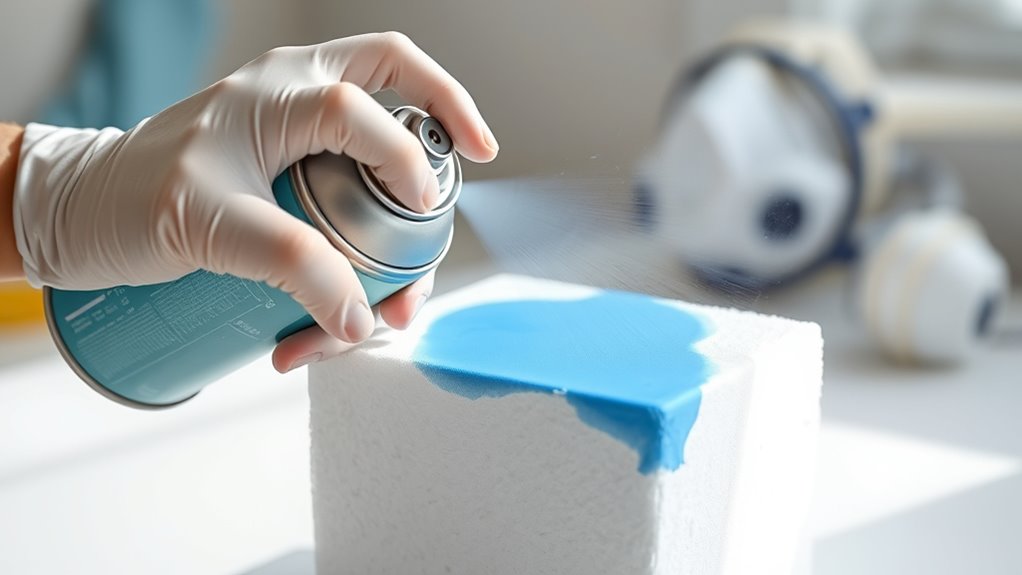
Although spray painting Styrofoam requires care, you can achieve a smooth finish by using the right techniques. Start by selecting the paint you can use, such as Designmaster or acrylic sprays labeled safe for Styrofoam.
Hold the can 6-12 inches away and spray in short bursts to avoid melting or dissolving the surface. Always test spray on a small area first.
After applying each coat, let it dry completely before adding another to prevent moisture buildup.
| Step | Tip |
|---|---|
| Choose Paint | Use Styrofoam-safe spray paint |
| Distance | Hold spray can 6-12 inches away |
| Application | Spray in short bursts, not continuous |
| Drying Time | Let it dry fully between coats |
Frequently Asked Questions
What Spray Paint Is Safe for Styrofoam?
You should use acrylic spray paints like Designmaster because they’re specially formulated to be safe on Styrofoam.
Avoid latex or enamel spray paints, as they can melt or damage the material. Always check the label first.
Will Spray Paint Ruin Styrofoam?
Yes, spray paint can ruin your Styrofoam if it’s not designed for it. You should always use spray paints specifically made for Styrofoam to avoid melting or damaging its surface and structure during your project.
It’s super important to check the label before you buy. Some spray paints contain solvents that eat away at Styrofoam, causing it to dissolve or get all bumpy. So, sticking with the right kind keeps your project looking great and intact!
What Kind of Paint Will Stay on Styrofoam?
You’ll want to use acrylic paint or Designmaster spray paint because they stick well and won’t melt your Styrofoam.
Avoid regular latex or enamel spray paints—they’ll damage the surface and ruin your project.
Can I Paint Styrofoam With Spray Paint?
You can spray paint Styrofoam, but you’ll want to use foam-friendly spray paint like Designmaster. Picture gentle misting, light coats, and careful distance to keep your foam smooth and intact without melting or warping.
It’s all about being gentle with it. Take your time and let each layer dry before adding another. That way, your Styrofoam stays looking great!
Conclusion
Spray painting styrofoam doesn’t have to be tricky if you choose the right paint and apply it carefully. Did you know that over 60% of hobbyists damage their projects by using harsh paints?
By opting for water-based or acrylic spray paints and keeping your distance while spraying in light coats, you’ll protect your styrofoam and get a smooth finish every time. It’s all about being gentle and patient with your application.
With these tips, your project will look fantastic without any damage! Remember, the key to spray painting styrofoam without damage lies in selecting the right paint and technique. Using water-based or acrylic paints helps avoid melting or degrading the material, and spraying from a distance in thin layers ensures an even, beautiful finish. Follow these simple steps, and you’ll enjoy a flawless, professional-looking result every time you spray paint your styrofoam projects.