Why Is My Paint Sprayer Not Spraying and How Can I Fix It Fast?
If your paint sprayer isn’t spraying, you’re probably dealing with a clog from dried paint, air leaks in hoses, or it might not be properly primed. These are some of the most common reasons why your sprayer stops working.
First, check and clean the spray tip, filters, and inlet screen. These parts often get blocked, causing paint flow issues. Make sure all connections are tight, too, since loose hoses can lead to air leaks that stop the paint from spraying correctly.
Next, prime the system to remove any trapped air pockets. Sometimes the sprayer just needs a little push to get things flowing again. Adjust the pressure settings if necessary, and try testing the gun alone to isolate the problem.
Fixing these common paint sprayer problems quickly will get your tool working again without a hassle.
Plus, knowing these quick fixes helps you keep your sprayer running smoothly for longer.
Key Takeaways
– Clean or replace clogged spray tip, filter, and inlet screen to restore paint flow.
These parts can easily get gunked up and block the paint.
– Prime the sprayer system to remove air pockets hindering paint delivery.
Air bubbles are sneaky and can really mess with your spray.
– Check hoses and fittings for air leaks that reduce pressure and spray consistency.
Leaks cause weak sprays, so make sure everything’s tight and sealed.
– Thin thick paint properly to prevent nozzle blockages and ensure smooth spraying.
If the paint’s too thick, it won’t flow right through the nozzle.
– Test the spray gun separately to isolate and fix the exact clog or malfunction.
This helps you figure out if the problem is the gun or somewhere else in the system.
Common Causes of Paint Sprayer Not Spraying

If your paint sprayer isn’t spraying, the issue often lies in a few common causes. With an Airless Paint Sprayer, dried paint buildup can clog the spray gun tip or nozzle. This leads to pattern problems and poor spray performance.
You might also face issues if the inlet valve or pump packings are stuck or damaged. This blocks paint flow through the pump. Using thick paint without thinning it properly can cause blockages inside the system. So, always check if your paint needs to be thinned.
Additionally, air leaks in hoses or fittings reduce pressure. This prevents the sprayer from working correctly. Finally, inadequate priming or low paint levels means the pump won’t draw paint properly. So, inspect these components before troubleshooting further.
Step-by-Step Troubleshooting to Restore Spray Function
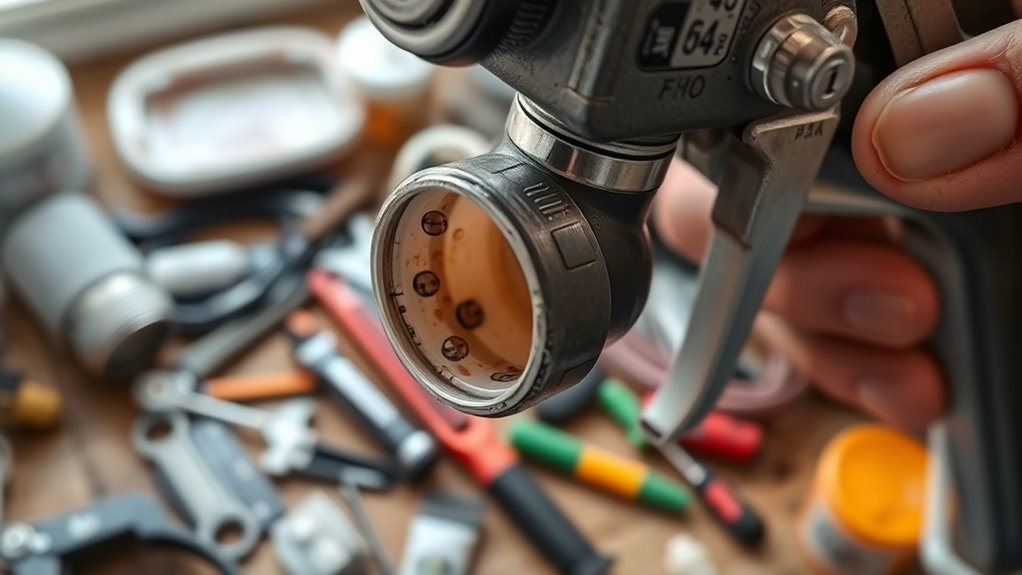
When your paint sprayer stops spraying, start by inspecting the spray tip, filter, and inlet screen for clogs. Clean or replace them as necessary to restore proper paint flow.
Next, check the priming by pressing the priming tube to eliminate any air pockets that might block paint movement. Verify the pressure setting and adjust the bypass knob to “Prime” to help the sprayer suction paint efficiently.
Press the priming tube to remove air pockets and set the bypass knob to “Prime” for better paint suction.
Inspect all hoses, connections, and the suction tube for leaks, damage, or blockages that could interrupt flow. Finally, test the spray gun separately by disconnecting the hose to see if paint or water flows freely. This helps pinpoint whether the clog is in the gun or elsewhere.
Following these steps should quickly restore your paint sprayer’s spray function. Give it a try, and you’ll likely have it working again in no time!
Maintenance Tips to Prevent Future Sprayer Issues
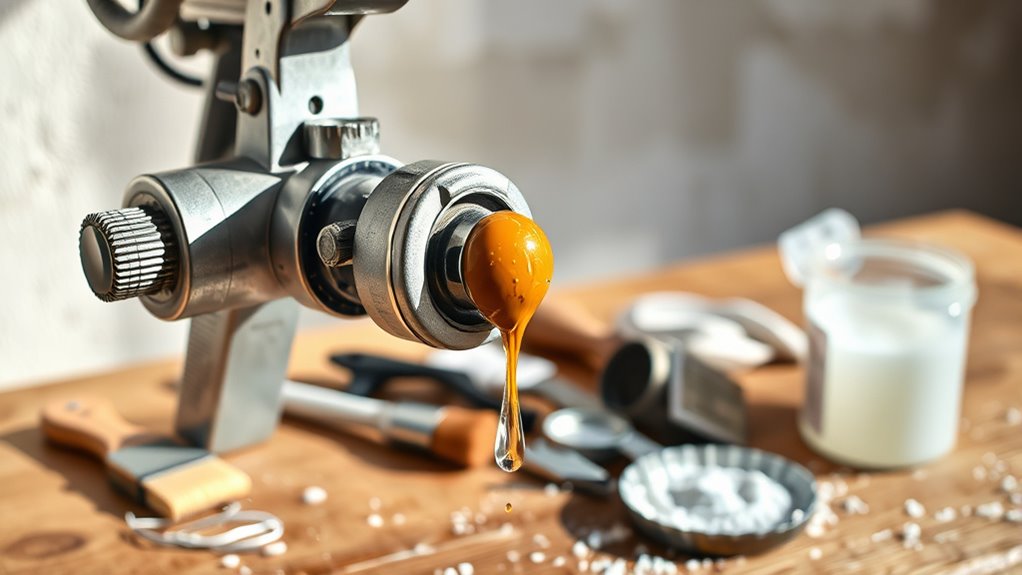
To keep your paint sprayer performing smoothly, you should clean all spray components regularly, including tips, filters, and nozzles. This helps prevent paint buildup and clogs.
Always inspect seals, O-rings, and packings for wear and replace them as needed. Keeping these in good shape maintains proper pressure and avoids leaks.
Thicker paints can cause problems, so thin them with a 50/50 mix of water or mineral spirits. This reduces clogging and ensures a smooth flow through the pump outlet.
After each use, flush the system thoroughly. Then, store the sprayer in a clean, dry area to keep it safe.
Make it a habit to check the filter, inlet valve, and pressure settings regularly. Catching issues early can save you a lot of trouble later.
Frequently Asked Questions
How Do You Fix a Sprayer That Won’t Spray?
You fix a sprayer that won’t spray by unclogging the nozzle, checking paint levels, and ensuring proper pressure.
Also, inspect hoses for leaks and confirm the trigger works smoothly.
Clean and prime it to restore paint flow quickly. That should do the trick!
How to Test a Paint Sprayer to See if It Works?
Fill the container and set the sprayer to “prime.” Then, turn it on and listen for the motor.
Go ahead and squeeze the trigger to see if paint sprays out. If nothing comes out, don’t worry just yet.
Try disconnecting the gun and test the water flow directly from the hose. This will help you figure out if the issue is with the sprayer or the paint gun.
Why Is My Paint Sprayer Sputtering Not Mist?
Sputtering signals stubborn spots—like a clogged nozzle or thick paint. You’ll want to swiftly clean filters, clear clogs, check connections, and calibrate your compressor’s pressure.
Doing this helps create consistent, smooth sprays instead of sputters. It’s all about keeping everything flowing just right!
How to Fix Spray Paint That Won’t Spray?
Check and clean the spray tip, filter, and air cap. Thin your paint if it’s too thick, and make sure the tip’s installed correctly.
Also, inspect hoses for clogs or damage. These steps’ll get your sprayer working fast.
Conclusion
If your paint sprayer isn’t spraying, don’t let it drive you crazy like it’s the end of the world! By quickly checking for clogs, air leaks, or low pressure, you can usually fix it in minutes.
Regular maintenance keeps your sprayer ready to go, saving you from future headaches. Follow these simple steps, and you’ll have a smooth, flawless finish every time—no stress, no mess!
When your paint sprayer is not spraying properly, it’s often due to common issues like blockages or air leaks. Start by cleaning the nozzle and checking the hose for any cracks or loose connections. Also, ensure your air compressor or pump is providing enough pressure.
Fixing these problems fast means you won’t waste time or paint, and your project will stay on track. Keeping your paint sprayer clean and maintained regularly is the best way to prevent issues. With these quick fixes, your paint sprayer will be spraying perfectly in no time, giving you a professional, even coat every time you use it.



One Comment