
How to Use the Magnum X Airless Paint Sprayer in 5 Easy Steps
Start by setting up the Magnum X Airless Paint Sprayer. Connect the hoses carefully and lift the primer to ensure your system is leak-free.
Next, prime the sprayer by submerging the suction tube in paint. Run the sprayer to fill the hose completely.
Now, secure and align your spray tip. Adjust the pressure starting from low to achieve a smooth, even pattern.
Before you jump into your project, test the sprayer on scrap material. This helps you get a feel for the spray pattern and pressure.
During use, maintain proper spray tip modes to avoid clogs. Keeping this in check ensures a flawless finish every time.
Keep going, and you’ll discover more tips for achieving professional results and easy troubleshooting with your Magnum X Airless Paint Sprayer.
Key Takeaways
- Connect the spray hose and attach the drain tube to a waste bin. Next, set the pressure knob to start for the initial setup.
- To prime the sprayer, dip the suction tube into the paint. Run it for about 60 seconds, then press the primer button.
- Make sure to securely attach and align the spray tip. Remember, lift the primer before switching tips to prevent leaks.
- Test spray on some scrap material. Start at low pressure, then adjust it until you get a consistent pattern and smooth atomization.
- If you get clogs during use, switch the spray tip to the unclog position. Hold the trigger firmly, then you can resume spraying smoothly.
Preparing the Sprayer and Setting Up
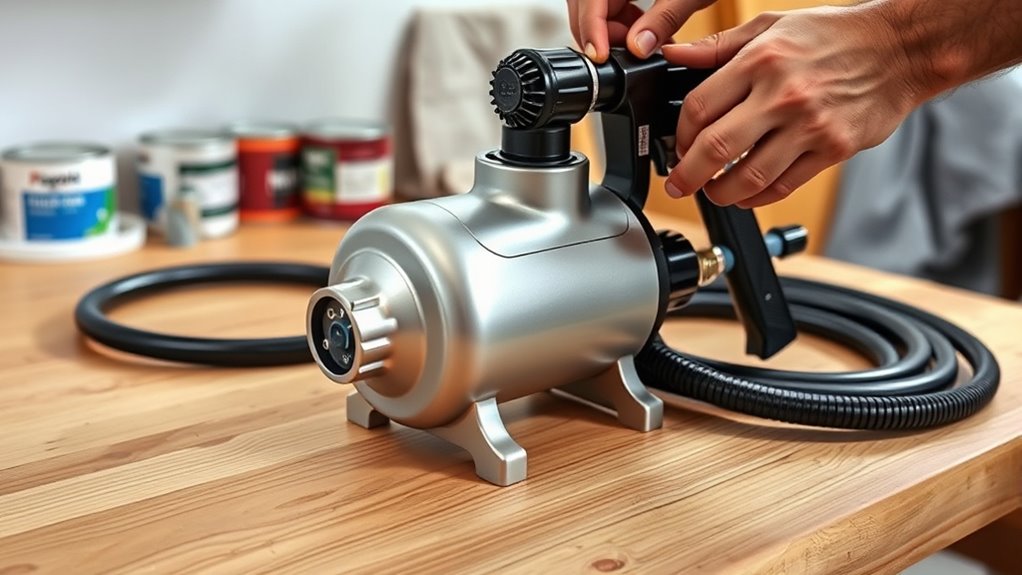
Before you begin, remove the rack cap from the sprayer to guarantee proper installation. Next, securely connect the spray hose to the sprayer; this ensures a tight fit that prevents leaks.
Attach the drain tube into a waste bin, separating it from the suction tube, so you can prime the system properly. Connect your water source to the suction tube, making sure the pressure knob is set to the starting position for controlled flow.
Before spraying, lift the primer or spray position to allow the system to prime correctly. Keep your spray tip clean and free of debris during setup to maintain a smooth, even spray pattern once you start painting.
Lift the primer to prime the system and keep your spray tip clean for an even spray pattern.
Proper preparation here saves time and avoids issues down the line. So, take your time setting everything up right!
Priming the System With Paint or Primer
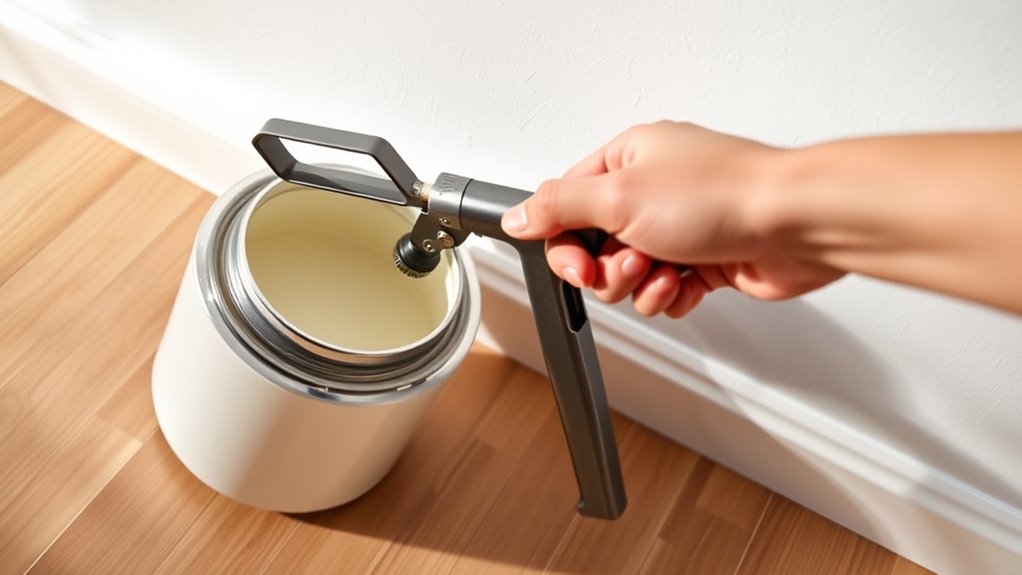
Once your sprayer is set up and connected properly, you’ll want to prime the system with paint or primer to guarantee smooth operation. First, make sure to dip the suction tube into your paint or primer before turning the sprayer on.
Turn the sprayer on and let it run for about 60 seconds to fill the hose and prime the system. During this time, keep the spray tip in the unclog position to allow air to escape and prevent clogging.
Also, insert the drain tube into a waste bin to catch any excess fluid and avoid spills. Finally, press the primer push button to help the paint or primer flow through the system efficiently, ensuring everything is ready for your project.
Attaching and Adjusting the Spray Tip
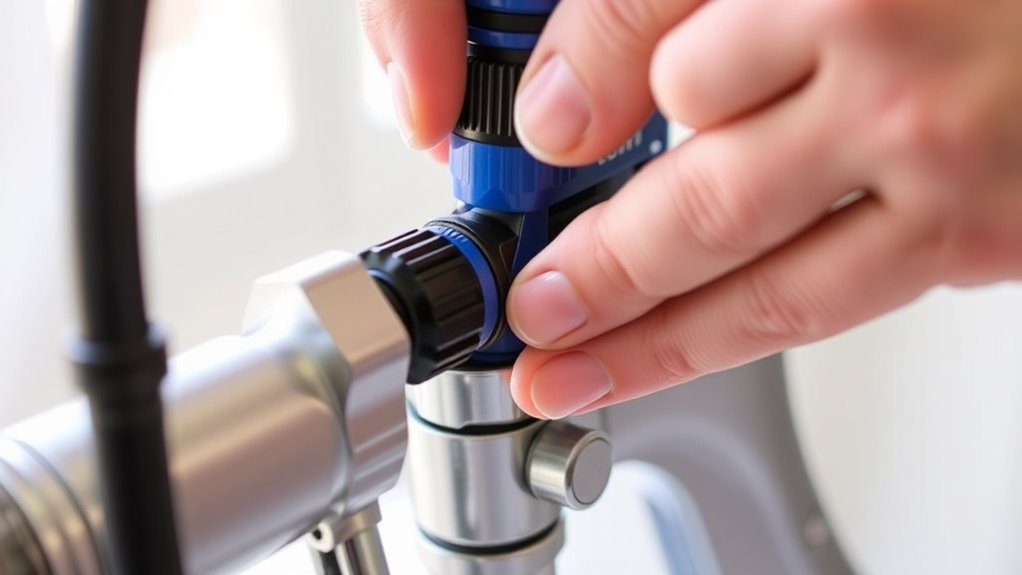
When you attach the spray tip, make sure it clicks securely into the holder to guarantee a proper fit. Align the spray tip with the spray pattern indicator to ensure even coverage across your surface.
Before switching tips, always lift the primer or sprayer position to avoid paint leakage. If you notice any clogging, turn the pressure knob to the unclog position to clear blockages, then switch back to spray mode.
Regularly inspect and clean the spray tip to maintain a consistent spray pattern and prevent buildup that can disrupt your work. Proper attachment and adjustment of the spray tip are essential for smooth operation and professional results with your Magnum X airless paint sprayer.
Testing and Adjusting Spray Pressure
How do you guarantee an even, professional finish with your Magnum X airless paint sprayer? Start by testing and adjusting the spray pressure carefully. Always begin at the lowest pressure setting to prevent overspray and maintain control.
Use the suction tube properly to ensure consistent paint flow. Spray onto a piece of cardboard or scrap material to check coverage and pattern before working on your actual surface.
Gradually increase pressure by turning the knob counterclockwise until you achieve the desired atomization and coverage.
Remember to adjust pressure based on paint thickness; thicker materials need higher pressure. Also, keep an eye on the spray pattern for consistency.
Fine-tune pressure to avoid drips and uneven application. This process ensures smooth, even results every time.
Operating and Troubleshooting During Use
Although operating the Magnum X airless paint sprayer is straightforward, you need to stay vigilant for clogs or blockages during use. Regularly check the spray tip, especially when switching materials or after long pauses.
If you notice any obstruction, first confirm the spray tip is set to the correct unclog position to avoid damage. Hold the trigger securely into your waistband to prevent accidental sprays or leaks while clearing blockages.
Once the clog is cleared, switch the tip back to spray mode for normal operation. Adjust the pressure gradually and test on a scrap surface to maintain a consistent spray pattern.
This helps prevent buildup or uneven application, keeping your work smooth and professional throughout the job. Just take it step by step, and you’ll get great results every time.
Frequently Asked Questions
How to Operate a Magnum X5 True Airless Paint Sprayer?
You connect the hose and prime the system with paint. Then, adjust the pressure knob to a low setting before you start spraying.
Make sure to clip the tip correctly and increase the pressure gradually as you go. If you run into any blockages, switch to unclog mode.
Keep an eye out for clogs throughout the process. It helps keep everything running smoothly.
How to Operate a Graco Magnum X7 Paint Sprayer?
Imagine painting like a breeze—connect the hose and turn the pressure to low. Then, power on your Graco Magnum X7 paint sprayer.
Next, prime the sprayer by holding the trigger until paint starts flowing.
Adjust the tip to suit your project, test spray on a piece of cardboard, and then increase the pressure.
This will give you smooth, effortless coverage every time with your Magnum X7.
What Is the Number One Rule When Using Airless Spray Guns?
The number one rule when using airless spray guns is to always wear proper personal protective equipment. You shouldn’t skip goggles, gloves, and a respirator to protect yourself from harmful fumes and high-pressure paint exposure.
It might seem like a hassle, but trust me, it’s worth it. Staying safe should always be your top priority when handling these powerful tools.
Is Magnum X5 Paint Sprayer Any Good?
Yes, the Magnum X5 paint sprayer is great. You’ll appreciate its powerful 3000 PSI output, adjustable pressure, and lightweight design.
It’s reliable and perfect for both DIY projects and professional use, making your painting easier. You’ll find it really handy for a variety of tasks!
Conclusion
Now that you’ve mastered using the Magnum X Airless Paint Sprayer in just five easy steps, you might wonder if it really saves time and effort. The truth? It does. By prepping correctly, priming well, adjusting the tip, testing pressure, and troubleshooting on the go, you’ll get a smooth, professional finish faster than with brushes or rollers.
Give it a try—you’ll see how this sprayer transforms your painting projects for good. The Magnum X Airless Paint Sprayer isn’t just about speed; it’s about achieving consistent coverage with less fatigue. Whether you’re painting walls, fences, or furniture, this tool makes the job easier and more efficient.
So, if you want to save time and get a flawless finish, the Magnum X is definitely worth using. It’s a smart investment for anyone looking to upgrade their painting game and enjoy the process more.





One Comment