How to Prime an Airless Paint Sprayer in 5 Easy Steps
To prime your airless paint sprayer properly, start by setting up a clean workspace and selecting fresh, suitable paint. This step is crucial because clean equipment and quality paint ensure smooth operation and a flawless finish.
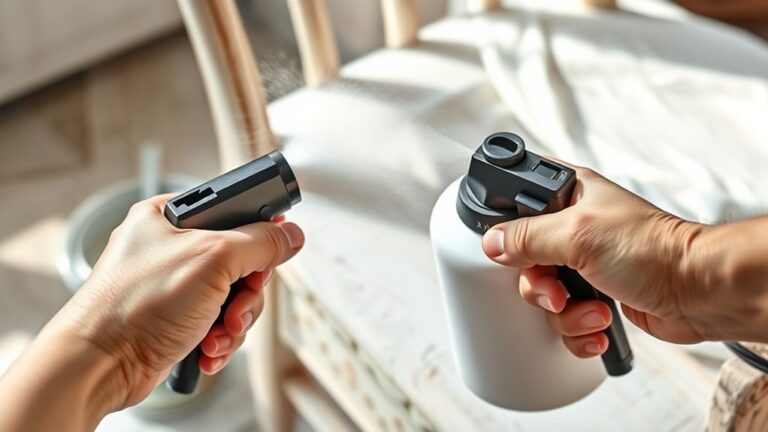
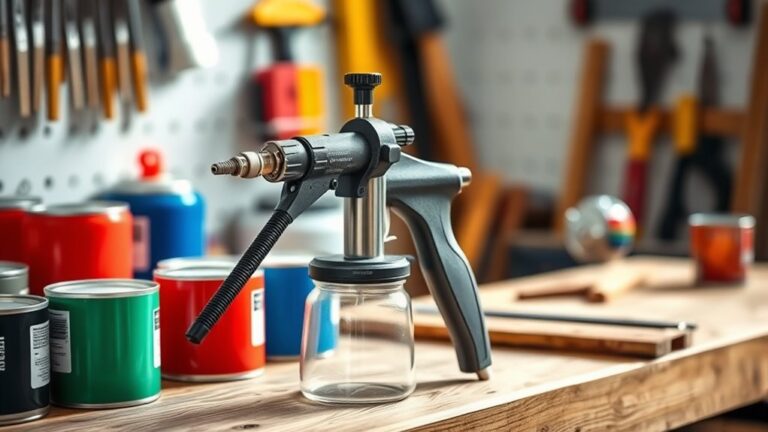
Next, securely assemble the hoses: connect the intake hose from the paint container to the pump, and link the return hose back to the paint container. Don’t forget to lock the spray nozzle in place to avoid any leaks or accidents.
Before you start, put on gloves and safety gear to protect yourself. Safety first, right? Open both the intake and return valves, then power on the machine.
Adjust the return valve to get the paint circulating smoothly through the system.
Finally, slowly increase the pressure until the spray pattern is steady and consistent. Once you achieve that, lock the nozzle in place.
Keep following these steps every time you prime your sprayer to get flawless spraying results.
Key Takeaways
- Prepare a clean work area and use fresh, suitable water-based paint. This helps prevent clogs and ensures smooth spraying.
- Assemble your equipment by securely connecting the intake and return hoses. Attach the nozzle and open both the intake and return valves.
- Be sure to wear protective gloves, safety glasses, long sleeves, and a mask. This keeps you safe from paint exposure and potential injuries.
- Turn on the sprayer and gradually open the return valve to circulate the paint. Keep the spray nozzle locked during this priming process.
- Slowly increase the pressure using the pressure control valve until you get a steady spray. Then, lock the nozzle to finish priming.
Prepare the Work Area and Paint

Before you begin priming your airless paint sprayer, make sure your work area is clean and dust-free to prevent contamination. A spotless space helps avoid debris getting into the sprayer, which can cause blockages and uneven paint application.
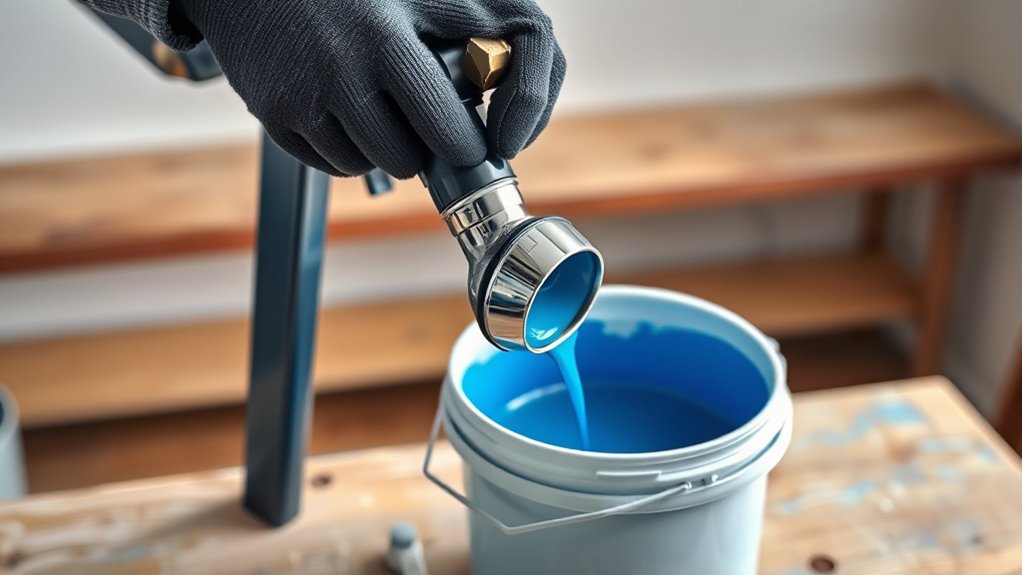
Next, use only fresh, well-mixed water-based paint, as airless sprayers like the Ellis model are designed specifically for these paints. Old or dried paint can form clumps or a skin that clogs the sprayer, so avoid using leftover or incompatible paints.
If you’re thinking about using a different type of paint, make sure to consult your local branch staff to confirm it’s safe and suitable for your airless sprayer. Taking these steps guarantees smooth spraying and protects your equipment.
Assemble and Connect Equipment Components
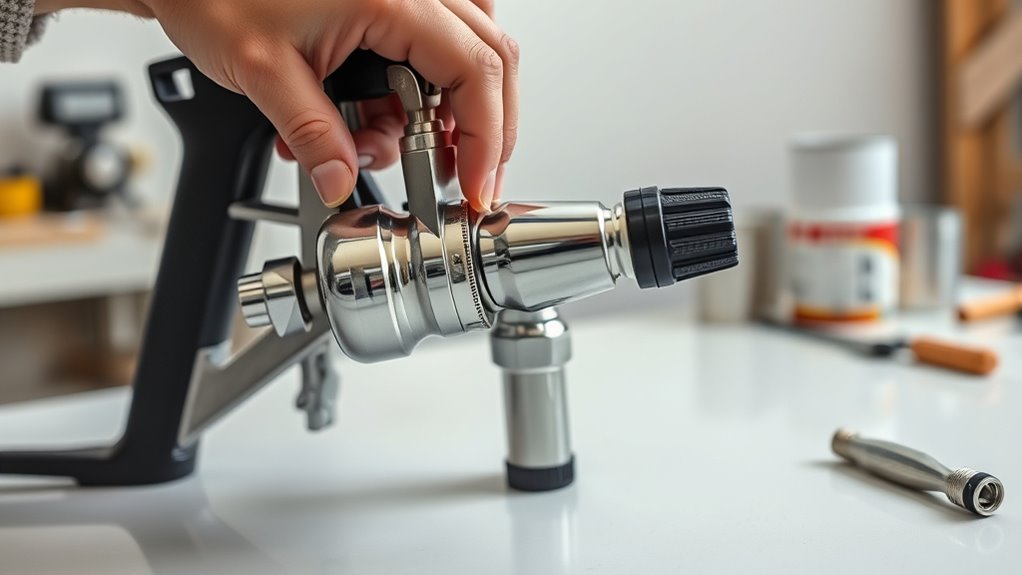
Once you’ve prepared your work area and paint, connect the intake hose securely between the paint container and the pump inlet. Next, attach the return hose from the pump’s return outlet back into the paint container, making sure it’s firmly in place.
Lock the spray nozzle onto the sprayer, ensuring it’s secure to prevent leaks during operation. Check that both intake and return valves are turned left to open the flow paths, allowing paint to circulate properly.
Before proceeding, inspect all hoses for kinks or blockages, as these can disrupt the paint flow and cause uneven spraying. Tighten all connections to avoid any leaks or pressure loss.
Wear Safety Gear Before Starting

Because airless paint sprayers operate under high pressure, you should always wear gloves and safety glasses to protect your skin and eyes from accidental splashes. Make sure you dress appropriately with long sleeves and closed-toe shoes to prevent paint from contacting your skin.
If you’re working with fumes or spray paint, use a mask recommended by your local branch. Before you start, check that all your safety gear fits well and is in good condition—never bypass it.
High-pressure spray can cause serious injection injuries if you’re not careful. Taking these precautions guarantees you stay safe while priming your sprayer and reduces the risk of accidents or exposure to harmful substances during the process.
Open Valves and Turn On the Machine
Although you’ve prepared your sprayer and safety gear, you need to open both the intake and return valves by turning them to the left before switching on the machine. This step guarantees paint can flow properly through the system.
Once the valves are open, turn on the airless sprayer to start the priming process. Next, slowly turn the return valve to the right; this allows paint to begin flowing through the return line, helping clear air from the pump.
Make sure the spray nozzle stays locked in place while you do this to avoid accidental spraying. Opening the valves and powering on the machine correctly sets the stage for smooth priming, preventing clogs and ensuring consistent paint delivery when you start spraying.
Adjust Pressure and Complete Priming
With the valves open and the machine running, you can start adjusting the pressure control valve by turning it slowly to the right. Do this gradually to build pressure without causing damage.
Keep an eye on the paint flow; once you see a steady, consistent spray from the nozzle, stop adjusting. Avoid over-pressurizing, as that can lead to leaks or harm your equipment.
If the paint doesn’t flow after priming, double-check hose connections and repeat the process. When you have the right pressure and a steady paint flow, lock the nozzle in place to maintain safety.
Now your sprayer is primed and ready for a smooth, professional paint job.
Frequently Asked Questions
How Do I Prime My Airless Sprayer?
To prime your airless sprayer, open the intake and return valves. Then, turn on the sprayer.
Slowly close the return valve until paint starts to flow. Keep adjusting the pressure until the spray is steady.
Remember to wear gloves and safety glasses for protection while you’re working. Safety first!
How Do You Prime a Sprayer Before Using It?
Before you plunge into painting, gently awaken your sprayer by opening its valves and letting the paint flow steadily.
Don’t forget to protect yourself with gloves and glasses—safety’s your best friend during this smooth start.
What Is the Number One Rule When Using Airless Spray Guns?
The number one rule when using airless spray guns is to always point the spray nozzle away from yourself and others. Don’t ever place your hand or body in front of the spray tip while it’s operating.
It might sound simple, but staying safe is super important. Just keep that nozzle aimed away, and you’ll avoid any accidents.
What Psi Should I Spray Primer At?
You should spray primer between 1500 and 3000 PSI—like controlling a thunderstorm in your hands. Start low, adjust slowly, and avoid too much pressure to prevent excessive overspray and make certain of smooth, even coverage.
Keep your hand steady, and remember, less is more when it comes to pressure. This way, you’ll get a perfect base coat every time without wasting material.
Conclusion
Now that you’ve prepped your paint sprayer, imagine the smooth flow of paint gliding effortlessly onto your surface, like silk spreading over a canvas.
With your equipment assembled, safety gear on, and pressure perfectly adjusted, you’re ready to bring your project to life.
Priming your airless sprayer is the first splash of color in your masterpiece—simple, quick, and satisfying.
Go ahead, take that first spray and watch your vision come alive!
Priming an airless paint sprayer properly ensures a smooth, even application and prevents clogs or splatters. Follow these easy steps to get your sprayer ready and enjoy a flawless finish every time. Whether you’re tackling a small touch-up or a big renovation, priming is key to a professional-looking paint job. So, don’t skip this crucial step—prime your airless paint sprayer with confidence and get ready for beautiful results!