How You Spray Paint Cement Blocks Step by Step
Start by thoroughly cleaning your cement blocks to remove dirt, dust, and any efflorescence. This step is crucial because a clean surface helps the paint stick better.
After cleaning, repair any cracks and let everything dry completely.
Next, apply a quality masonry primer evenly across the blocks. The primer acts as a base and helps the paint last longer.
Make sure to let the primer dry fully before you start spray painting.
Shake your spray paint can well to mix the paint inside.
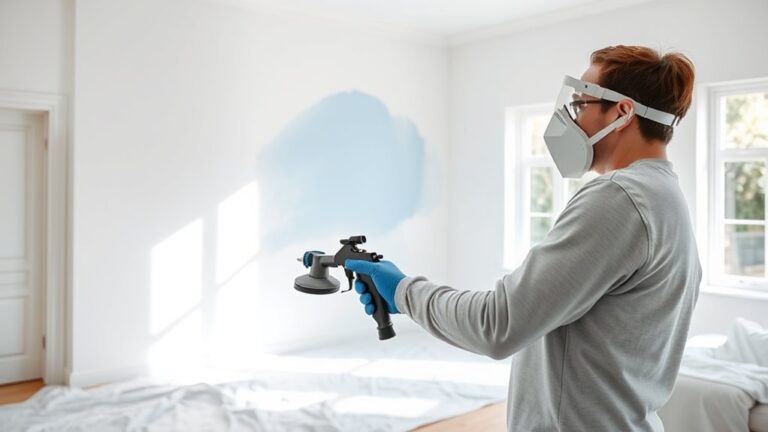
Hold the can 12 to 16 inches away from the surface and apply several light coats.
It’s better to do multiple thin layers than one thick one.
Allow each coat to dry between applications to avoid drips.
Following these steps guarantees a smooth, long-lasting finish on your cement blocks.
Want some tips on choosing the right primers and paint types? Keep reading!
Key Takeaways
– Thoroughly clean and repair cement blocks, removing dirt, efflorescence, and cracks before painting.
Make sure the surface is completely dry to prevent moisture from getting trapped beneath the paint.
– Apply a masonry primer evenly, covering all areas and allow it to dry fully.
Shake the spray paint can well, hold it about 12-16 inches from the surface, and test spray before you start painting.
– Spray multiple light, even coats with 15-30 minutes drying time between each for a smooth finish.
Preparing and Cleaning Cement Blocks

Before you start spray painting cement blocks, make sure you clean them thoroughly using a stiff-bristled brush or pressure washer. This will help remove dirt, dust, and loose debris. A clean surface is essential because spray paint adheres better when the masonry is free of contaminants.
After cleaning, take a close look at the cinder blocks for any cracks, mold, or efflorescence. You can remove efflorescence by scrubbing with vinegar or a specialized cleaner, then rinse well. It’s important to repair any cracks or holes with masonry sealant and let it cure completely.
Also, be sure the surface is dry according to the weather and drying time guidelines. This helps prevent moisture from getting trapped under the paint. When the blocks are clean and dry, the paint will go on smoothly and last longer.
Applying Primer and Spray Paint Coats

Even if your cement blocks look perfect, applying a high-quality masonry primer is essential to guarantee the paint adheres well and lasts longer. Use a spray gun or roller to apply an even coat of primer, making sure you reach all crevices for complete coverage.
Let the primer dry fully according to the manufacturer’s recommended drying time—usually 1 to 2 hours—before moving on. When using spray paint, shake the can thoroughly and test it on a small area to ensure proper flow.
Apply multiple light coats, holding the spray gun 12 to 16 inches from the surface to avoid drips. Allow each coat to dry 15 to 30 minutes before the next, and don’t over-saturate the blocks to prevent runs and pooling.
Frequently Asked Questions
Can Concrete Blocks Be Spray Painted?
Yes, you can spray paint concrete blocks, but you’ll need to clean and prime them first.
Use exterior-grade paint made for masonry, apply multiple light coats, and seal porous blocks to guarantee the paint sticks and lasts well.
It’s all about prepping the surface properly so your paint job looks great and holds up over time.
What Type of Spray Paint Is Best for Painting Cement Blocks?
You should use high-quality exterior spray paint made for concrete or masonry, labeled weather-resistant or outdoor-safe.
Matte or satin finishes work best, and using a primer for porous surfaces boosts adhesion and durability.
This way, your paint job will last longer and look great, even when exposed to the elements. Plus, the primer helps the paint stick better, so you won’t have to worry about peeling or chipping anytime soon.
What Is the Best Way to Paint Cement Blocks?
You should clean and dry the blocks thoroughly, then use high-quality exterior spray paint. Apply light, even coats from 12-18 inches away, shaking the can well and letting each layer dry completely.
This way, you’ll get a smooth, durable finish that lasts. Just take your time and be patient between coats!
Can You Paint Straight Onto Concrete Blocks?
You can paint straight onto concrete blocks, but it’s like building a house on sand without prep.
You’ll want to clean, prime, and choose the right paint so your work sticks and stands tall over time.
Conclusion
Now that you’ve prepped and primed your cement blocks, you’re just moments away from transforming their look completely. But before you pick up that spray can, remember: the key to a flawless finish is patience and steady strokes.
Ready to see your hard work shine? Grab your spray paint, take a deep breath, and start spraying—you’re about to turn ordinary blocks into something extraordinary.
Spray painting cement blocks can really change the vibe of your space, making it more vibrant and personalized. Keep your spray strokes smooth and even, and don’t rush the process.
The final reveal is closer than you think! With the right technique, your beautifully spray painted cement blocks will not only look amazing but also last longer. So take your time, enjoy the process, and get ready to admire your fresh new look!