Blog

  • How You Use Any Paint in a Paint Sprayer

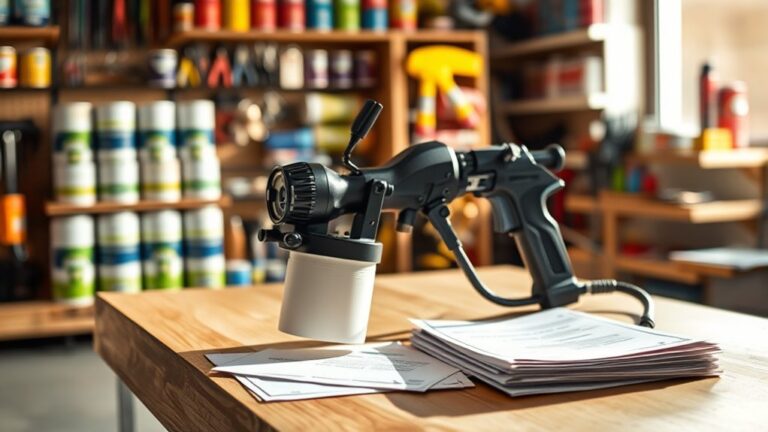
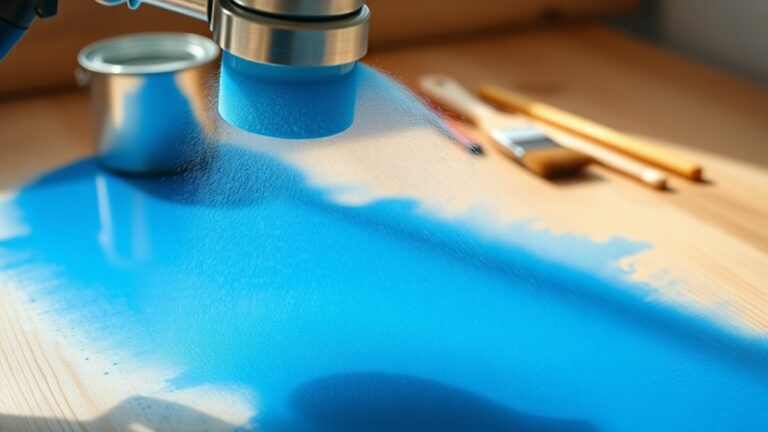
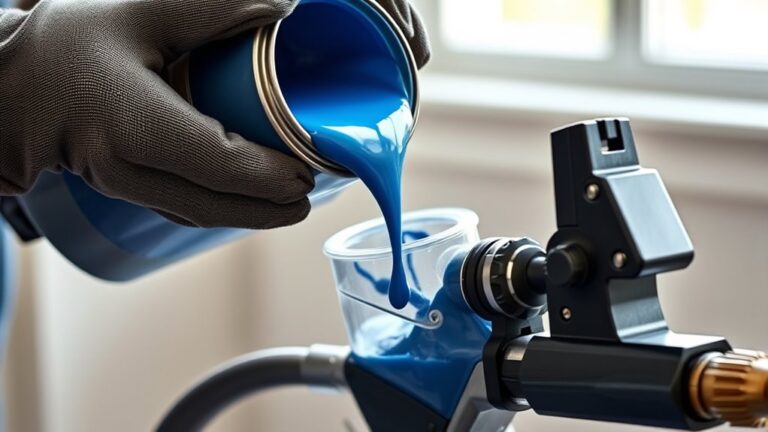
    To use any paint in a paint sprayer, you first need to strain and thin it as recommended, ensuring it flows smoothly without clogging.

    Set up your sprayer by attaching the turbine and filling the cup. Then, adjust the nozzle and spray pattern to suit your project.

    Keep the sprayer at least six inches from the surface for even coverage.

    After use, clean and maintain the sprayer for peak performance.

    Keep going to discover tips on perfect setup and care.
  • 5 Easy Tips to Clean a Clogged Paint Sprayer

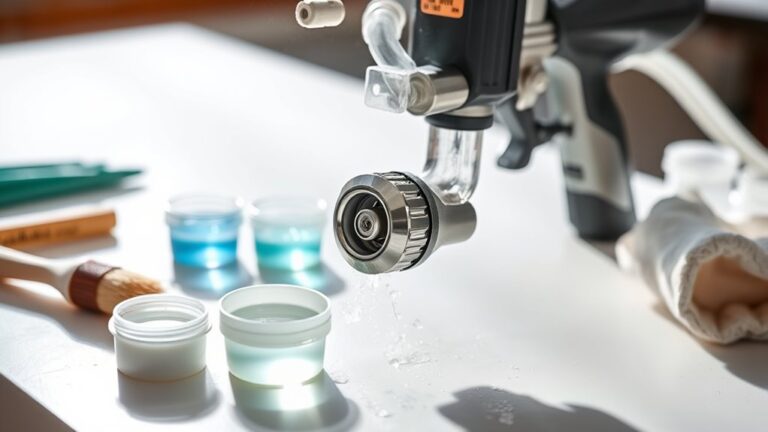
    If your paint sprayer shows uneven spray or reduced flow, you’ve likely got a clog. First, lock the trigger and rotate the spray tip to test different spray patterns.

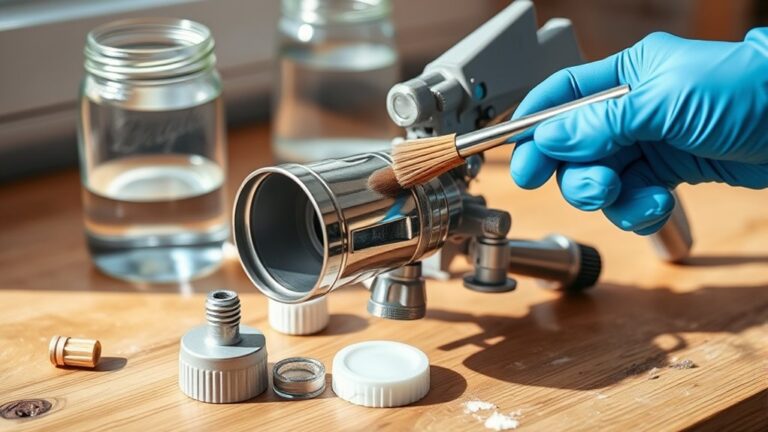
    Next, remove the tip and filters, soaking them in the correct solvent—mineral spirits for oil-based, warm water for water-based paint. Use a soft brush to clear buildup, rinse thoroughly, and dry.

    Ultimately, clean your filters regularly to prevent future blockages. Keep going to uncover more ways to keep your sprayer in top shape.

  • How Much Does It Cost to Rent a Paint Sprayer?

    You can expect to pay between $60 and $125 per day to rent a paint sprayer, with electric models usually around $75 daily.

    Weekly rentals offer better value, typically ranging from $240 to $500.

    Keep in mind extra costs like cleaning, delivery, and damage waivers can add up.

    Renting makes sense for short jobs, but buying might save you money if you paint often.

    There’s more to ponder before making your choice.

  • How to Paint Kitchen Cabinets With a Sprayer in 7 Easy Steps

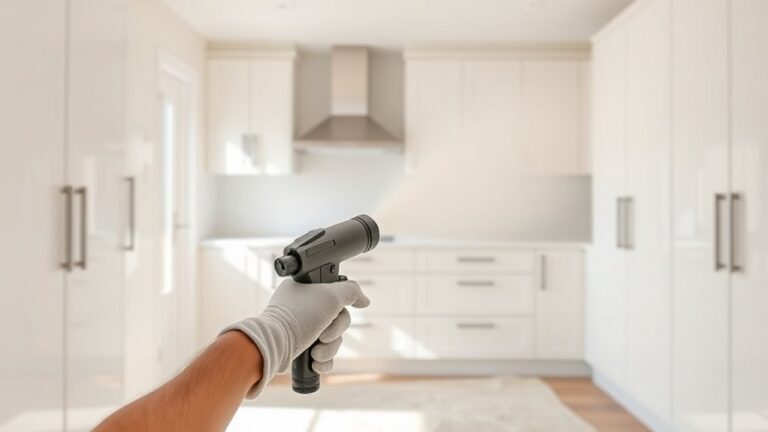
    To paint your kitchen cabinets with a sprayer, first remove and label all doors, drawers, and hardware. Next, clean and sand every surface to guarantee paint sticks well.

    Prepare your workspace by protecting nearby areas, then apply a primer to seal the wood. Load and adjust your sprayer for even coverage, applying multiple thin coats with light sanding in between.

    Finally, reattach all hardware securely for a polished finish. Keep going to uncover detailed tips for each step.

  • How Do You Clean a Paint Sprayer in 5 Easy Steps

    To clean your paint sprayer in five easy steps, start by releasing excess paint at low pressure to avoid splattering. Then, wipe down the exterior to remove drips and buildup.

    Next, flush the system thoroughly with clean water or a suitable cleaner until clear fluid flows. Remove and soak the spray tip to clear clogs, scrubbing gently if needed.

    Finally, flush with storage fluid and store it in a dry place. Following these steps guarantees your sprayer stays ready for the next job.

    For more detailed tips, keep exploring.

  • How You Can Paint a Car With an Airless Sprayer Step by Step

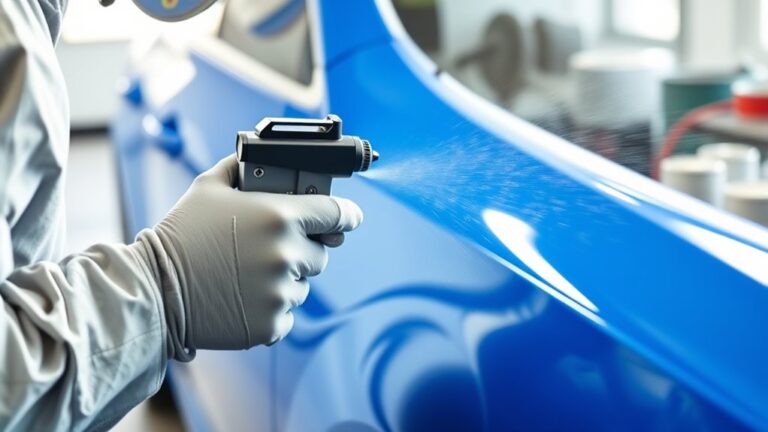
    To paint a car with an airless sprayer, start by thoroughly cleaning, sanding, and priming the surface for good adhesion.

    Adjust your sprayer to a fine-finish tip like 310 or 410, and test spray on scrap to get consistent pressure and pattern.

    Apply epoxy primer and basecoat in several thin coats, letting each dry properly.

    Then finish with multiple clearcoat layers while maintaining steady overlap and distance.

    Keep these basics in mind, and you’ll be set to explore expert techniques for a flawless finish.

  • Does a Paint Sprayer Use More Paint?

    Yes, a paint sprayer typically uses about 25% to 33% more paint than a roller. That’s because sprayers create fine paint particles that often drift into the air, leading to overspray and wasted paint.

    Rollers apply paint more directly and efficiently with minimal waste. However, if you adjust your spray technique and equipment properly, you can reduce this waste.

    Keep exploring to find out which method suits your project best and how to save paint while spraying.

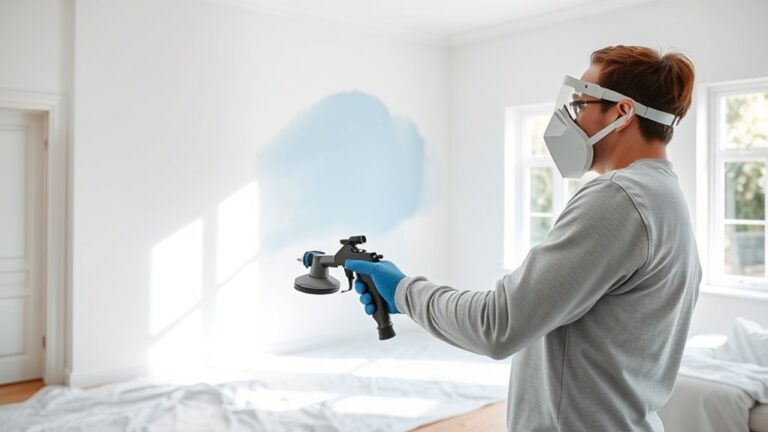
  • How to Use a Paint Sprayer Indoors in 3 Simple Steps

    First, thoroughly prepare and mask your area by cleaning surfaces, removing fixtures, and covering floors and trim with plastic and tape.

    Next, set up your paint sprayer with the right tip, fill it with well-mixed paint, and practice smooth, overlapping passes about 10-12 inches from the walls.

    Finally, once the paint dries, carefully remove your masking and do any touch-ups with a brush to guarantee a perfect finish.

    Keep going to uncover tips for flawless results and easy cleanup.

  • Why Is My Wagner Paint Sprayer Not Working?

    If your Wagner paint sprayer isn’t working right, it’s likely due to clogged or worn nozzles, dirty filters, or paint buildup inside the trigger or pump. You’ll want to clean the air caps, nozzles, and filters thoroughly.

    Also, check for leaks or loose connections, and verify that the paint viscosity is correct.

    Don’t forget to inspect and lubricate the trigger and internal pump parts for smooth operation. Keep things maintained, and you’ll avoid most common issues.

    There’s more to learn about getting your sprayer back to peak performance, so keep digging into the details!