How You Spray Paint Galvanised Steel Step by Step
To spray paint galvanized steel, start by thoroughly cleaning the surface with a damp cloth or vinegar to remove oils and dirt. This step is crucial because any residue can prevent the paint from adhering properly.
Next, remove any rust or loose paint by sanding or wire brushing. You’ll also want to lightly roughen shiny areas to give the paint a better grip. After that, rinse the surface and let it dry completely before moving forward.
Now, apply a zinc phosphate primer in light, even coats. This primer is specially formulated to bond with galvanized metal, helping your paint last longer.
Once the primer’s dry, spray your paint evenly, making sure each layer cures properly for lasting protection.
Keep going to discover detailed tips for a flawless finish and learn how to make your galvanized steel look great for years to come!
Key Takeaways
- Clean the galvanized steel thoroughly using a damp cloth or white vinegar. This helps remove oils and contaminants, which is super important for better paint adhesion.
- Next, remove any rust and loose paint. You can use sandpaper or a wire brush for this. Also, lightly roughen shiny surfaces to stabilize and prep the zinc coating.
- After that, rinse the surface with water and let it dry completely before painting. This step ensures your primer and paint will bond optimally.
- When you’re ready, apply a zinc phosphate or specialized primer. Spray it in light, even coats from about 6-12 inches away. Make sure each coat dries fully before moving on.
- Finally, spray paint using smooth, consistent motions. Overlap each pass by 30-50% to get even coverage. To finish, add a clear topcoat for durability and corrosion resistance.
Preparing the Galvanised Steel Surface
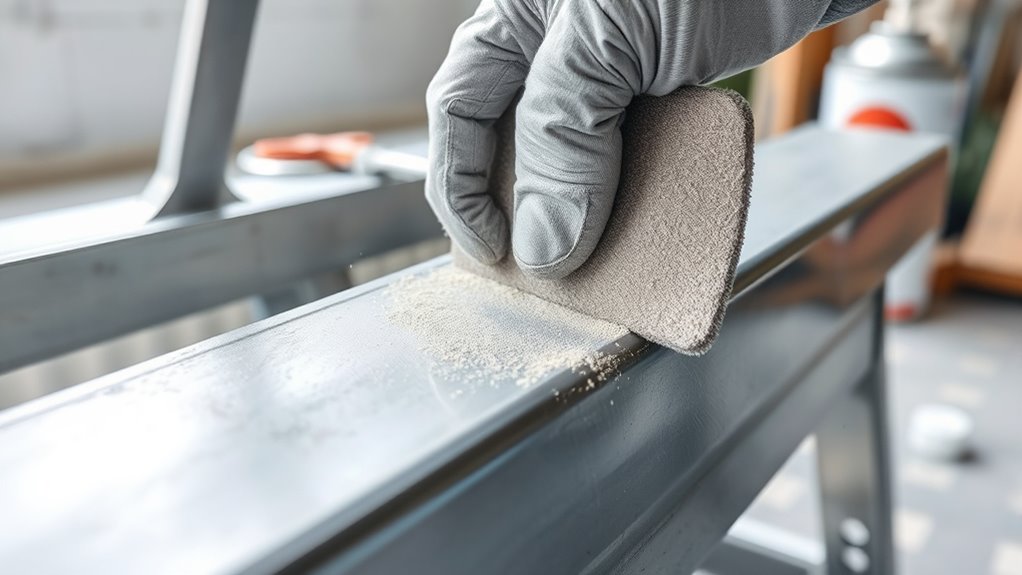
How do you get galvanized steel ready for spray painting? Start with thorough cleaning using a damp cloth, white vinegar, or specialized cleaning agents to remove oils, dirt, and contaminants. Proper surface preparation is vital to ensure adhesion.
Next, perform rust removal by sanding or using a wire brush to eliminate any corrosion or loose paint. This step stabilizes the zinc coating and prevents future corrosion.
Remove rust and loose paint with sanding or a wire brush to protect and stabilize the zinc coating.
After cleaning, rinse the surface with water and allow it to dry completely. For shiny or new galvanized steel, lightly roughen the zinc coating with steel wool or a wire brush to enhance paint adhesion.
This surface roughening improves primer application later on. Taking these steps guarantees your spray paint will bond strongly and resist peeling, making corrosion prevention effective from the start.
Applying Primer and Spray Paint Coats
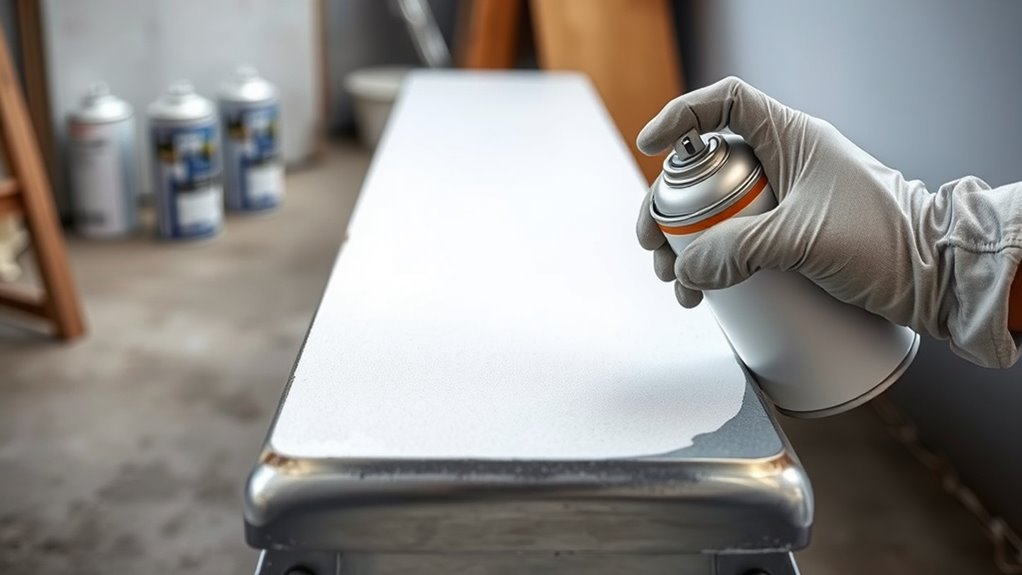
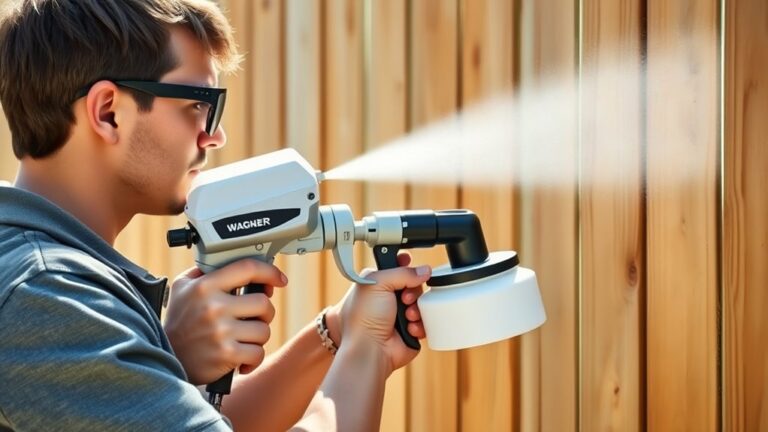
Before you start spray painting galvanized steel, applying a zinc phosphate or specialized primer is essential to guarantee proper adhesion. After thorough surface preparation, shake the spray can well and hold it 6-12 inches from the steel.
Use a consistent spray technique, applying light coats in smooth, sweeping motions with 30-50% overlapping passes to avoid runs and ensure even coverage. Allow each primer and paint coat to dry completely according to the manufacturer’s instructions before applying the next layer.
This process not only enhances adhesion but also provides rust prevention. Once the final spray paint coats have cured fully, finish with a clear protective topcoat to boost durability and protect your galvanized steel from the elements.
Frequently Asked Questions
What Spray Paint Will Stick to Galvanized Steel?
You’ll want to use acrylic latex spray paints like Krylon H2O Latex or paints specifically made for galvanized steel. They won’t react with zinc, stick well, and last longer, especially when used with a compatible primer.
Using the right primer really helps the paint adhere better and keeps it looking fresh for a longer time. So, if you’re painting galvanized steel, pairing your spray paint with a good primer is the way to go!
What Is the Best Way to Paint Galvanized Steel?
Painting galvanized steel is like prepping a canvas for a masterpiece: you clean it well, apply a galvanized metal primer, then spray multiple thin coats of acrylic latex or epoxy paint.
Make sure to let each coat dry thoroughly for lasting adhesion. This method really helps the paint stick and last longer.
What Is the Best Paint to Paint Over Galvanised Steel?
You should use acrylic latex paint because it adheres well without reacting with zinc. For better results, apply a zinc phosphate or etch primer first.
This helps ensure strong adhesion and long-lasting protection on galvanized steel. It’s a simple step that makes a big difference!
Can I Spray Paint Galvanised Steel?
Yes, you can spray paint galvanized steel!
With proper cleaning and a primer designed for galvanized surfaces, your paint will stick well—boosting durability by up to 70% compared to painting without preparation.
Conclusion
Now that you’ve prepped your galvanised steel and applied primer and paint correctly, you’ll see why some say painting galvanized steel is tricky. The truth is, with proper cleaning and the right primer, the paint sticks well and lasts long.
You don’t need to avoid it—just follow the steps carefully. Once you get the hang of it, your spray-painted steel will look great and stay protected.
This proves the theory wrong that galvanized steel can’t be painted easily. With the right preparation, primer, and spray paint technique, your galvanised steel surfaces can have a durable, attractive finish. So don’t shy away from spray painting galvanised steel—it’s totally doable and rewarding!