How You Can Spray Paint Foam Core Board Without Damage
To spray paint foam core board without damage, start by sealing the surface. Use a thin layer of diluted white glue or Mod Podge. This step protects the polystyrene core from harsh solvents that can cause damage.
Let the sealant dry completely before moving on.
Next, apply a foam-specific primer for extra protection. This helps the paint stick better and prevents any melting or warping.
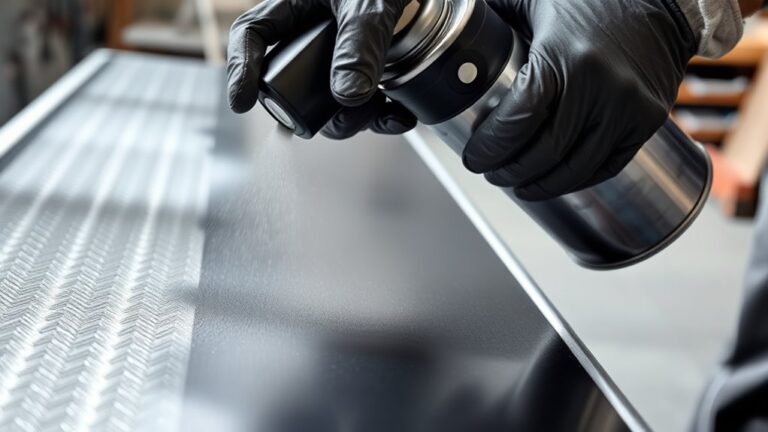
When you’re ready to paint, choose foam-safe spray paint. Hold the can 8–12 inches away and apply multiple light coats. Keep the can moving steadily to avoid drips and ensure a smooth finish.
Following these tips will help you get a flawless paint job on your foam core board. Want to master the process even more? Keep practicing and experimenting with these techniques for the best results.
Key Takeaways
- Seal foam core board with diluted white glue or Mod Podge before painting. This helps protect the polystyrene core from any solvent damage.
- Use a foam-specific primer and let it cure for at least 30 minutes before you start spray painting.
- It’s a good idea to test the spray paint on a small, hidden spot first. This way, you can make sure it won’t melt or warp the foam.
- When spraying, apply multiple thin, even coats from about 8-12 inches away. Keep the can moving so you don’t saturate any one area.
- Opt for foam-safe or low-solvent spray paints. Also, let each coat dry for 24 hours to get a smooth, damage-free finish.
Preparing and Sealing Foam Core Board for Spray Painting

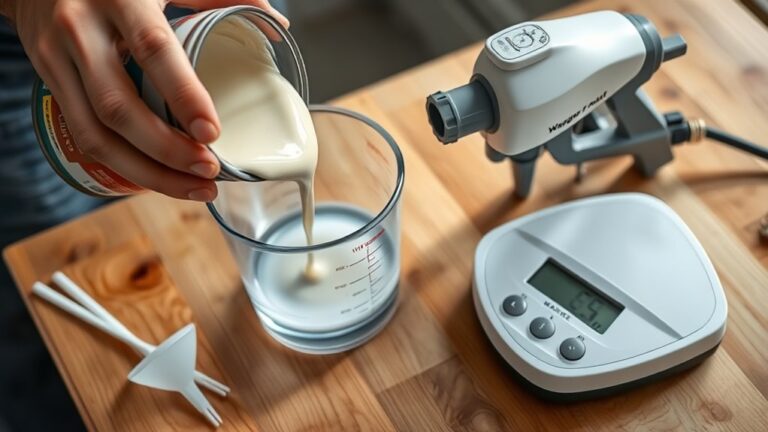
Before you start spray painting your foam core board, it’s crucial to prepare and seal it properly to protect the polystyrene core from solvent damage. Begin by applying a sealant—white glue thinned with water or Mod Podge works well—to create a protective barrier.
Properly sealing foam core board protects its polystyrene core from spray paint solvent damage.
Use multiple thin layers to ensure thorough coverage, allowing each coat to dry fully. Next, apply a primer designed specifically for foam surfaces; this extra step enhances protection against harmful solvents in spray paint.
Don’t skip testing spray paint on a small, hidden area to check for compatibility and avoid unexpected damage. After sealing, wait at least 30 minutes to an hour for the sealant to cure and form a solid protective layer.
This careful preparation safeguards your foam core board throughout the painting process. It might seem like extra work, but it really pays off in the end!
Best Practices for Applying Spray Paint on Foam Core Board

When you apply spray paint to foam core board, using multiple light, even coats is essential to prevent melting or warping the surface. Before you begin painting, make sure to seal foam with a water-based primer or a white glue and water mixture to protect the foam core.
Use foam-safe or low-solvent spray paint, and always test on a small area of the foam board first. Hold the spray can 8-12 inches away and keep it moving to apply spray paint evenly without saturating one spot.
After each coat, let the paint dry and cure for at least 24 hours. Following these best practices guarantees your foam stays intact and your painting results look smooth and professional.
Frequently Asked Questions
What Kind of Paint Will Stick to Foam Board?
You’ll want to use water-based acrylic paints or spray paints labeled “foam-safe” or “craft-safe.” These adhere well without damaging the foam.
Always test a small spot first to ensure compatibility and avoid surprises.
It’s a good idea to check the label before you buy, just to be sure. That way, your foam board project turns out just right!
Will Spray Paint Damage Foam?
Spray paint can be a wolf in sheep’s clothing for foam—you’ll damage it if you’re not careful.
Use foam-safe or water-based sprays, and always seal the surface first to keep your foam board safe.
That way, you avoid any nasty surprises and your project stays looking great. Just a little extra caution goes a long way!
How Do You Paint on Foam Core Board?
You paint foam core board by first sealing it with a primer or glue mixture, then applying water-based acrylic paint in thin layers. Use soft brushes or foam applicators and let each layer dry fully to avoid warping.
It’s pretty simple once you get the hang of it. Just take your time and make sure each coat is dry before adding the next one. This way, the board stays flat and your paint job looks smooth and neat.
What Spray Paint Can I Use on Foam?
Think of foam as a delicate flower—you want spray paints labeled foam-safe or craft-safe, usually water-based or acrylic.
Avoid harsh solvents; they’re like storms that can wilt your bloom. Test first, then paint confidently.
Conclusion
Think of your foam core board as a delicate flower in a garden. Just as you’d shield petals from harsh winds with a gentle mist, you need to prepare and seal your board before spray painting.
By treating it with care and applying paint smoothly, you help it bloom with vibrant color without bruising its surface. With these steps, your project will flourish beautifully, standing tall and flawless like a well-tended blossom.
Spray painting foam core board without damage is all about patience and the right technique. Start by sealing the surface to protect the foam inside, then apply thin, even coats of paint. This way, you avoid warping or melting the board, keeping it sturdy and looking great.
Follow these tips, and you’ll master how to spray paint foam core board without damage, making your creative projects pop with color and durability every time.