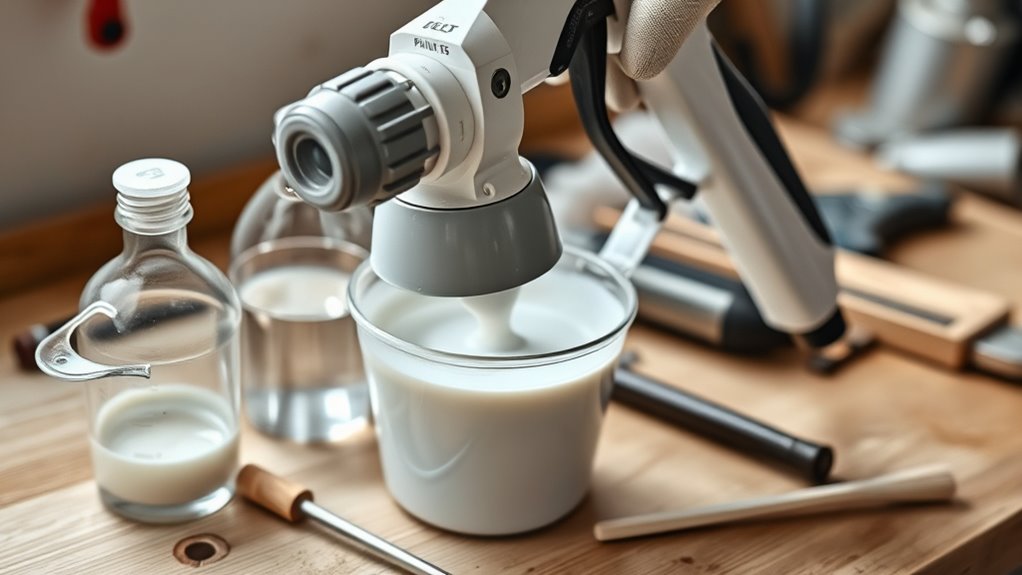
How to Do Thin Paint for a Sprayer in 10 Easy Steps
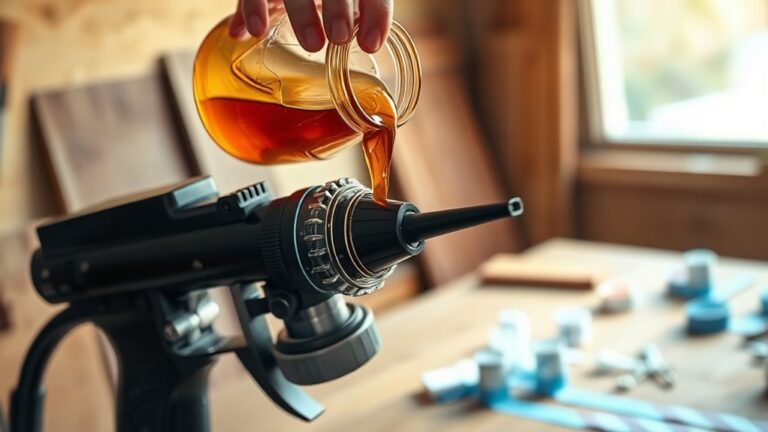
First, measure 12 oz of paint and 4 oz of water using a one-quart measuring cup to keep a consistent 3:1 ratio. This is key for thinning paint for a sprayer properly. Mixing these two thoroughly will help you get a smooth, even consistency that’s perfect for spraying.
Stir the paint and water together for 2-3 minutes until the mixture is completely smooth.
Then, test the mixture’s viscosity with a viscosity cup. You’re aiming for a flow time of 25-40 seconds to make sure it’s just right.
If the paint feels too thick, add small increments of water and test again.
Once the consistency is spot on, filter the paint to remove any debris. This helps prevent clogs in your sprayer.
Finally, prepare your spray container and set up your sprayer. Taking these steps will ensure a flawless finish.
Keep going—your painting project is about to get a whole lot easier!
Key Takeaways
- Measure paint and water accurately using a one-quart cup with a 3:1 ratio (12 oz paint to 4 oz water).
- Stir the mixture thoroughly for 2-3 minutes until it’s smooth and uniform with no streaks or separation.
- Use a viscosity cup to test flow time. You’re aiming for 25-40 seconds to get the best sprayability.
- Add water little by little in 1-2 oz steps. Mix and test after each addition so you don’t over-thin the paint.
- Filter the thinned paint through a fine mesh before loading it into the spray container. This helps prevent clogs and ensures a smooth spray.
Measure the Paint and Water Accurately

Before you mix your paint and water, make sure you measure both accurately using a one-quart container or a similar measuring cup. Precise measurement is essential to maintain the correct ratio, ensuring your paint sprays smoothly.
You’ll want to follow a ratio of three parts paint to one part water—about 12 ounces of paint to 4 ounces of water for the initial mix. Avoid guessing or estimating; even a slight mismeasure can affect how well your paint thins and sprays.
Double-check your measurements before combining them to prevent any errors. By carefully measuring both the paint and water, you’ll create a consistent mixture that’s perfectly thinned for your sprayer. This will save you time and frustration during your project.
Mix Paint and Water Using a 3:1 Ratio

Start by measuring your paint and water carefully, keeping a strict three-to-one ratio to get the consistency just right. Mix them thoroughly until the blend is smooth and even before you test it.
This way, you’re making sure your paint sprays evenly and covers well. It really makes a difference in the final look!
Measure Paint and Water
When you measure paint and water, keep a 3:1 ratio by volume to guarantee the right consistency for spraying. Use a measuring cup to get 12 ounces of paint and 4 ounces of water for your initial mix.
Pour both into a mixing container and stir thoroughly until the mixture is smooth and uniform. This step is essential to thin your paint correctly for your paint sprayer, ensuring even application without clogging.
Here’s a simple guide to help you measure accurately:
| Material | Amount (oz) | Ratio Part |
|---|---|---|
| Paint | 12 | 3 |
| Water | 4 | 1 |
| Total Mix | 16 | 4 |
Accurate measurement keeps the paint sprayer working smoothly and your finish flawless. So, take your time with this part—it really makes a difference!
Maintain Three to One
After mixing your paint and water with the correct 3:1 ratio, you’ll want to preserve that balance throughout the thinning process. Use a measuring cup to combine three parts paint with one part water—like 12 ounces of paint and 4 ounces of water—and keep this ratio consistent.
This precise mix ensures your paint sprays smoothly and sticks properly to surfaces. If you find the paint too thick or thin after testing viscosity, adjust your quantities slightly but always remember to keep the 3:1 ratio in mind.
Maintaining this ratio helps prevent over-dilution and keeps the consistency even, giving you better control over the final finish. Stick with this method for reliable, quality results every time you thin paint for your sprayer.
Mix Thoroughly Before Testing
Because achieving a smooth spray depends on uniform consistency, you’ll want to measure 12 ounces of paint and 4 ounces of water, then mix them thoroughly using a clean stir stick or mixer. Stir until the paint and water blend into a uniform mixture, with no lumps or separated layers visible.
This thorough mixing ensures the water distributes evenly throughout the paint, which prevents uneven spray patterns. Properly mixing before testing viscosity is essential; it gives you an accurate sense of how thin the paint really is and whether further adjustments are needed.
Skipping this step can lead to inconsistent results and waste. So take your time mixing well—this simple action lays the foundation for a flawless spray finish.
Stir the Mixture Thoroughly
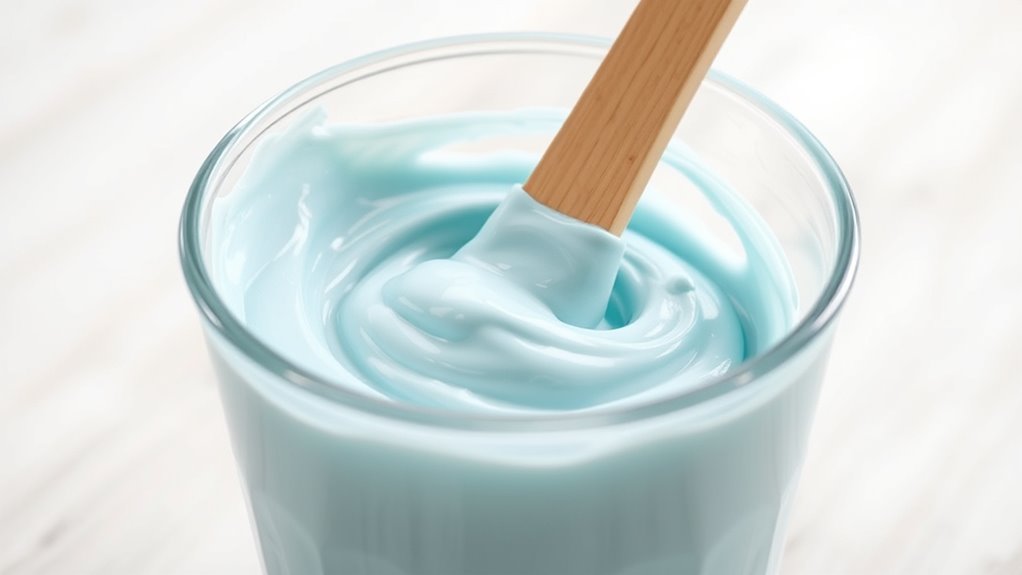
Stir the paint and water mixture for at least 2-3 minutes using a clean stir stick to achieve a uniform consistency. Make sure you blend thoroughly so no streaks or separation remain in the mixture.
Proper stirring fully incorporates the water into the paint, preventing clumps and uneven thickness. Regularly check the mixture as you stir to maintain an even consistency throughout.
Thorough stirring fully blends water into paint, avoiding clumps and ensuring consistent thickness throughout.
This step is vital because it helps ensure a smooth, consistent paint flow when spraying. If the mixture isn’t well stirred, you risk clogging your spray gun or getting inconsistent coverage.
Take your time and be thorough—this simple action sets the foundation for successful thinning and spraying later on.
Conduct the First Viscosity Test
Now, grab your viscosity cup and measure how long it takes for the paint to flow out completely. This initial flow time tells you if your paint is too thick or just right for spraying.
If it’s longer than 40 seconds, you’ll need to thin the mixture a bit and test again. It’s all about getting that perfect consistency for a smooth spray.
Measuring Initial Flow
Once you’ve thinned your paint, you’ll want to measure its flow rate using a viscosity cup to guarantee it’s ready for spraying. Fill the cup with the thinned paint and hold it steady.
As soon as the paint starts flowing out, start your timer. Watch closely and stop the timer when the cup empties completely. Record this run-out time carefully.
Ideally, your paint should take between 25 and 40 seconds to drain. If the time falls outside this range, you’ll need to adjust your thinning.
Use this initial measurement to decide whether to add more solvent or paint to achieve the perfect consistency. This step ensures your paint flows smoothly through the sprayer without clogging or overspraying.
Evaluating Paint Thickness
Although you’ve prepared your paint, you’ll need to conduct the first viscosity test to evaluate its thickness accurately. This step guarantees your paint flows well for spraying without clogging or uneven coverage.
Follow these key points:
- Use a viscosity cup made for paint to time how fast it drains.
- Test the paint undiluted first to get a baseline measurement.
- Aim for a run-out time between 25 and 40 seconds for ideal thinning.
- Record the exact drain time to decide if further thinning is needed.
- After each thinning adjustment, repeat the test to maintain the right flow rate.
Add Water Incrementally for Fine-Tuning
Because adding too much water at once can ruin your paint’s effectiveness, add water in small increments—usually 1 to 2 ounces at a time. After each addition, mix thoroughly to ensure an even consistency before measuring viscosity.
Use a viscosity cup to check the flow rate, aiming for a run-out time between 25 and 40 seconds. Keep adding water little by little until your paint reaches the desired sprayability without compromising adhesion or finish quality.
| Water Added (oz) | Viscosity Goal (seconds) |
|---|---|
| 1 | 25–40 |
| 2 | 25–40 |
| 3 | 25–40 |
| 4 | 25–40 |
| 5 | 25–40 |
Retest Viscosity After Each Adjustment
After each water addition, you’ll want to measure the paint’s flow with a viscosity cup to keep track of the run-out time. Adjust based on your results to maintain the paint within the 25 to 40-second range.
Consistently retesting helps you avoid over-thinning and ensures the paint sprays just right. It’s an easy step that makes a big difference!
Measure Flow Consistently
When you add water to thin your paint, make sure you mix it thoroughly and test the viscosity each time to keep the flow consistent. Measuring flow consistently ensures your paint sprays evenly without compromising adhesion or finish quality.
Follow these steps to maintain proper viscosity:
- Add water in small increments (around 2 ounces) to avoid over-thinning.
- Mix the paint thoroughly after each addition.
- Use a viscosity cup to measure run-out time after every adjustment.
- Record the run-out time aiming for 25 to 40 seconds as your target range.
- Regularly check and adjust throughout the process to maintain uniform flow.
It might seem like extra work, but keeping an eye on these details really pays off in the final finish. Just take it step by step, and you’ll get consistent, great results every time.
Adjust Based on Results
Maintaining consistent viscosity starts with careful adjustments based on your test results. After each time you add water, mix the paint thoroughly and retest its flow using your viscosity cup. Aim for a run-out time between 25 and 40 seconds.
Add water incrementally—usually 1 to 2 ounces at a time—then test again. If the flow takes longer than 40 seconds, add a bit more water and remix. If it’s under 25 seconds, add more paint or slightly reduce the water.
Keep a record of each adjustment alongside its corresponding viscosity reading. This way, you can track your progress and repeat successful mixes. Keep retesting and adjusting until the paint flows smoothly within the ideal range, ensuring best sprayability and a flawless finish.
Achieve the Desired Flow Time Between 25-40 Seconds
Although thinning paint can feel tricky, you’ll want to use a viscosity cup to measure its flow time, aiming for 25 to 40 seconds to guarantee smooth spraying. This range helps ensure your paint sprays evenly without clogging.
Start by testing after your initial thinning, then adjust gradually—adding about 2 ounces of water at a time if needed. If your flow time goes beyond 40 seconds, add water in small increments and retest until you hit the sweet spot.
Remember, consistent viscosity is crucial for a flawless finish.
- Use a viscosity cup for accurate timing
- Test paint flow after each thinning step
- Add water slowly, about 2 ounces at a time
- Retest flow time after every adjustment
- Keep flow time between 25 and 40 seconds for best results
Filter the Thinned Paint to Remove Debris
Since even the smoothest paint can contain lumps or debris, you’ll want to strain your thinned mixture before loading it into your sprayer. Use a fine mesh paint strainer to catch any dried particles or clumps.
Pour the paint slowly through the filter into your spray container to avoid clogging. Check the filtered paint’s consistency and re-filter if needed until it’s perfectly smooth.
This step prevents nozzle blockages and ensures a flawless finish. Remember to clean your filter immediately after use to keep it effective for next time.
| Smooth Finish | No Clogs | Easy Cleanup |
|---|---|---|
| Flawless coat | Steady spray | Filter reuse |
| Clear paint | Consistent flow | Less frustration |
Prepare the Spray Container With Filtered Paint
Before filling your spray container, make sure you’ve thoroughly mixed and filtered the paint to guarantee a smooth, consistent flow. Proper preparation helps prevent clogs and uneven spraying.
Properly mixing and filtering paint ensures smooth spraying and prevents clogs for a flawless finish.
Follow these steps to prepare your spray container with filtered paint:
- Check that the spray container is clean and free of old paint residues.
- Strain the thinned paint through a fine mesh filter into the container to remove lumps and debris.
- Use a funnel to pour the filtered paint smoothly, minimizing spills.
- Securely attach the lid or spray tip after filling to prevent leaks.
- Double-check the paint consistency for uniformity before sealing the container.
Taking these precautions ensures your paint sprays evenly and keeps your equipment in top shape. It’s a simple step that really makes a difference!
Set Up the Sprayer for Optimal Performance
Now that you’ve prepared your spray container with properly thinned and filtered paint, it’s time to set up your sprayer for ideal performance. First, verify your spray gun is clean and correctly assembled.
Next, adjust the spray tip and air pressure following the paint manufacturer’s guidelines. Fill the container carefully to avoid clogging.
Always test spray on a scrap surface to check the spray pattern and make adjustments. Maintain a steady distance and smooth movement for an even finish.
| Step | Action | Tip |
|---|---|---|
| 1 | Clean and assemble spray gun | Prevents clogs and uneven spray |
| 2 | Adjust tip & pressure | Follow paint manufacturer specs |
| 3 | Fill container | Use thinned and filtered paint |
| 4 | Test spray | Check pattern on scrap surface |
| 5 | Spray evenly | Keep consistent distance & speed |
Frequently Asked Questions
What Is the Best Way to Thin Paint for a Spray Gun?
The best way to thin paint for your spray gun is to mix three parts paint with one part water. Add water gradually, test viscosity often, and strain the mixture to guarantee smooth spraying and a professional finish.
It’s really about getting the right consistency. Too thick, and the paint won’t spray evenly. Too thin, and it might run or drip. So, keep checking as you go!
What Is the Ratio for Thinning Paint for Sprayer?
You know, “measure twice, cut once.” The ideal ratio for thinning paint for a sprayer is usually 3 parts paint to 1 part water.
Start there, mix well, and adjust until you get the right consistency. It’s all about getting that smooth flow without clogging your sprayer.
Do You Have to Thin Paint When Using a Paint Sprayer?
Yes, you usually have to thin paint for a sprayer to guarantee smooth application and prevent clogging.
Gradually add water or thinner, mix well, and test until you get a consistent, sprayable paint texture. It’s all about finding that perfect balance so the paint flows just right.
How to Make a Thin Line With Spray Paint?
You’ll create a laser-thin paint line so sharp it could slice paper! Just thin your paint perfectly, hold the sprayer 6-12 inches away, keep the nozzle straight, and glide smoothly.
Practice makes flawless precision! Keep at it, and soon your lines will look professional every time.
Conclusion
So, after all that precise measuring, mixing, testing, and filtering, you might think thinning paint for a sprayer is rocket science. But hey, who knew that a little water and patience could turn your clumpy mess into a smooth masterpiece?
Just remember, the next time your paint sprays like a stubborn fountain, it’s probably just reminding you that even the simplest tasks deserve your full attention. Thin it right, or don’t complain!
Thinning paint for a sprayer isn’t complicated once you get the hang of it. With the right technique, your paint will flow smoothly through the sprayer, giving you an even, professional finish every time. So, take your time, follow the steps carefully, and enjoy the satisfying results of a perfectly thinned paint job!