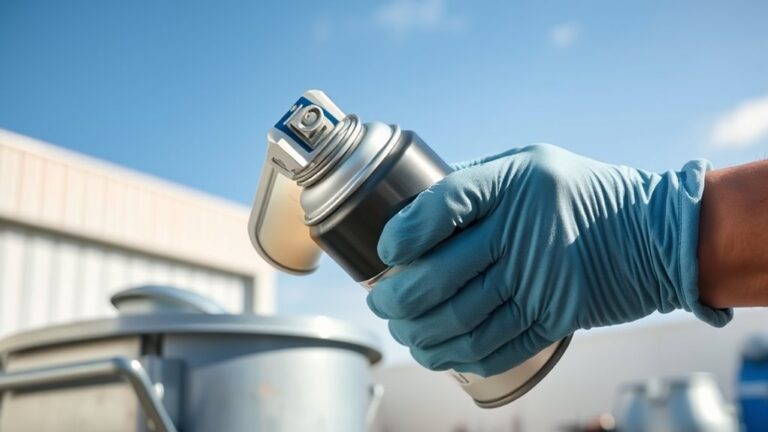
How You Use Polyurethane in a Paint Sprayer Safely
To use polyurethane in a paint sprayer safely, you need to prepare it properly. Start by thinning the polyurethane with mineral spirits or naptha. This step ensures a smooth spray without clogging the sprayer.
Next, stir and strain the mixture well before filling your sprayer. This helps remove any lumps or debris that could cause issues.
Adjust the sprayer’s pressure and flow to get an even coverage, and always test it on scrap wood first to avoid flaws.
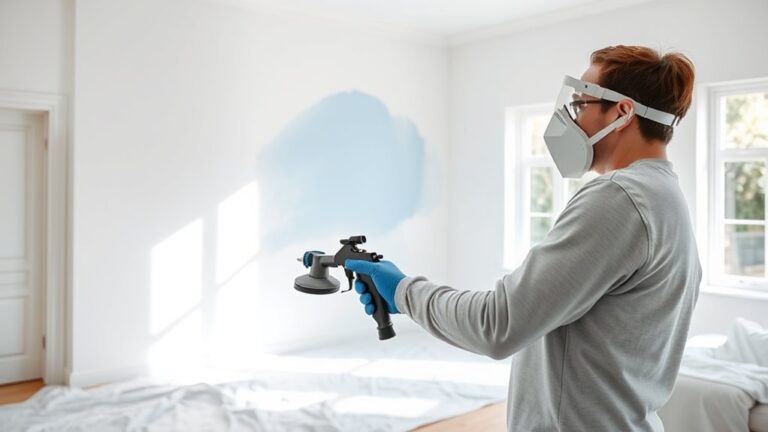
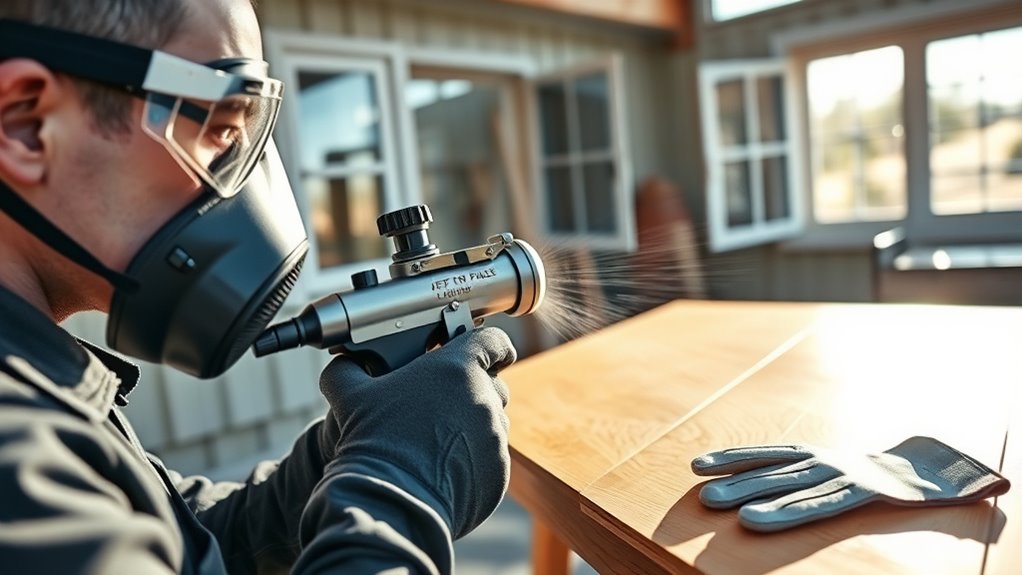
Remember to wear protective gear like a respirator, gloves, and goggles. It’s also important to work in a well-ventilated space to keep fumes at bay.
After you’re done, clean your sprayer promptly with the right solvent to prevent clogs and maintain your equipment.
Following these simple steps will help you achieve a flawless and safe finish with polyurethane, making your project look professional every time.
Key Takeaways
– Always wear a respirator, gloves, and goggles to protect against fumes and skin contact when spraying polyurethane.
It’s super important to keep yourself safe, so don’t skip this step!
– Thin polyurethane with mineral spirits for smooth spraying and strain to remove debris before use.
This helps you avoid clogs and get a nice finish.
– Spray in a well-ventilated area or outdoors to avoid inhaling harmful vapors.
Fresh air is your friend here.
– Maintain a consistent spray distance of 6–12 inches and use steady, overlapping strokes for even coverage.
Keeping your movements smooth will make your project look professional.
– Clean the sprayer immediately after use with appropriate solvents and dispose of leftovers following hazardous waste guidelines.
Don’t let the polyurethane dry in your equipment, and be responsible with leftover materials!
Preparing Your Polyurethane and Paint Sprayer
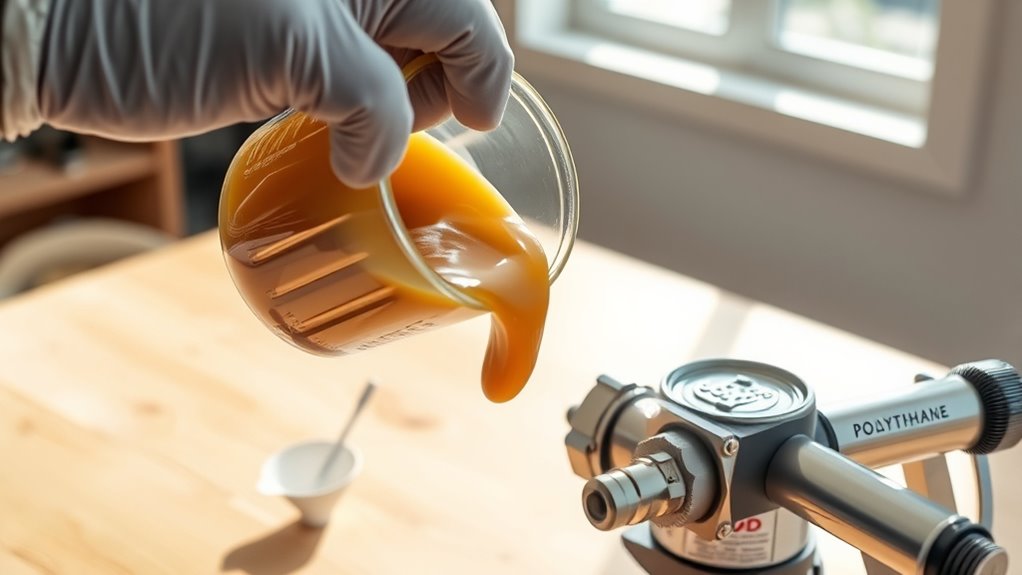
Before you pour polyurethane into your paint sprayer, make sure to thin it with mineral spirits or naptha to improve flow and sprayability. Stir the polyurethane thoroughly and strain it through a fine mesh filter to remove debris that could clog your sprayer.
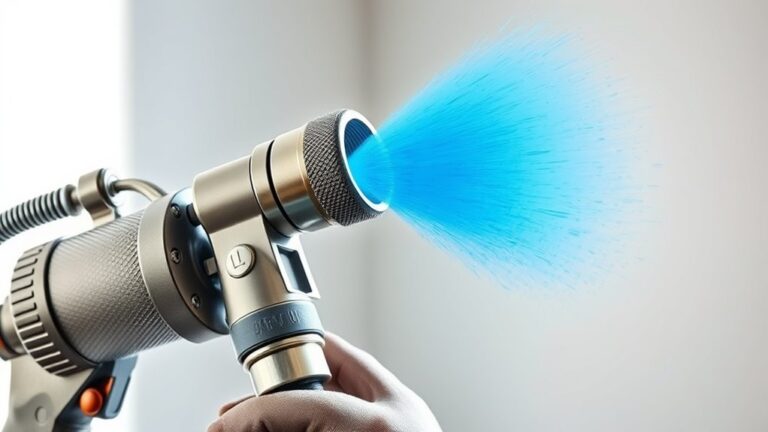
Adjust your paint sprayer’s pressure and flow settings to match the thinner consistency of the polyurethane. This will help you achieve a smooth spray pattern without drips or uneven coverage.
Always test the spray pattern on scrap material before applying it to your project. That way, you can ensure proper atomization and a great finish.
Once you’re done, clean your paint sprayer immediately using appropriate solvents. This prevents clogs and keeps everything safe.
Properly thinning your polyurethane and preparing carefully makes the spraying process efficient. Plus, it helps you get a flawless finish every time.
Techniques for Applying Polyurethane With a Sprayer
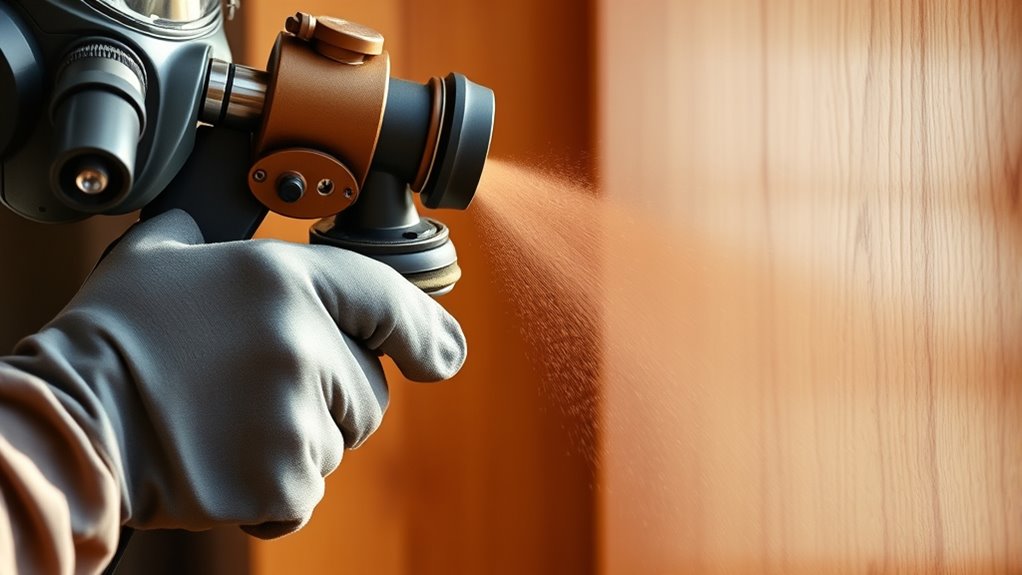
When applying polyurethane with a sprayer, you’ll want to maintain a steady, overlapping motion to guarantee an even coat without drips or runs. Whether you’re spraying lacquer or water-based polyurethane, thinning with mineral spirits as recommended helps attain a smooth spray.
Start by testing on scrap wood to adjust flow rate and pressure. Keep your sprayer 6–12 inches from the surface and use a fine spray setting for the best results.
- Thin polyurethane with mineral spirits or water-based thinner per instructions
- Test spray to fine-tune flow and pressure
- Use steady, overlapping strokes for an even finish
- Maintain consistent distance and fine spray for smooth application
Following these techniques ensures a professional-looking, flawless finish every time. You’ll be amazed at how much easier it is to get great results with just a little practice!
Safety Measures and Cleanup After Spraying

Applying polyurethane with a sprayer can deliver a flawless finish, but you also need to prioritize safety and proper cleanup. Always wear personal protective equipment like a respirator, gloves, and goggles to shield yourself from harmful fumes and overspray.
Make sure you work in a well-ventilated area or outdoors to reduce vapor buildup. After spraying, clean your equipment immediately using the right cleaning solvents—mineral spirits for oil-based or water for water-based polyurethane—to prevent clogs and residue.
Dispose of leftover polyurethane and solvents through safe disposal methods following local hazardous waste rules to protect the environment. Finally, store unused materials in sealed, labeled containers away from heat or flames to avoid accidents and maintain product quality.
Frequently Asked Questions
Can You Spray Polyurethane Through a Paint Sprayer?
Yes, you can spray polyurethane through a paint sprayer. Just make sure to thin it properly and strain it to avoid clogs.
It’s a good idea to test spray first to see how it flows. Using an HVLP sprayer really helps you get a smooth, even finish safely.
What Paint Sprayer Tip for Polyurethane?
For flawless finishes, fit your paint sprayer with a fine 1.3mm to 1.8mm tip when spraying polyurethane.
This tip tames thickness, trims texture, and tackles tough coatings, transforming your project into a professional masterpiece.
How to Thin Polyurethane for a Spray Gun?
You thin polyurethane by mixing 10-20% mineral spirits or naphtha into it. Stir thoroughly, strain through a fine mesh, then adjust your spray gun’s settings to get a smooth, even spray pattern.
It’s pretty straightforward! Just remember to add the thinner slowly and keep stirring to avoid lumps. Once it’s mixed well, your spray gun will work much better.
What Type of Spray Gun Is Best for Polyurethane?
You know what they say, “The right tool makes all the difference.”
For polyurethane, HVLP sprayers are best—they minimize overspray and give a smooth finish.
Just adjust settings and thin as needed for perfect results.
Conclusion
Using polyurethane with a paint sprayer is like painting with liquid glass—smooth, even, and protective. It gives your surfaces a durable, glossy finish that really stands out.
Start by prepping your sprayer carefully. Make sure everything is clean and ready to go. Then, apply the polyurethane with steady hands to avoid drips or uneven spots.
Don’t forget safety! Wearing protective gear like masks and gloves is essential to keep yourself safe from fumes and overspray. After you’re done, cleanup is key. Properly clean your sprayer and dispose of any leftover materials according to the instructions.
Embrace the process, and you’ll transform your project into a masterpiece. Using polyurethane in a paint sprayer not only ensures a flawless finish but also protects your work for years to come. With careful prep, steady application, and safety in mind, your project will shine bright and strong, just like a professional job.