How to Use a Graco Paint Sprayer in 7 Easy Steps
To use your Graco paint sprayer in seven easy steps, start by following safety precautions and preparing your workspace. Having a clean and organized area is key for a smooth painting experience.
Next, set up and connect the sprayer parts securely to avoid any leaks or interruptions.
Then, prime the system to ensure a smooth paint flow from start to finish. Adjust the pressure and pick the right spray tip based on your project’s needs.
Using steady, even strokes while spraying will help you achieve a professional-looking finish.
Don’t forget to clean the equipment thoroughly afterward to keep your sprayer in top condition.
Finally, explore accessories that can boost your efficiency and improve your results.
Keep practicing, and you’ll discover tips to perfect your technique and maintain your Graco paint sprayer for years to come.
Key Takeaways
– Wear protective gear and prepare a clean, ventilated workspace before starting your Graco paint sprayer.
Make sure you’re set up safely and comfortably to get the best results.
– Securely connect the spray gun and hose, install the correct tip, and set the pressure control to the lowest setting.
Double-check those connections so everything stays put while you work.
– Prime the sprayer by setting the valve to prime, unlocking the trigger, and pumping fluid until steady flow appears.
This step gets the paint flowing smoothly through the system.
– Adjust pressure and fan pattern, then test spray on a scrap surface to ensure even coverage and correct settings.
It’s a good idea to tweak your settings before you start on the main project.
– Clean the sprayer thoroughly after use, including the tip, guard, and fluid passages, to maintain performance and longevity.
Proper cleanup helps your sprayer last longer and work better next time.
Follow Important Safety Precautions

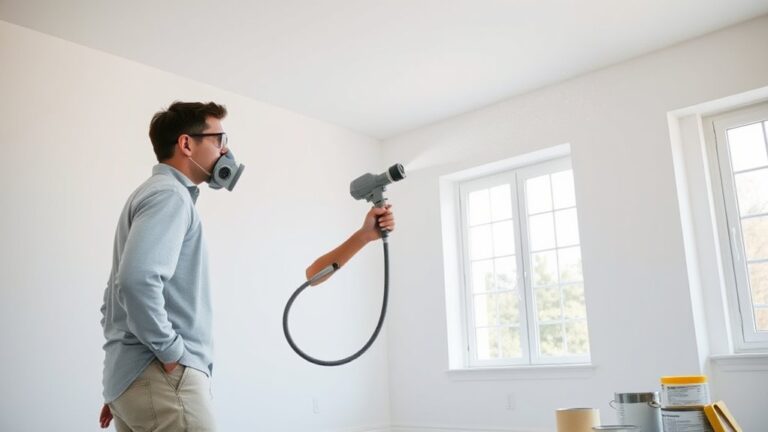
Before you start using your Graco paint sprayer, make sure you follow essential safety precautions to protect yourself and others. Always wear protective clothing, goggles, and a mask to shield yourself from harmful fumes and paint overspray.
Always wear protective gear to guard against harmful fumes and paint overspray when using your Graco paint sprayer.
Carefully read the safety instructions in the manual before operating the spray gun. Confirm the area where you’ll be working is well-ventilated to avoid breathing in paint fumes.
Keep children and bystanders far away to prevent accidents. When you need to clean, adjust, or perform maintenance, always turn off and unplug the sprayer first to avoid accidental activation.
Taking these steps will help you use your Graco paint sprayer safely and efficiently. This way, you keep both yourself and those around you protected throughout your painting project.
Prepare and Set Up Your Graco Paint Sprayer
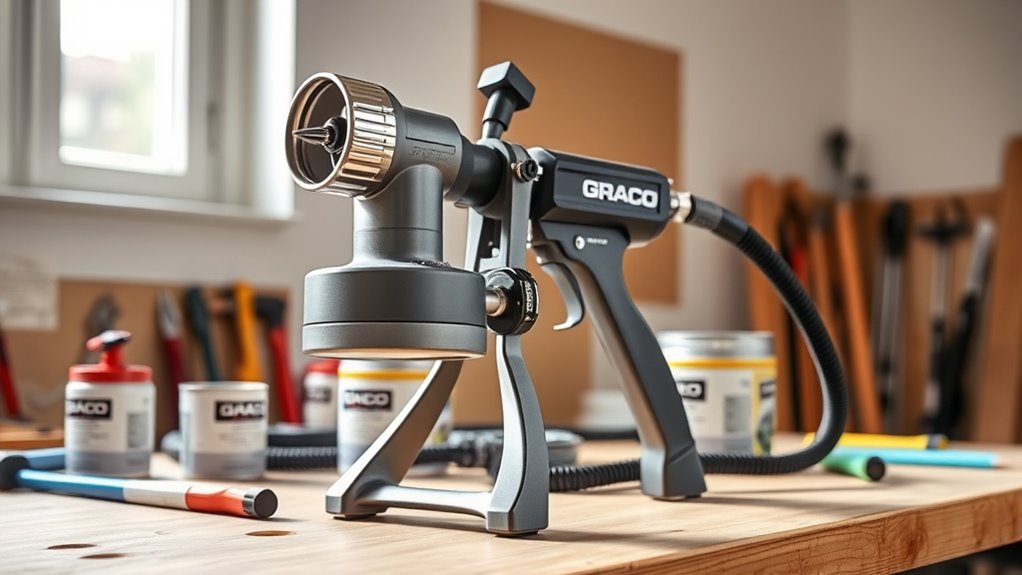
When you’re ready to start, connect the spray gun and hose securely, making sure all fittings are tight to prevent leaks. Proper setup guarantees your paint sprayer works efficiently and safely.
Follow these steps:
- Install the correct spray tip and guard, adjusting the fan pattern to suit your project.
- Turn the pressure control knob to the lowest setting to avoid accidental sprays.
- Engage the trigger lock for added safety during setup.
- Submerge the suction tube in paint or cleaning solution, then activate the priming valve to run fluid through the system until it flows smoothly.
These steps help you prepare and set up your paint sprayer correctly before you prime it for efficient paint flow.
Prime the Sprayer for Efficient Paint Flow
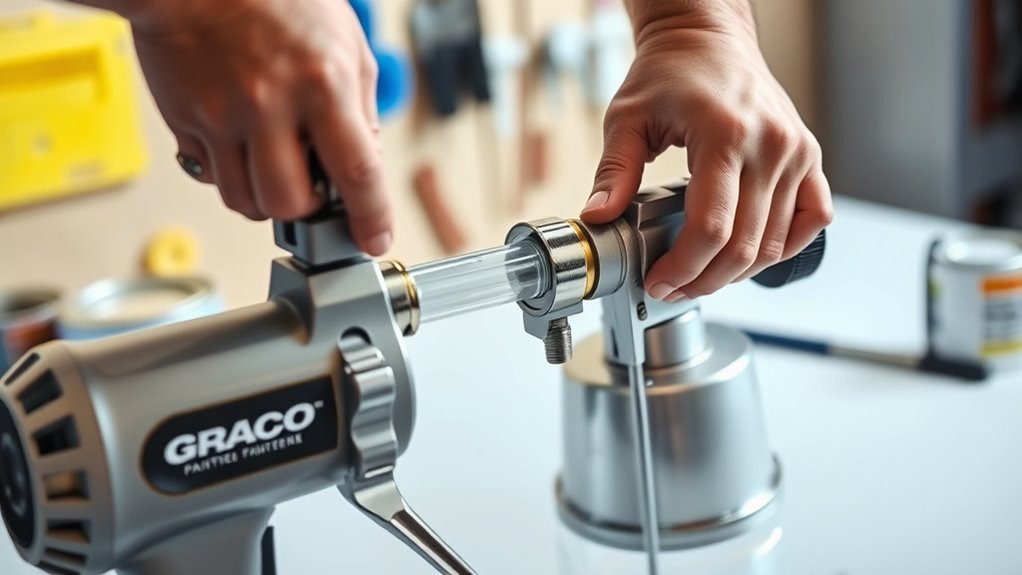
Before you turn on the sprayer, make sure to set the priming valve to the prime position and submerge the suction tube in paint or water.
Press the priming button twice to get fluid flowing, and watch the drain tube closely. Once you see a steady, consistent flow, you’re ready to move on.
Priming Valve Operation
To prime your Graco paint sprayer for efficient paint flow, start by moving the priming spray valve to the prime position. This step guarantees the system is ready to draw paint properly.
Follow these steps for smooth priming valve operation:
- Rotate the spray tip to the unclog position and disengage the trigger lock.
- Press the priming button twice to loosen the inlet valve ball and initiate fluid flow through the drain tube.
- Turn on the power switch only after setting the priming valve to the prime position.
- Watch the drain tube carefully and turn off the unit once paint appears to avoid wasting material.
Visual Paint Flow
Although it might seem straightforward, priming your Graco paint sprayer correctly guarantees smooth and consistent paint flow. Start by ensuring the spray tip is in the unclog position and the trigger lock is engaged to avoid accidental spray.
Next, submerge the suction tube in water or mineral spirits, depending on your paint. Then, set the priming valve to the prime position.
Press the priming button twice to loosen the inlet ball and initiate fluid flow through the drain tube. Turn on the power switch and watch closely as paint exits the drain tube.
Once the flow is steady, switch off the unit promptly. Finally, release the trigger to confirm paint flows properly from the gun—this visual check ensures efficient priming and prepares you for flawless spraying.
Adjust Pressure and Select the Right Spray Tip
Since every painting project is different, you’ll need to adjust the pressure and choose the right spray tip to get the best results. Here’s how to do it efficiently:
Start by setting the pressure control knob to a low setting. Then, increase it as needed for your material.
Select a spray tip size that matches the type of paint or coating. Make sure to follow the manufacturer’s recommendations.
Attach the spray tip securely to the gun. Confirm the fan pattern can be adjusted by loosening or tightening the tip.
Adjust the fan pattern width by turning the tip. Next, test spray on scrap material, fine-tuning pressure and tip position until the spray is even and consistent.
Master Proper Spray Technique for Even Coverage
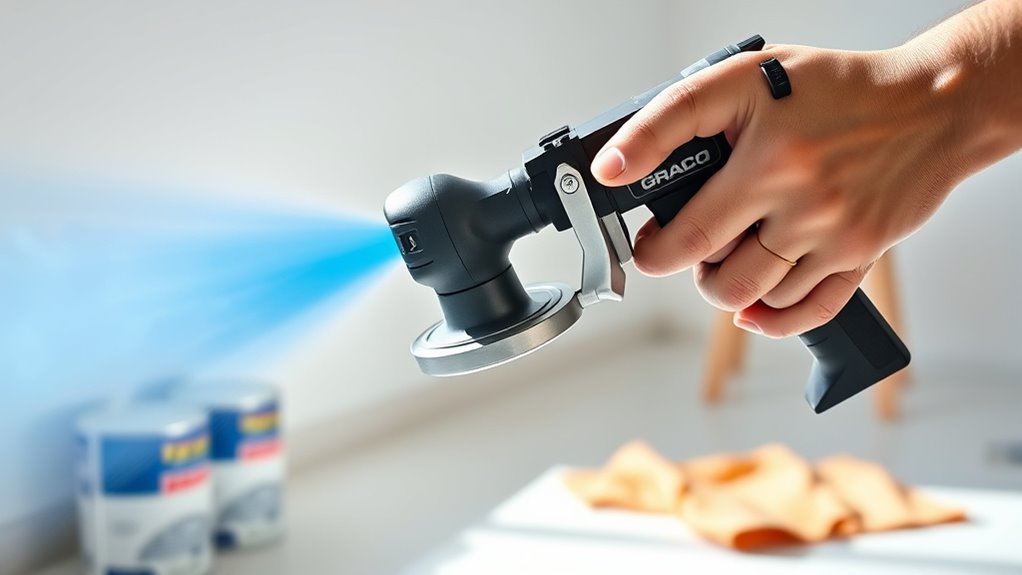
To get an even finish, keep your spray gun about 12 inches from the surface and maintain that distance as you work. Overlap each pass by roughly 50% to avoid missed spots and guarantee smooth coverage.
Consistency in your stroke and spacing will make your paint job look professional every time. Just take it steady and keep your movements even, and you’ll see the difference.
Maintain Consistent Distance
When you keep the spray gun about 12 inches from the surface, you guarantee even paint distribution and a smooth finish.
To maintain a proper spray position and consistent distance, make sure to:
- Hold the spray gun steady at roughly 12 inches away to avoid uneven paint buildup.
- Use long, continuous strokes to minimize gaps and maintain coverage.
- Keep a steady hand and consistent speed to prevent drips and runs.
- Make sure to aim the spray tip evenly across the surface, avoiding sudden distance changes.
Overlap Spray Patterns
Although keeping a consistent distance is crucial, overlapping your spray patterns by about 50% is what really guarantees even coverage and prevents streaks or missed spots.
Maintain a steady position about 12 inches from the surface to ensure your spray pattern blends smoothly. Start each pass before pulling the trigger and release it after passing the area to avoid paint build-up.
Aim the spray tip at the edge of the previous spray pattern so the paint layers seamlessly, eliminating visible lines. Use long, continuous strokes and avoid stopping mid-pass to keep overlaps consistent.
This technique helps you master proper spray technique, resulting in an even, professional finish every time you use your Graco paint sprayer.
Clean and Maintain Your Sprayer After Use
Since proper cleanup guarantees your Graco paint sprayer lasts longer and performs better, you’ll want to disconnect the spray gun and thoroughly clean the tip guard and nozzle right after your project.
To clean and maintain your sprayer effectively, follow these steps:
- Remove and clean the spray tip and guard separately using water or mineral spirits, depending on your paint type.
- Prime spray valve by running clean water or solvent through the sprayer until only clear fluid exits, preventing clogs.
- Inspect seals and filters regularly and replace them as needed to avoid leaks and maintain performance.
- Store the sprayer in a dry, protected area ensuring all parts are completely dry to prevent rust and damage.
Following these steps keeps your sprayer in top condition for your next job. It’s really worth the little extra effort!
Explore Accessories to Enhance Your Painting Project
To get the most out of your Graco paint sprayer, you can enhance your project with a range of accessories designed to boost efficiency and improve results. Start by using a quality suction tube to ensure smooth delivery of Airless Paint, minimizing clogs.
Pressure Roller Kits speed up application and improve finish quality on large surfaces. Tip Extensions help you reach high or tight spots without climbing ladders, making your work safer and easier.
Protect your sprayer with Pump Armor accessories, which prevent corrosion and wear, extending its lifespan. Utilize the Spray Tip Selector tool to pick the right spray tips for different coatings and project sizes.
Finally, Filter Kits and Hose Reels keep your setup clean and organized for a hassle-free painting experience. These small additions really make a big difference!
Frequently Asked Questions
How to Use a Paint Sprayer for the First Time?
You’ll connect the spray gun, install the right tip, and prime it. Turn it on, adjust pressure low, hold 12 inches from the surface, use overlapping strokes, then clean thoroughly after painting.
First, make sure you’ve attached the spray gun properly and picked the correct tip for your project. Priming the sprayer gets the paint flowing smoothly.
After that, turn on the sprayer and start with low pressure. Hold the gun about 12 inches away from the surface you’re painting.
Use overlapping strokes to cover evenly—kind of like when you’re mowing the lawn. And don’t forget to clean your sprayer thoroughly once you’re done to keep it in good shape.
Do You Add Water to Paint When You Use an Airless Paint Sprayer?
Imagine you’re spraying thick latex paint; yes, you might add about 10% water to thin it slightly. But always check the label first—over-thinning can ruin adhesion.
What Is the Number One Rule When Using an Airless Spray Gun?
The number one rule when using an airless spray gun is to always wear proper safety gear, like goggles and protective clothing.
This keeps you safe from high-pressure paint and potential injuries during spraying.
Safety first, right? It’s better to be cautious than sorry when dealing with powerful equipment like this.
Should You Thin Paint When Using a Graco Sprayer?
Yes, you should thin paint if its viscosity is too high for your Graco sprayer.
Gradually add water for latex or mineral spirits for oil-based paints. Test the spray as you go to avoid drips and guarantee smooth coverage.
It’s all about getting that perfect consistency so your paint flows nicely through the sprayer. Taking your time with this step really pays off in the finish!
Conclusion
By following safety precautions, preparing and setting up your Graco paint sprayer, and priming it correctly, you’re off to a great start. Adjusting the pressure and spray tips helps you get just the right finish for your project.
Mastering your technique takes a little practice, but once you get it down, you’ll be amazed at the professional results you can achieve. Don’t forget to clean your sprayer thoroughly after each use to keep it in top shape.
You’ll save time and reduce mess, making your painting projects more enjoyable. Plus, the finish will look smoother and more even than with traditional brushes or rollers.
Explore the various Graco paint sprayer accessories that fit your needs. Working smarter means you can paint faster and finish stronger. With the right setup and a bit of practice, your Graco paint sprayer will be your go-to tool for all your painting projects.