How You Spray Paint Brass Step by Step
To spray paint brass, start by cleaning it with vinegar to remove grime and oxidation. This is important because any dirt or tarnish can prevent the paint from sticking properly.
Next, lightly sand the surface with 220-grit paper to help the paint adhere better. Don’t forget to mask off any areas you want to protect using painter’s tape. This keeps your project looking neat and professional.
Now, apply a rust-inhibiting primer evenly over the brass. Let it dry fully before moving on. This step is key to ensuring your paint job lasts longer.
Finally, spray 2-3 thin coats of enamel spray paint using steady, even strokes. Allow each coat to dry thoroughly before adding the next one.
Following these steps guarantees a smooth, lasting finish.
Keep going to uncover expert tips for a flawless result. You’ll be amazed at how easy it is to transform brass with just a little patience and the right technique!
Key Takeaways
- Clean brass thoroughly with vinegar and a soft cloth, then mask off areas you want to protect. This helps prevent any unwanted paint on parts you want to keep shiny.
- Lightly sand brass using 220-grit sandpaper to dull the surface and improve paint adhesion. Sanding gives the paint something to grip onto, making it last longer.
- Apply a rust-inhibiting metal primer evenly, covering all grooves, and let it dry completely. Don’t rush this step because the primer really helps the paint stick and prevents rust.
- Spray 2-3 thin, even coats of high-quality enamel spray paint, allowing drying time between coats. Thin coats are better than one thick coat; they dry faster and avoid drips.
- Let the paint cure fully before handling to ensure a durable, smooth, and professional finish. Patience here pays off with a great-looking result that lasts.
Preparing Brass Surfaces for Spray Painting
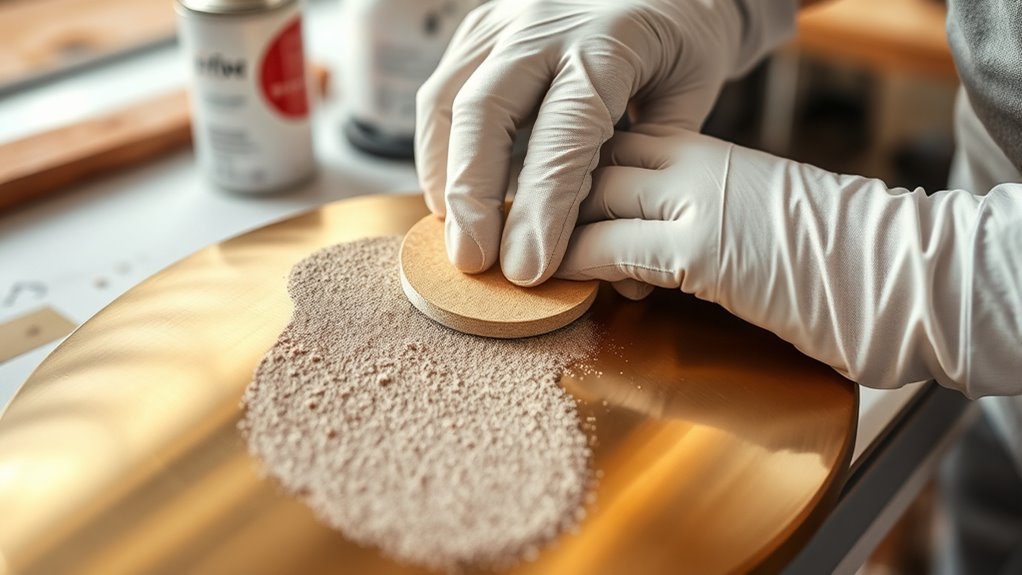
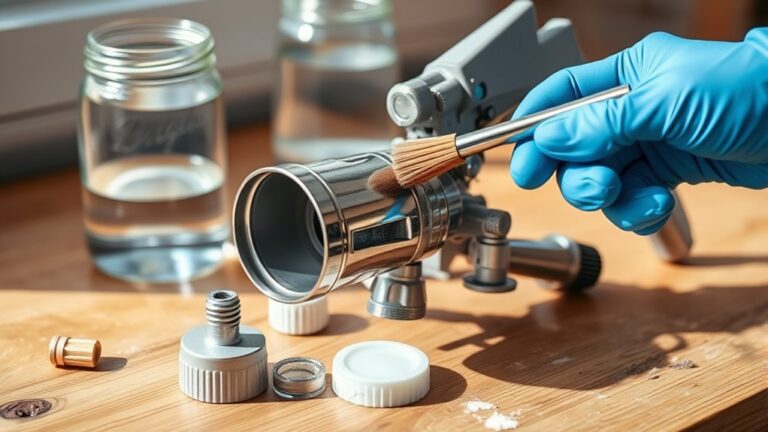
Before you start spray painting brass, make sure you clean the surface thoroughly with vinegar and a soft cloth to remove dirt, grease, and oxidation. This clean prep work is essential for achieving a smooth finish.
Next, use painter’s tape to mask off any areas you want to protect from paint. This helps ensure sharp edges and prevents overspray.
Lightly sanding the brass with 220-grit sandpaper dulls the surface, improving paint adhesion. This step is vital before applying primer, which enhances both adhesion and durability of your paint job.
Even though you won’t apply primer yet, understanding its role in prep work helps you appreciate why the surface must be perfectly clean and sanded. Proper masking, cleaning, and sanding set the stage for a long-lasting and professional-looking spray painting result.
Applying Primer and Spray Paint Coats
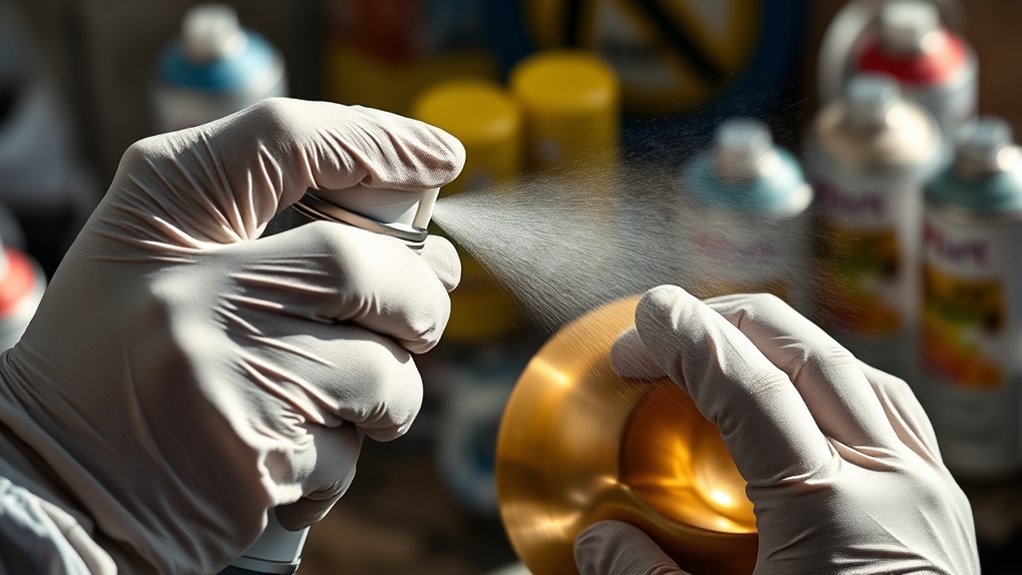
Once your brass surface is clean, sanded, and masked, you can move on to applying primer. Use a rust-inhibiting primer like Rustoleum Clean Metal Primer to guarantee proper adhesion.
Apply the primer with slow, even application using light, sweeping motions to avoid drips or pooling. Be sure to coat thoroughly, especially in grooves and detailed areas, for uniform coverage. Let the primer dry completely—several hours is best—before moving on.
Apply primer slowly with light strokes, covering all details thoroughly, and let it dry fully before proceeding.
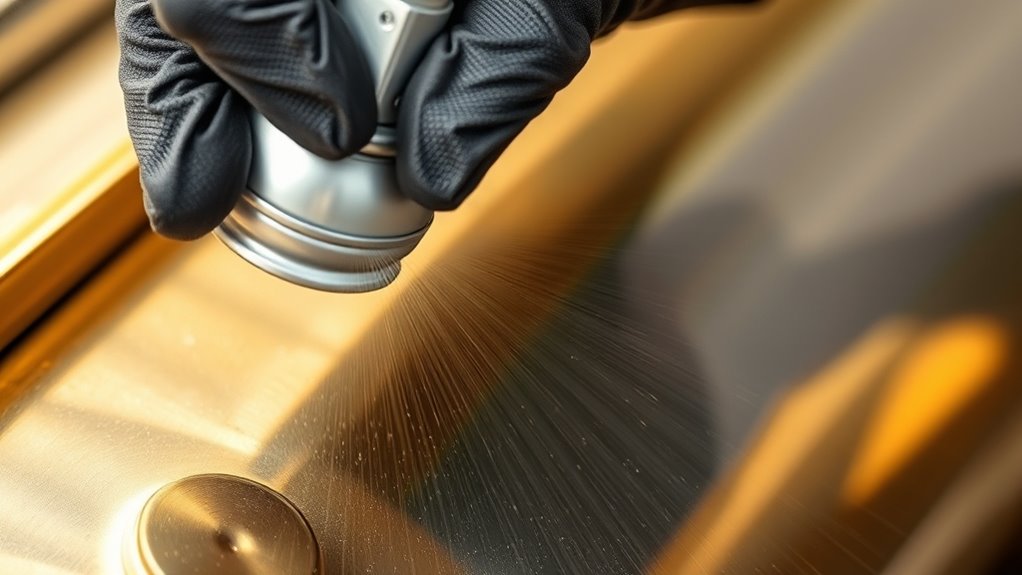
When spray painted, use 2-3 thin coats of high-quality enamel spray paint. Apply each coat with steady, even strokes to maintain an even application.
Allow adequate drying time between spray paint coats to prevent smudging and achieve a smooth finish. Thin coats not only dry faster but also build up a durable, flawless surface on your brass item.
Frequently Asked Questions
Will Spray Paint Stick to Brass?
Yes, spray paint will stick to brass if you clean and sand it properly. You’ll want to remove oils and oxidation, then apply a metal primer before painting.
Multiple thin coats will give you a durable, even finish. This way, the paint adheres better and lasts longer.
What Kind of Paint Will Stick to Brass?
You’ll want to use oil-based spray paints designed for metal, like Rustoleum Protective Enamel.
Pair it with a metal primer to guarantee the paint sticks well and lasts on your brass surface.
This combo really helps the paint hold up over time, especially on tricky surfaces like brass. Give it a try!
What’s the Best Way to Paint Brass?
You’ll want to scuff the brass lightly, then apply a metal primer. This helps the paint stick better and last longer.
Next, spray thin, even coats of enamel paint. Take your time with each layer to avoid drips or uneven spots.
Finish with a clear protective top coat for durability. Also, try to avoid painting in extreme weather conditions — it can affect the finish.
What Is the Best Spray Paint for Brass?
Imagine your brass gleaming like a golden sunrise—Rustoleum Gloss Protective Enamel is your best spray paint. It sticks well, shines bright, and lasts long.
You’ll love how it transforms your brass effortlessly. It’s like giving your piece a fresh, vibrant new life in just a few sprays!
Conclusion
Think of spray painting brass like tending a garden. You wouldn’t plant seeds on rocky soil, just like you shouldn’t paint without prepping the surface. Primer acts as the nourishing earth, helping paint roots take hold and flourish.
Each coat you apply is like sunlight and water, essential for a lasting finish. With patience and care, your brass will bloom beautifully, standing the test of time and turning heads wherever it gleams.
Spray painting brass requires good preparation, using the right primer, and applying even coats. By following these steps carefully, you can achieve a smooth, durable finish that enhances the natural beauty of brass. Remember, proper spray painting techniques ensure your brass projects look professional and last longer. So, take your time, prep well, and enjoy the rewarding process of spray painting brass to perfection.