Do You Need to Thin Paint for a Sprayer?
Yes, you usually need to thin paint before spraying to guarantee smooth flow and avoid clogging. Thinning paint ensures it passes easily through the sprayer’s nozzle, giving you a nice, even coat without any splatter or sputtering.
For example, emulsion paints often require 10-20% water dilution, especially when using HVLP sprayers.
Airless sprayers, on the other hand, typically need less thinning because they operate at higher pressure. Thinning also helps create an even spray pattern and prevents sputtering.
It’s always a good idea to test your mixture on a scrap surface first to find the right consistency.
Keep going to discover how different sprayers affect thinning needs and tips to get the best finish. Understanding the right thinning process can save you time and make your painting project look professional every time.
Key Takeaways
– Thinning paint is often necessary to ensure smooth flow and prevent clogging in spray equipment.
Emulsion paints typically require 10-20% water thinning before spraying for optimal consistency.
– Airless sprayers need minimal thinning (around 10%), while HVLP systems often require up to 20% thinning.
Always follow the manufacturer’s thinning guidelines specific to the paint and sprayer type.
– Perform a test spray on cardboard to adjust thinning and achieve an even spray pattern before full application.
When and How to Thin Paint for Spraying

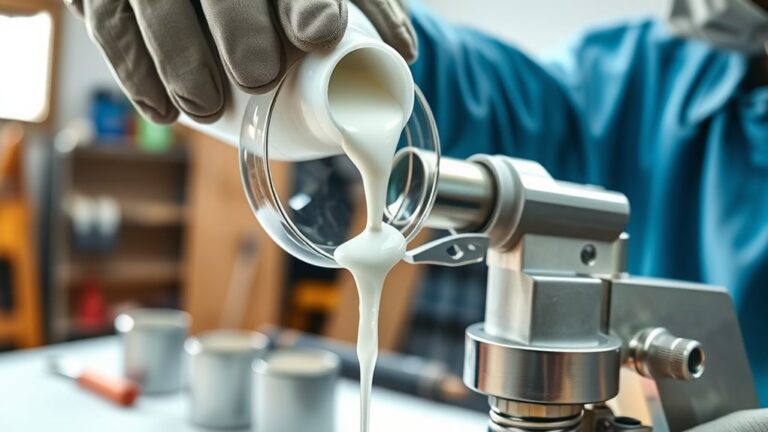
Although not all paints require thinning, you’ll usually need to dilute emulsion paints by 10-20% with water before spraying. This helps guarantee smooth flow and prevents clogging.
Start by following the manufacturer guidelines for thinning emulsion paints and checking compatibility with your spray system. Mix the paint thoroughly and check its consistency by dipping a stir stick into it. It should flow smoothly but not drip excessively.
Next, strain the paint to remove any debris that might block your equipment. Always perform a spray test on cardboard to see how the paint sprays.
If it sputters or runs, adjust your thinning ratio accordingly. By carefully thinning and testing, you’ll achieve an even spray pattern and avoid common issues during your painting project.
Comparing Airless and HVLP Spray Systems

When choosing between airless and HVLP spray systems, you should consider how each handles paint flow and pressure. An airless sprayer operates at around 2000 psi and usually requires minimal thinning—about 10%—to guarantee smooth paint flow and atomization.
Airless sprayers run at 2000 psi and need minimal thinning—around 10%—for smooth, efficient paint flow.
In contrast, HVLP spray systems work at roughly 10 psi and often need up to 20% thinning to achieve a fine, controlled spray pattern. Your choice depends on the project’s scale and finish quality.
- Airless sprayer suits large surface areas
- HVLP spray systems excel in detailed, fine finishes
- Thinning paint is more critical for HVLP sprays
- Over-thinning can reduce paint adhesion in HVLP systems
Understanding these differences helps you optimize your paint sprayer’s performance. It’s all about matching the right tool with your specific painting needs.
Manufacturer Guidelines and Best Practices

Since proper thinning affects both application and finish quality, you should always follow the paint manufacturer’s instructions closely. These manufacturer instructions provide essential details on thinning ratios tailored for specific paint types and spray systems.
For instance, most emulsion paints require at least 10% thinning when used with airless sprayers to maintain the right paint consistency and avoid clogging. In contrast, finish paints like satin or gloss often shouldn’t be thinned for spray application to preserve durability and coverage.
If you’re unsure about thinning requirements, don’t hesitate to contact the paint supplier’s technical support for expert guidance. Sticking to these best practices ensures smooth spray application, prevents sputtering, and helps you achieve a flawless, long-lasting finish every time.
Frequently Asked Questions
Can You Spray Paint Without Thinning It?
You can spray paint without diluting it sometimes, but it often causes clogs and uneven coverage.
Check your paint and sprayer instructions carefully, and thin the paint if needed to guarantee smooth spraying and avoid damage.
How Do I Know if I Need to Thin Paint for Sprayer?
If your paint feels like molasses through the nozzle, you’ll know it needs thinning.
Trust your sprayer’s flow—if it sputters or clogs, thin the paint gently until it glides smoothly, like a calm river’s embrace.
Can You Use Thick Paint in a Spray Gun?
You can’t use thick paint directly in a spray gun without diluting it first. It’ll clog nozzles and cause uneven spraying.
What Paint Sprayers Do Not Require Thinning Paint?
Powerful professional airless paint sprayers don’t demand you to dilute your paint. You can confidently coat surfaces with thick formulas.
But remember, always consult your sprayer’s manual to guarantee perfect performance and prevent problems. That way, you’ll get the best results every time.
Conclusion
So, do you really need to thin paint for a sprayer? It depends on your sprayer type and the paint’s consistency. Airless sprayers often handle thicker paints without thinning, while HVLP systems usually need it for smooth application.
Always check the manufacturer’s guidelines before you start. Thinning paint can improve your finish and prevent clogs, but over-thinning might cause drips.
Are you ready to achieve that perfect spray with the right prep? Remember, thinning paint for a sprayer isn’t always necessary, but it can make a big difference in your painting project. Knowing when and how to thin paint ensures a smooth finish and helps avoid common sprayer problems like clogging or uneven coats. So, take a moment to assess your paint and sprayer type—it’s the best way to get professional-looking results every time.