
How to Unclog a Paint Sprayer Tip Quickly
If your paint sprayer tip clogs, don’t worry—it happens to the best of us. First, engage the trigger lock and rotate the reversible tip to the unclog position. You don’t even need to remove it, which saves time and hassle.
Hold the gun steady at waist height and press the trigger. This forces solvent or air through the tip, helping to clear out any debris blocking the flow.
If it’s stubborn, gently tap the tip to loosen the clog.
Once it’s clear, simply return the tip to spray mode and get back to your project. Taking these quick steps keeps your workflow smooth and efficient.
And hey, to avoid clogs and keep your sprayer working like new, there are a few more tips you can follow. They’ll help you maintain your paint sprayer and save you from future headaches.
Key Takeaways
- Engage the trigger lock and rotate the reversible tip to the unclog position before attempting to clear the clog.
- Hold the spray gun at waist level and press the trigger to force air or solvent through the tip. This helps push out whatever is blocking it.
- Gently tap the spray tip or use a cleaning tool to dislodge stubborn debris without damaging the tip.
- Once the clog clears, rotate the tip back to the spray position so you can get right back to painting.
- And remember, always point the spray gun away from yourself and others. Safety first while you’re unclogging!
Understanding Reversible Spray Tips and Their Function
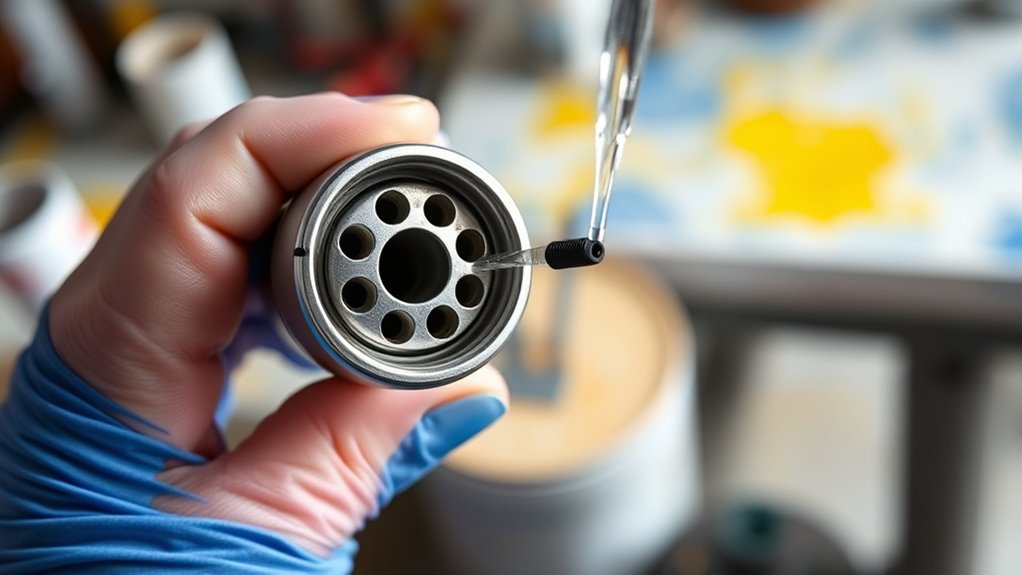
Although paint sprayer tips can clog easily, using a reversible spray tip makes clearing blockages quick and simple. You’ll notice the tip has an arrow-shaped handle that points forward during spraying.
When tip clogs happen, just engage the trigger lock and rotate the handle backward to the unclog position. This lets you clear blockages without removing the spray tip from your gun, saving time and effort.
The reversible tip’s design lets you switch seamlessly between spraying and unclogging, ensuring continuous, efficient work. By using the spray tip properly, you prevent blockages and maintain smooth spraying sessions.
This thoughtful design simplifies maintenance and keeps your paint flow steady without frequent interruptions. It’s a real game-changer for anyone looking to work smarter, not harder.
Step-by-Step Guide to Clearing a Clogged Spray Tip
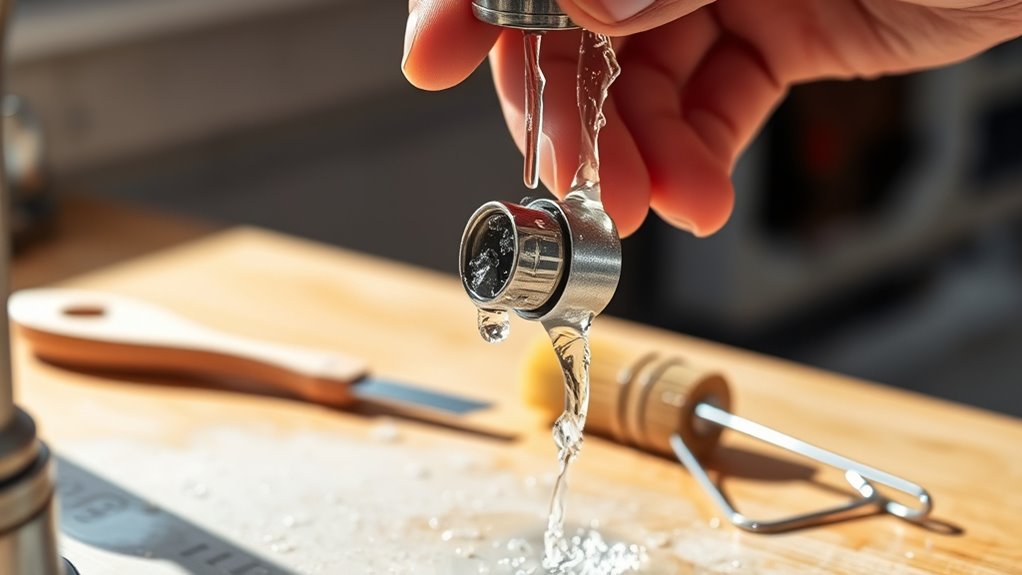
When your paint sprayer tip clogs, you can quickly clear it by engaging the trigger lock and rotating the reversible tip to the unclog position. Hold the spray gun at waist level, then press the trigger to force air or solvent through the spray tip. This helps dislodge the clog.
If debris is stubborn, gently tap the tip or use a cleaning tool to loosen it without damaging the spray tips. After clearing, rotate the reversible tip back to the spray position so you can resume painting immediately.
Always follow safety guidelines by never pointing the spray toward yourself or others during this process. This step-by-step approach ensures your spray tips stay clear and your paint flow remains consistent.
Best Practices for Preventing Future Spray Tip Clogs

To keep your paint sprayer tip from clogging, you should strain paint through a fine mesh filter before filling the sprayer to remove large particles. Always flush and clean the spray tip with solvent or water right after use to prevent buildup.
Using reversible spray tips helps you clear clogs quickly without disassembling, saving time. Avoid thick or dried paint by thinning it according to manufacturer specs to maintain smooth flow through the tip.
Pay attention to spray position when working; holding the sprayer at the right angle ensures even paint flow and reduces clog risk. Finally, store paint and equipment properly, sealing containers tightly to prevent drying or thickening that can block the tip.
Following these steps will keep your sprayer working efficiently.
Frequently Asked Questions
Can I Run Water Through My Paint Sprayer to Clean It?
Yes, you can run water through your paint sprayer to clean it, especially if it’s water-based paint.
Just make sure the sprayer is off and depressurized before you start. Also, be sure to follow the manufacturer’s cleaning instructions carefully.
How Do You Unblock a Paint Sprayer?
You unblock a paint sprayer by engaging the trigger lock, rotating the reversible tip to the unclog position, then squeezing the trigger at waist height to force out debris. Always strain paint beforehand and follow safety precautions.
It’s a pretty straightforward process. Just make sure you’re working in a well-ventilated area and wearing protective gear. This will keep things safe while you get your sprayer back in action.
How Do You Unclog a Sprayer Nozzle?
Think of your sprayer nozzle like a garden hose; when clogged, rotate the reversible tip to the unclog position.
Squeeze the trigger to flush debris, then reset the tip—this quick dance clears your flow effortlessly.
How Do You Get Buildup off Sprayer Nozzles?
You get buildup off sprayer nozzles by soaking them in warm, soapy water or a cleaning solution. Then, gently scrub them with a brush or thin wire.
Make sure to rinse them thoroughly afterward. If there are still stubborn deposits, just repeat the process until they’re clean.
Conclusion
Now that you know how to quickly unclog your paint sprayer tip, imagine the frustration melting away as paint flows smoothly again, like a river breaking through a dam.
By understanding reversible tips and following simple clearing steps, you’re not just fixing a clog—you’re keeping your project on track.
With a few best practices, you’ll prevent future blockages, turning your sprayer into a reliable tool that works as effortlessly as your creativity flows.
Unclogging your paint sprayer tip quickly is key to maintaining efficiency and achieving a flawless finish. Regular cleaning and proper maintenance will save you time and headaches on every project.
So, keep these tips handy and enjoy smooth, uninterrupted spraying every time. Your paint sprayer will thank you, and your work will show the difference!




6 Comments