How Do You Thin Paint for a Paint Sprayer in 3 Easy Steps
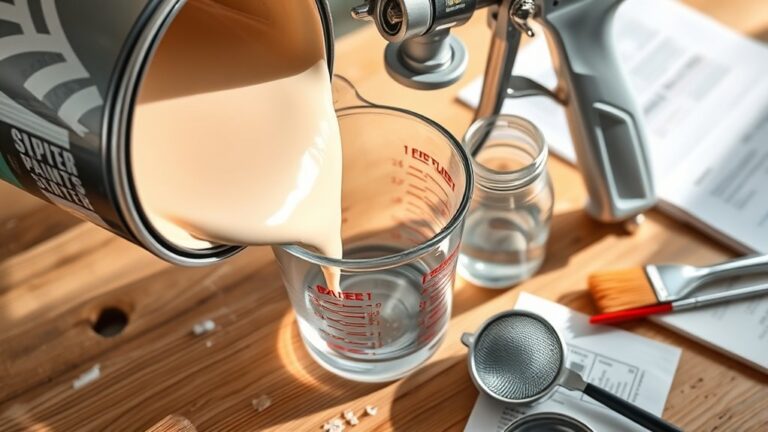
To thin paint for a paint sprayer, start by checking the paint’s consistency. Make sure to follow the manufacturer’s guidelines to see if thinning is even necessary.
This step is super important because not all paints need thinning, and using the right consistency helps get a smooth finish.
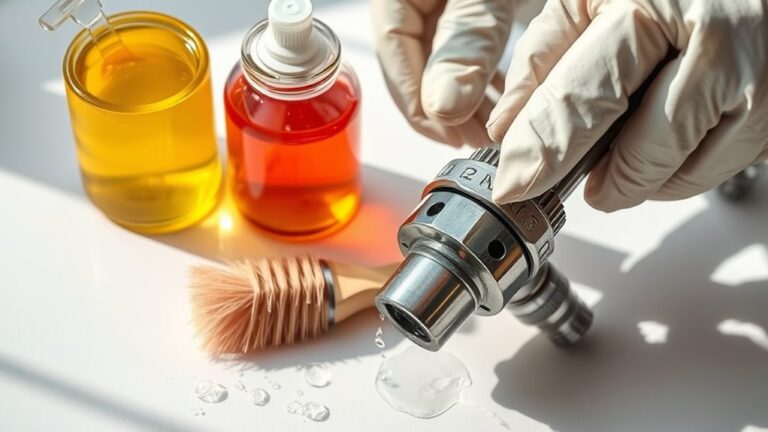
Next, add the appropriate thinner. Use water for water-based paint or mineral spirits for oil-based paint. Mix these carefully according to the recommended ratio.
Taking your time here ensures the paint flows easily through the sprayer without clogging.
Finally, strain the paint through a fine mesh to catch any lumps or debris. Then, test spray on a scrap surface to check for smooth flow and even coverage.
Keep going to discover tips on perfecting each step for the best finish.
Key Takeaways
- Check the paint’s consistency and manufacturer guidelines to determine if thinning is necessary and the recommended ratio.
- Use water for water-based paint or mineral spirits for oil-based paint, following the proper thinning ratios (e.g., 70% paint to 30% water).
- Strain the thinned paint through a fine mesh to remove lumps and debris before spraying.
- Perform a test spray on a scrap surface to ensure smooth flow, even coverage, and proper spray pattern.
- Adjust thinning ratios as needed based on test results to achieve optimal viscosity and avoid clogging.
Check Paint Consistency and Manufacturer Guidelines
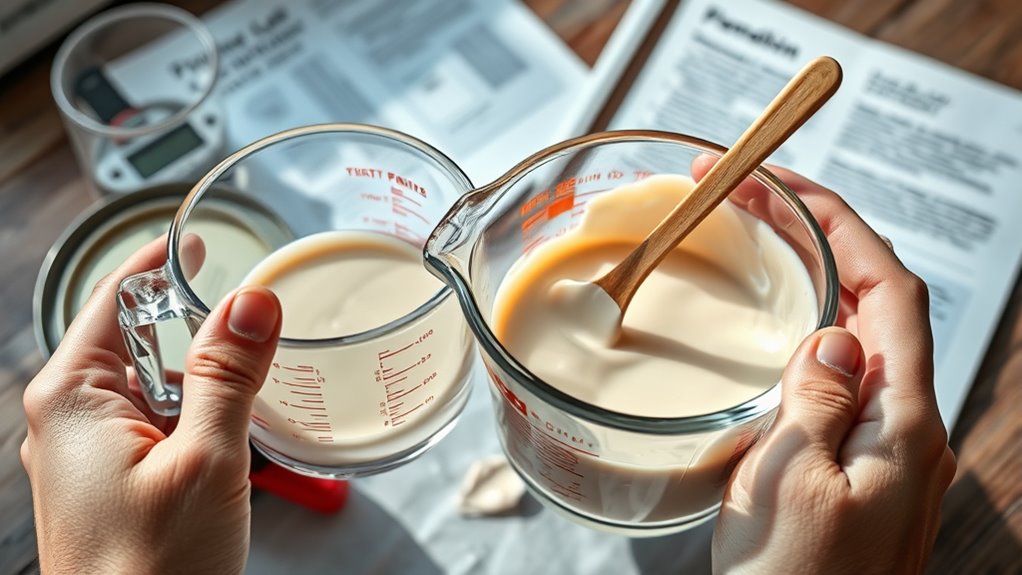
Before you start thinning paint for your sprayer, always check the manufacturer’s instructions to see if thinning is necessary and to learn the recommended ratio. Following manufacturer guidelines ensures you achieve the right paint consistency for your project preparation.
Perform a viscosity test by pouring paint off a stir stick; it should flow smoothly but not be runny. This helps you judge if the paint needs diluting to improve the spray pattern.
Water-based paints often require 10-30% water, while oil-based ones need 25-33% mineral spirits or thinner, but always rely on the thinning ratio specified by the manufacturer. After adjusting consistency, filter the paint through a mesh to remove lumps or debris, preventing clogs and ensuring a smooth, even application.
Thin the Paint With the Appropriate Thinning Agent

When thinning paint for your sprayer, you’ll want to use the appropriate thinning agent to maintain the right consistency and performance. For water-based paints like emulsion, use water as the thinning agent. Aim for a paint ratio of about 70% paint to 30% water to guarantee good sprayability.
Oil-based paints require mineral spirits or paint thinner. Mix roughly 3 parts paint to 1 part thinner. Always follow the manufacturer instructions on the label before adjusting ratios.
After thinning, strain paint through a fine mesh to remove lumps that could clog your sprayer. Finally, perform a sample test to check if the paint flows smoothly. Adjust the thinning agent as needed for ideal spraying results.
- Use water for water-based paints
- Mix oil-based paints with mineral spirits
- Follow manufacturer instructions for paint ratio
- Strain paint before spraying
Strain and Test the Thinned Paint Before Spraying
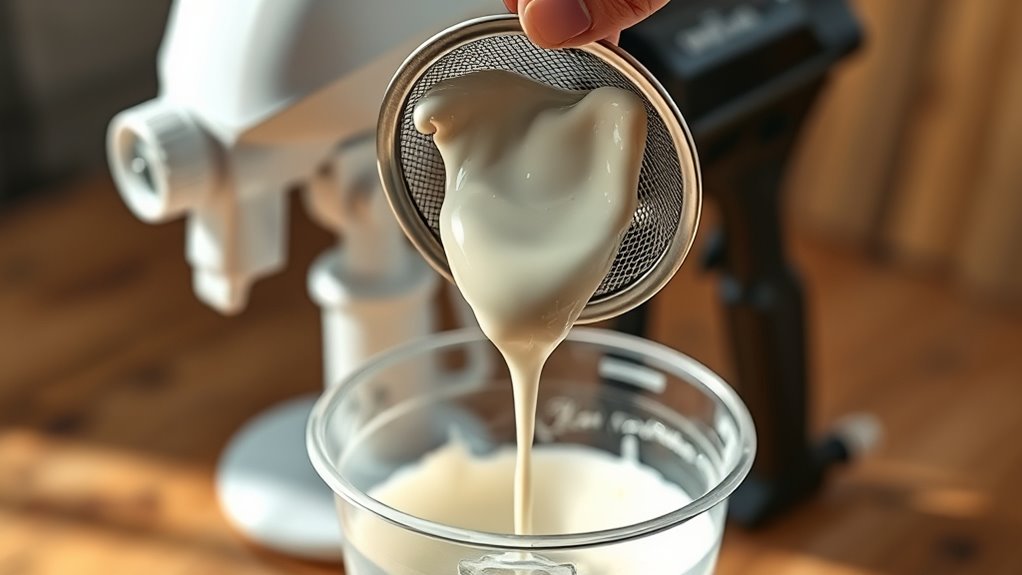
After thinning your paint with the right agent, strain it through a fine mesh filter or coffee filter to catch any lumps or debris that could clog your sprayer.
Next, test the paint by spraying a small amount on a scrap surface. Watch the spray pattern closely—uniform droplets show proper consistency.
Check for clogging or splattering and assess the finish. If the paint seems too thick or runs, adjust the thinning ratio, usually starting with a 10% additive.
Repeat until the flow is smooth and the finish looks even. It might take a couple of tries, but getting this right makes all the difference.
| Step | What to Check |
|---|---|
| Strain | Remove lumps and debris |
| Test Spray | Spray pattern and finish |
| Observe | Consistency and droplet size |
| Adjust Ratio | Prevent clogging, improve flow |
Frequently Asked Questions
What Is the Best Way to Thin Paint for a Sprayer?
The best way to thin paint for a sprayer is to gradually add water or thinner while stirring. You want to aim for a smooth, pancake batter-like consistency.
Give it a test spray and see how it flows. Keep adjusting until it sprays evenly without clogging or dripping.
What Is the Ratio of Paint to Thinner for a Spray Gun?
Like blending silk with water, you’ll mix about 70% paint with 30% thinner for smooth spraying.
Adjust slightly—80/20 for water-based, 75/25 for oil-based—to keep your spray gun flowing without clogging.
How to Use a Paint Sprayer for Beginners?
Start by cleaning your surface and adjusting your sprayer settings. Thin your paint as needed, strain it, then test spray on scrap wood.
Move steadily and evenly for smooth, professional-looking coverage without drips or clumps. It might take a little practice, but you’ll get the hang of it quickly!
What Is the Best Paint Thinner for a Spray Gun?
The best paint thinner for your spray gun depends on your paint type. Use mineral spirits or paint thinner for oil-based paints.
For water-based paints, go with water or specialized thinners like Paint Easy. Always make sure to follow the manufacturer’s guidelines.
That way, you get the best results without damaging your equipment.
Conclusion
Now that you’ve thinned your paint to the perfect flow, imagine the smooth, even spray gliding effortlessly from your sprayer, painting your project like a gentle summer breeze.
By checking consistency, choosing the right thinner, and straining carefully, you’re set for a flawless finish every time.
With these simple steps, your paint job will look professional and fresh—just like a canvas ready to come alive with color.
Thinning paint for a paint sprayer is all about getting that ideal consistency so your sprayer can work its magic without clogging or splattering. When you follow these easy steps, you ensure smooth application and a vibrant, even coat. Remember, the right thinner and proper straining are key to avoiding common spraying issues. So, take your time thinning paint for your paint sprayer, and you’ll achieve that perfect, professional-looking finish every single time.