How to Clean an Airless Paint Sprayer in 3 Easy Steps
To clean your airless paint sprayer in 3 easy steps, start by flushing the system with clean water. This helps remove paint residue and relieves pressure inside the sprayer. It’s important to flush thoroughly so no leftover paint clogs the system.
Next, focus on the spray gun, hoses, and filters. Run water through these parts and make sure to clear out any debris. Cleaning these components well keeps your sprayer working smoothly and prevents damage.
Finally, reassemble everything and do a last flush to ensure the sprayer is completely clean.
Before storing your sprayer, add antifreeze if you’re keeping it in cold conditions. This simple routine not only makes cleaning easy but also extends the life of your airless paint sprayer.
Keep reading for tips that’ll help make your cleaning even more effective!
Key Takeaways
- Release sprayer pressure and run clean water through the prime valve to flush out paint residues. Keep going until water runs clear.
- Spray fresh water at low pressure through hoses and gun. Flush repeatedly to make sure all paint buildup is gone.
- Remove the spray gun handle to clean and inspect filters in clean water. Then, securely reassemble the spray gun.
- Do a final flush with clean water. You can also run an anti-freeze mixture through the system if you’re storing it in cold conditions.
- Always release all pressure from hoses and guns before storage. This helps prevent damage and keeps your sprayer working well.
Flush and Prepare the Sprayer System
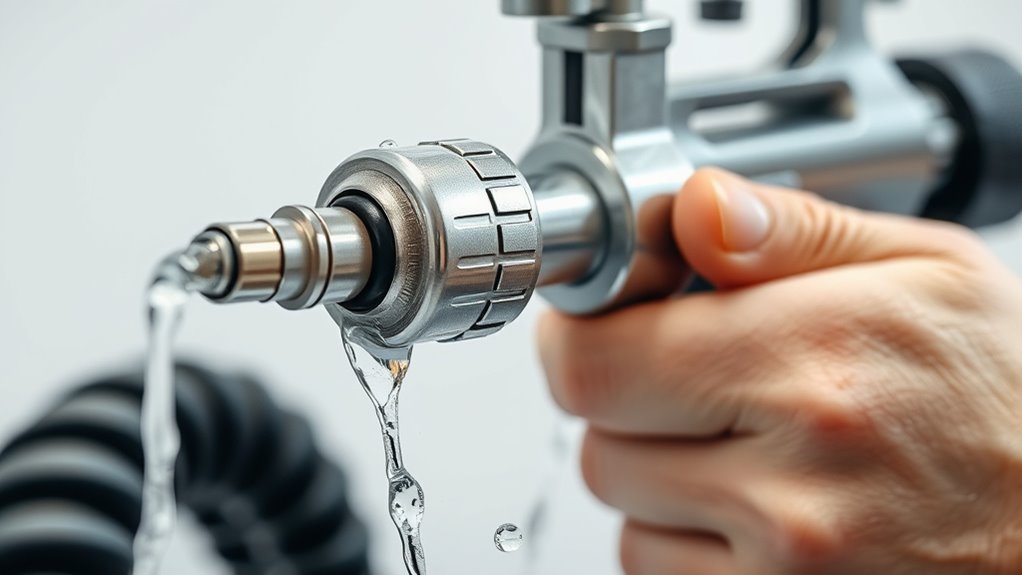
Before you begin cleaning your airless paint sprayer, make sure to use clean buckets of water free from debris. This helps avoid contamination when flushing the system.
First, release the pressure in the sprayer to prevent accidents. Then, run fresh water through the prime valve by lifting it, allowing water to clear out paint residues.
Start by releasing sprayer pressure, then flush paint residues through the prime valve with fresh water.
Keep flushing until the water runs clear—that means all paint has been removed from the lines. Let the water sit in the lines for a few minutes to dissolve any remaining buildup.
After that, start spraying again with fresh water at low pressure through the hoses and gun. This will thoroughly clean the entire sprayer system.
Make sure you repeat this process until you’re confident the system is fully flushed and clean. It’s worth taking the time to do it right!
Clean the Spray Gun, Hoses, and Filters

Once you’ve flushed the system, run water through the spray gun and hoses until the paint clears and the flow feels less viscous. Always spray water on the bucket’s side to avoid splashing.
Remove the spray gun handle to access and clean the filters with a wrench or specialized tool. Drop the filters into clean water for inspection, making sure all debris is removed.
Reassemble the spray gun by threading the head back onto the handle and tightening it snugly. Use a hose with an on/off valve to flush hoses and gun components thoroughly, ensuring no paint residue remains.
| Component | Cleaning Method | Tips |
|---|---|---|
| Spray Gun | Flush with water | Spray water on bucket side |
| Filters | Remove and soak | Inspect for debris |
| Hoses | Use hose with valve | Flush until water runs clear |
Reassemble, Final Flush, and Storage Preparation
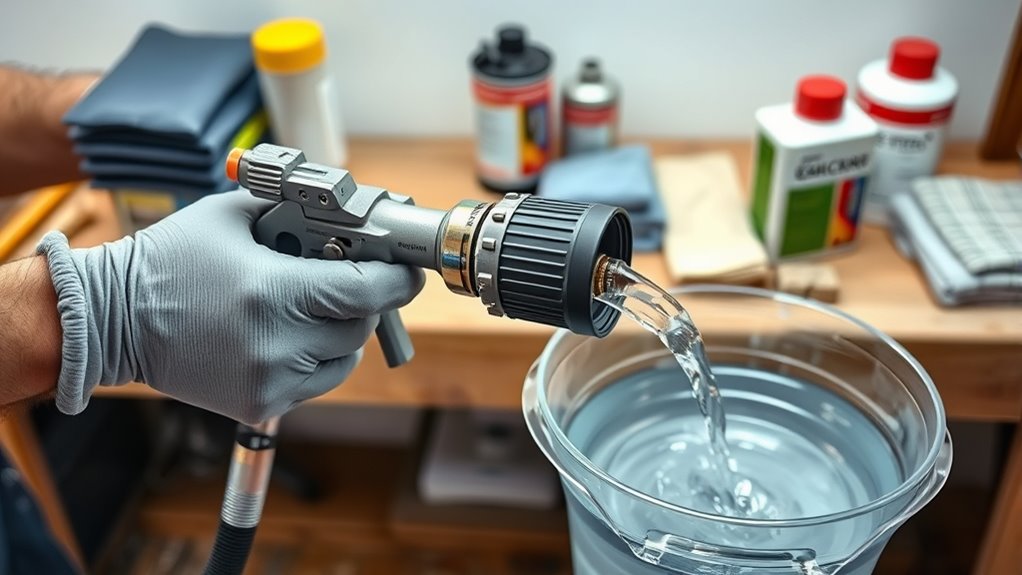
After you’ve cleaned all parts thoroughly, reassemble the spray gun by threading the head back onto the handle and tightening it snugly to guarantee a proper seal. Next, perform a final flush with clean water to assure every component is free of paint and working properly.
This step confirms your sprayer is ready for storage and prevents clogs. Before storing, run a water and anti-freeze mixture through the lines and tips to protect against freezing in cold conditions.
Don’t forget to release pressure from hoses, guns, and the prime tube to avoid damage. Finally, use the auto-lube feature or manually lubricate piston packings to maintain performance.
Following these steps will keep your equipment in top shape during storage. It’s a simple routine that really pays off in the long run!
Frequently Asked Questions
Can I Run Water Through a Paint Sprayer to Clean It?
Yes, you can run water through your paint sprayer to clean it. Just make sure you use low pressure to avoid any damage.
Also, relieve the system’s pressure first before you start. Keep flushing the system until the water runs clear—that way, you’ll remove all the paint residue effectively.
How to Clean a Graco Paint Sprayer After Use?
You should disconnect your Graco sprayer and release the pressure first. Then, flush it with clean water until the water runs clear.
Next, remove the gun filter and the manifold filter. Give them a good clean before putting everything back together.
After reassembling, run water through the system again. This helps make sure everything is completely spotless.
What Is the Easiest Airless Sprayer to Clean?
Cleaning the Graco Ultra Max II is like a breeze on a spring morning—you’ll love its quick-disconnect parts and accessible filters.
It’s designed so you can breeze through maintenance without breaking a sweat or wasting time. Easy peasy!
What Is the Number One Rule When Using Airless Spray Guns?
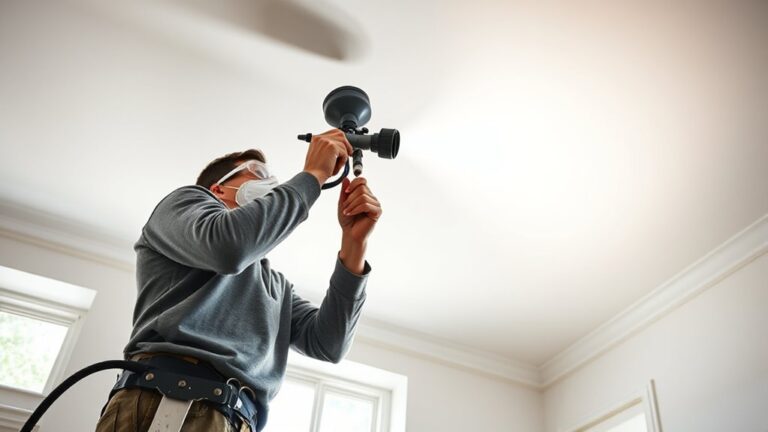
The number one rule when using airless spray guns is to always wear proper personal protective equipment like masks, goggles, and gloves. This keeps you safe from hazardous paint particles and prevents injury during use.
You really don’t want to skip this step. Trust me, it’s all about keeping yourself safe while you work. So, always gear up before you start spraying!
Conclusion
Cleaning your airless paint sprayer is like giving your tool a fresh breath—essential for its longevity and performance.
Start by flushing the system to remove any leftover paint. Then, make sure to thoroughly clean the spray gun, hoses, and filters. This helps prevent clogs and keeps everything running smoothly.
Finally, reassemble your sprayer and prepare it for storage. Doing this keeps your equipment ready for the next project without any hassle.
Taking these simple steps guarantees your airless paint sprayer won’t just work but will work smoothly every time. Proper cleaning saves you time and frustration down the road, ensuring your sprayer stays in top condition for years. So, keep your paint sprayer clean, and you’ll enjoy better performance and longer-lasting results on every job.