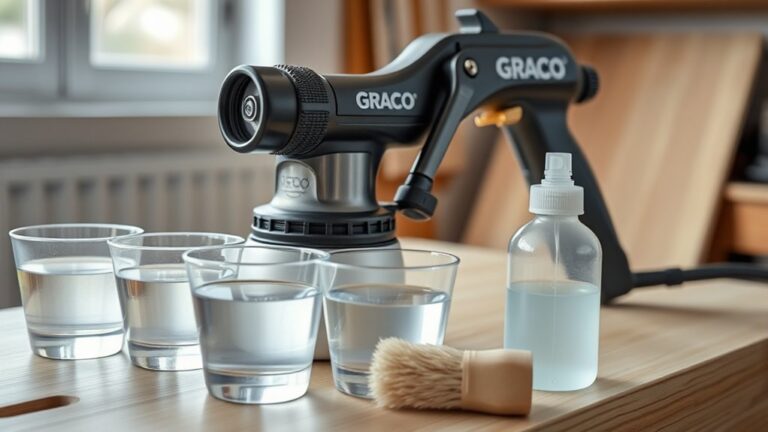
How You Use Any Paint in a Paint Sprayer
To use any paint in a paint sprayer, start by straining and thinning it as recommended. This helps the paint flow smoothly and prevents clogging. Proper preparation is key to getting a flawless finish with your paint sprayer.
Next, set up your sprayer by attaching the turbine and filling the cup. Adjust the nozzle and spray pattern to match your project’s needs.
It’s best to keep the sprayer at least six inches away from the surface for even coverage. This way, you’ll avoid drips and uneven spots.
After you’re done, make sure to clean and maintain your sprayer. Regular care keeps it running smoothly and extends its lifespan.
Keep going to discover more tips on perfect setup and care for your paint sprayer!
Key Takeaways
- Strain and thin paint as needed to ensure smooth flow and prevent nozzle clogging before pouring it into the sprayer cup. This step really helps keep things running smoothly.
- Attach the turbine to the nozzle and fill the cup with your prepared paint. Using a liner makes cleanup a breeze and switching paints easier.
- Adjust the spray pattern to your liking and hold the sprayer about 6 inches from the surface. Keep the nozzle either parallel or perpendicular to get an even coat.
- Do a test spray on a scrap surface first. This way, you can check the consistency and tweak the paint thickness or spray settings if needed.
- After you’re done, clean the sprayer thoroughly. That means the cup, nozzle, and suction tube—all of it. This helps maintain performance and stops clogs from forming.
Preparing and Thinning Paint for Spraying

Before you start spraying, make sure to strain your paint to remove lumps or debris that might clog the nozzle. Proper thinning is key to achieving a smooth spray.
Most water-based paints require thinning by about 10-20% to reduce viscosity and ensure easy flow through the sprayer. Use the paint manufacturer’s recommended reducer or thinning agent for the best results.
Pour the thinned paint into the paint cup, then test its consistency by running it through a funnel or fine strainer. You want the paint to flow smoothly without dripping too fast or too slow.
Pour thinned paint through a fine strainer to ensure smooth, even flow without rushing or dripping.
Adjust the viscosity with small amounts of thinner until it reaches a pourable, sprayable state suitable for your HVLP sprayer. This preparation helps prevent clogs and guarantees an even finish.
Setting Up and Operating the Paint Sprayer

Once you’ve prepared your paint, you’ll need to properly set up your sprayer to make certain a smooth application. Start by removing the turbine from the cup and attaching it to the nozzle.
Use a liner inside the cup for easier paint changes, then fill it with your paint. Attach the suction tube according to your spraying angle—forward for horizontal or vertical, toward you for overhead.
Adjust the width selector to choose a narrow or wide spray pattern based on your project. Hold the spray gun so the nozzle stays parallel or perpendicular to the surface, keeping at least six inches away for even coverage.
Understanding these parts of the sprayer ensures efficient operation, and while mineral spirits to clean isn’t needed now, it’s handy later after you finish.
Cleaning and Maintaining Your Paint Sprayer

Though it might be tempting to set your sprayer aside after finishing your project, you should always clean it thoroughly to prevent clogs and maintain performance. Start by cleaning the paint cup and nozzle with water or mineral spirits, depending on the paint type.
Always clean your sprayer thoroughly after use to prevent clogs and keep it performing well.
Don’t forget to remove and rinse the suction tube to eliminate all residual paint, especially when switching paints. Periodically disassemble filters and the nozzle, scrub them with a brush, and dry completely before reassembling.
Use warm, soapy water for water-based paints and appropriate solvents for oil-based ones during cleaning. Proper maintenance also means storing your paint sprayer in a dry, clean area to prevent corrosion.
Regular cleaning and maintenance keep your paint sprayers working smoothly and extend their lifespan. So, take a little extra time after each use—it really pays off!
Frequently Asked Questions
Can I Put Any Paint in a Paint Sprayer?
You can’t put any paint in a sprayer without checking compatibility. Thin thick paints properly, strain to avoid clogs, and use the right nozzle.
Otherwise, you risk damaging your sprayer and ruining your finish. It’s really important to follow these steps to get the best results.
Can I Use Rustoleum Paint in a Spray Gun?
Imagine a smooth, even coat flowing effortlessly from your spray gun.
Yes, you can use Rustoleum paint, but you’ll want to thin it and strain it first to avoid clogs and guarantee a flawless finish every time.
Can Sherwin Williams Put Paint in Spray Cans?
Sherwin Williams doesn’t typically put paint in spray cans for you. You’ll need to transfer their paint into a compatible sprayer.
Or, you can use specialized containers designed for spraying. That way, you get the best results with their products.
Do You Dilute Paint When Using a Paint Sprayer?
Think of paint like soup—you need the right broth thickness. Yes, you usually dilute paint 10-30% to spray smoothly.
I once skipped this and clogged my sprayer; now I always test before the main job. It really helps avoid surprises!
Conclusion
Using any paint in a paint sprayer can save you up to 75% of the time compared to traditional brushing. By properly preparing and thinning your paint, setting up the sprayer correctly, and maintaining it well, you’ll get smooth, professional results every time.
Remember, a little effort in prep and cleanup goes a long way. So, don’t hesitate—spray smart and enjoy faster, cleaner painting projects! Using a paint sprayer not only speeds up your work but also gives you an even finish that brushes can’t match. Just make sure to choose the right paint and thin it as needed for the best flow through your sprayer. With the right steps, you can handle any paint in your paint sprayer efficiently and get beautiful results every time.