How to Paint a Ceiling With a Sprayer in 3 Easy Steps
To paint a ceiling with a sprayer in three easy steps, start by making sure your ceiling is clean and primed with a suitable primer. A clean, well-prepped surface is key to getting that smooth finish everyone loves.
Next, adjust your sprayer to about 1500-2000 PSI. Give it a quick test spray on a scrap surface first – this helps you dial in a smooth, even pattern before you tackle the ceiling.
Finally, apply the paint using steady, overlapping strokes. Keep the sprayer about 12 inches from the ceiling to ensure uniform coverage. Stick with these basics, and you’ll be surprised how easy it is to get a professional-looking finish!
Key Takeaways
- Clean and prime the ceiling surface thoroughly. Make sure it’s dry and dust-free before you start painting.
- Adjust the sprayer pressure to 1500-2000 PSI. Then, test the spray pattern on some scrap material to ensure even coverage.
- Hold the sprayer perpendicular, about 12 inches from the ceiling. This helps you get a consistent, thin application.
- Use steady, overlapping strokes at a consistent speed. This way, you’ll avoid streaks and missed spots.
- Apply the paint in thin layers. Let each coat dry fully before you add the next one for a smooth finish.
Prepare and Prime the Surface
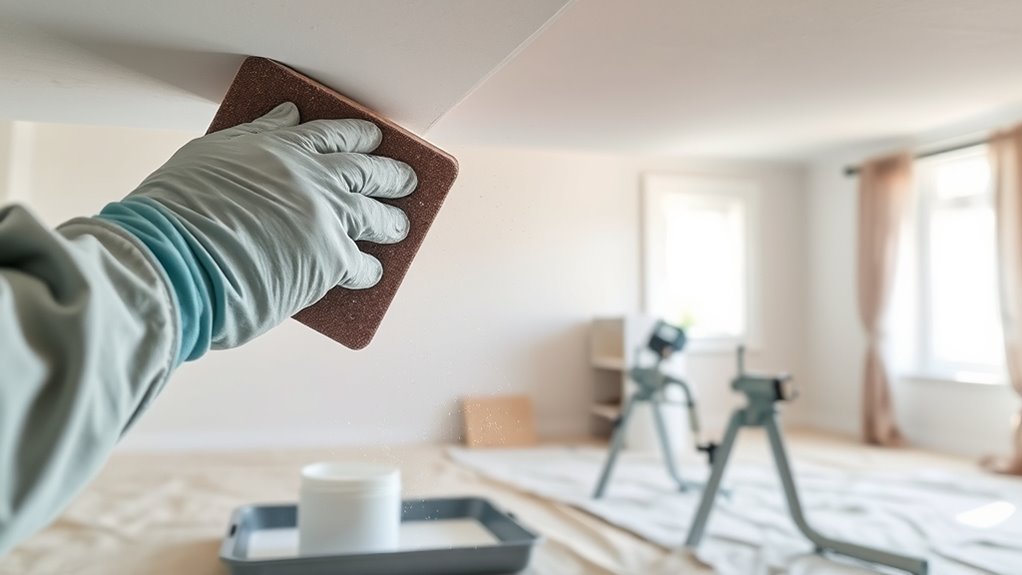
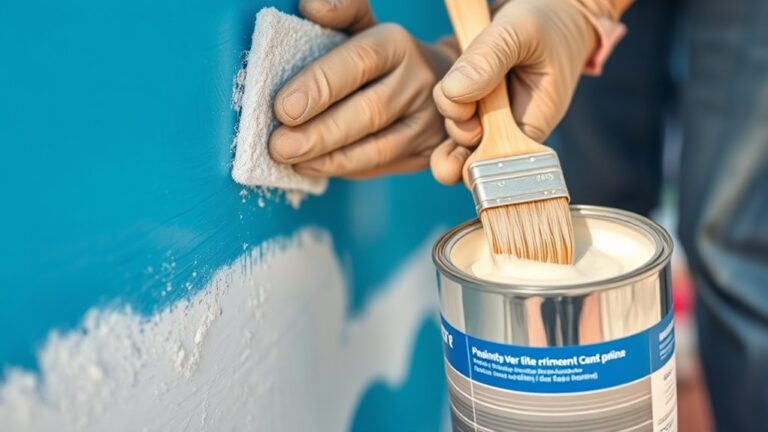
Before you begin priming, make sure the ceiling is clean, dry, and free of dust or debris. This step is essential for the primer to adhere properly.
Ensure the ceiling is clean, dry, and dust-free for proper primer adhesion before starting.
Use a high-quality primer designed for ceilings, and load it into your sprayer. Hold the spray about 12 inches from the ceiling surface to apply an even coat.
As you start priming, spray in thin, consistent layers to ensure smooth coverage without drips. Don’t forget to prime corners and edges thoroughly for uniform adhesion of the final paint.
Allow each coat to dry completely before applying the next. Once you finish priming, remove the spray line from the primer and connect it to the ceiling paint to avoid contamination.
This careful preparation sets the stage for an excellent finish.
Adjust and Test the Sprayer Settings
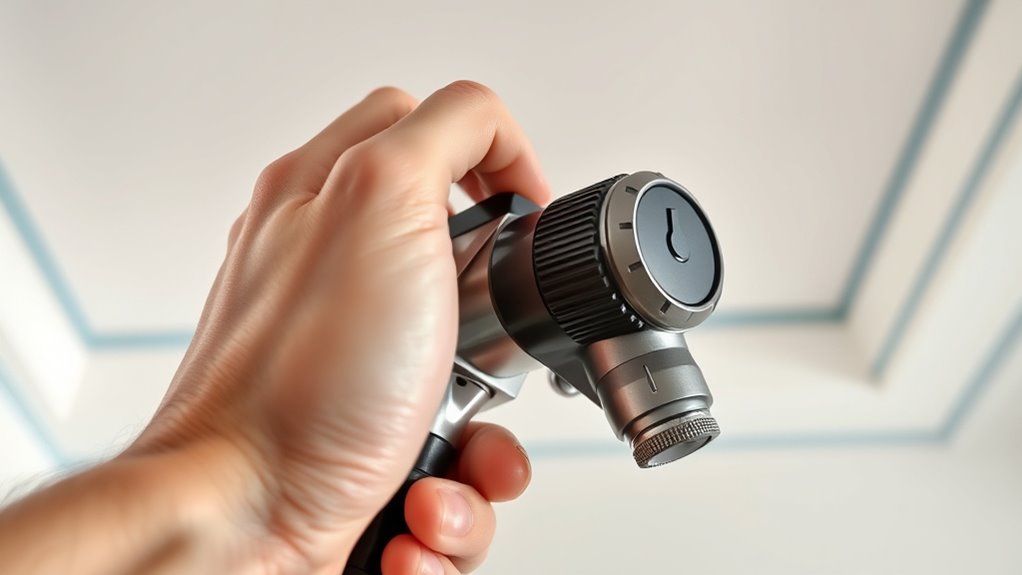
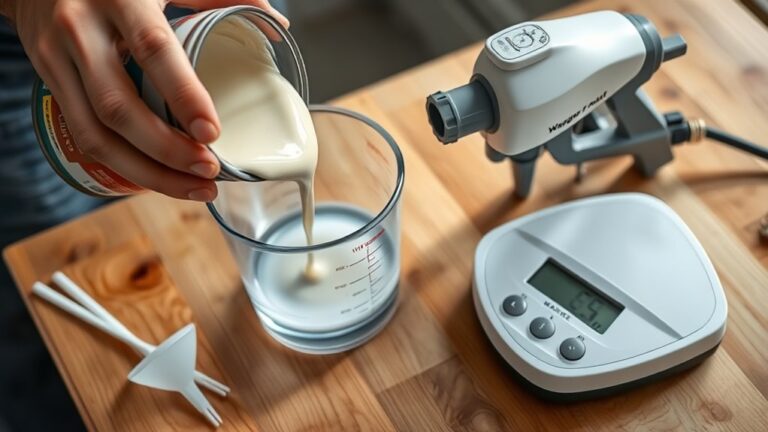
While setting up your sprayer, adjust the PSI dial to around 1500-2000 for even ceiling coverage. Begin priming your paint sprayer by lifting the priming switch and spraying into a bucket until the paint flows smoothly.
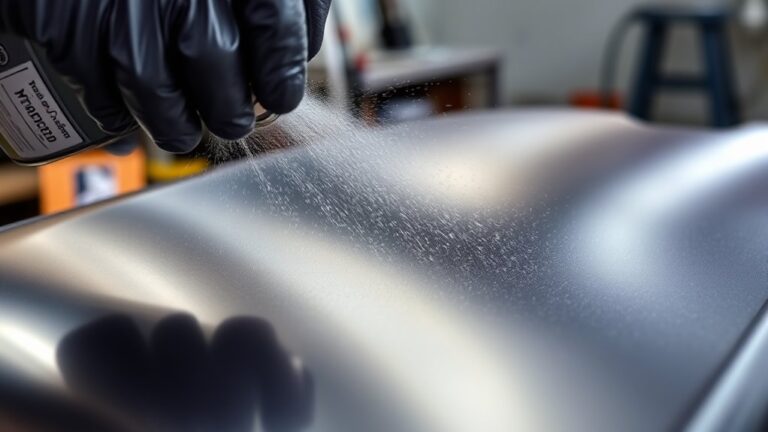
Next, test the spray pattern on drywall or scrap material, aiming for a consistent 12-inch wide spray at a 12-inch distance. Check the gauge regularly and adjust the PSI if you notice gaps, streaks, or overspray.
If you see gaps, increase the pressure to fill them in. On the other hand, if paint drips occur, just lower the pressure a bit.
Keep testing the spray and adjusting as needed throughout your project to maintain an even coverage. This careful calibration guarantees your ceiling paint goes on smoothly and efficiently without wasting material.
Apply Paint With Steady, Even Strokes
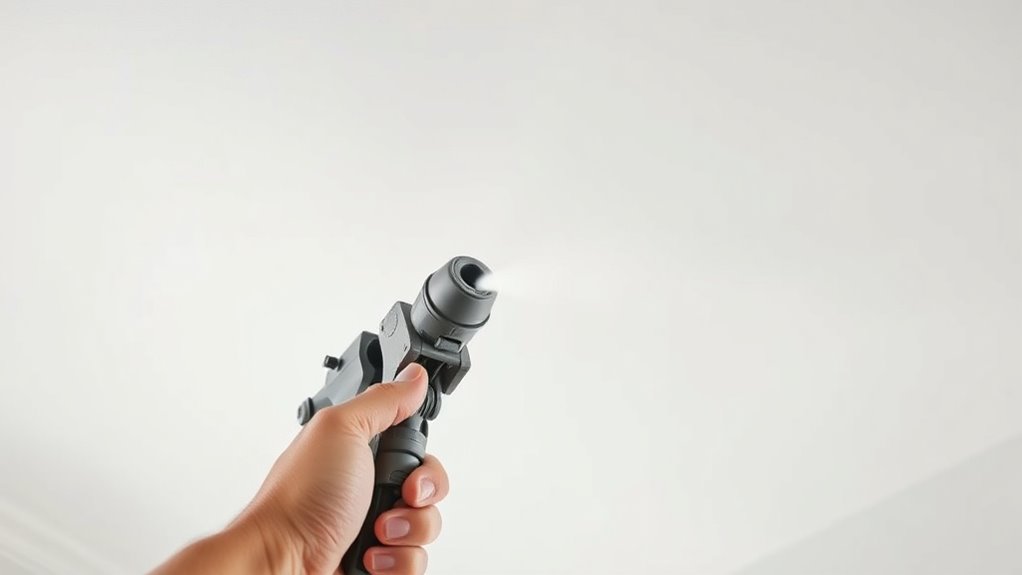
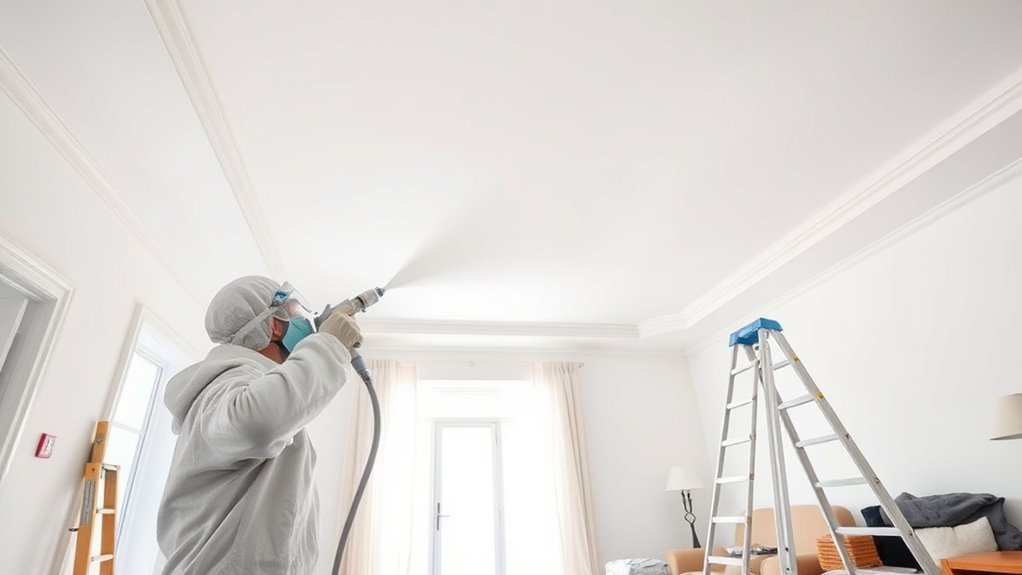
Once you start spraying, keep the gun perpendicular to the ceiling and hold it about 12 inches away. This helps guarantee an even coat without drips.
Use steady strokes with a consistent speed to ensure uniform coverage. Overlap each pass by roughly 50% to avoid missed spots and achieve smooth application.
Avoid pausing mid-stroke to prevent paint buildup or streaks. Maintaining this technique helps you get professional results quickly and efficiently.
| Spray Gun Position | Distance from Ceiling | Stroke Overlap |
|---|---|---|
| Perpendicular | ~12 inches | 50% overlap |
| Consistent Speed | Steady Hand | Smooth, Continuous |
| Even Coverage | Avoid Drips | No Streaks |
Stick to this method for an even, flawless finish. It really makes a difference!
Frequently Asked Questions
How to Spray Paint a Ceiling With a Spray Gun?
You’ll hold the sprayer about 12 inches from the ceiling, spray steadily at a right angle, overlap each pass slightly, and keep your speed consistent.
Adjust pressure as needed to guarantee an even, drip-free coat. It’s all about keeping that flow smooth and controlled.
What Are the Most Common Mistakes When Using Spray Paint?
Don’t drop the ball by holding the sprayer too close or moving unevenly.
You’ll get streaks, drips, and overspray if you don’t mask well or keep a steady distance around 12 inches from the surface.
How to Paint a Ceiling Fast and Easy for Beginners?
You’ll paint your ceiling fast by prepping the area, testing spray patterns, and holding the sprayer 12 inches away.
Move steadily and evenly, wearing safety gear. One smooth coat usually does the trick for beginners.
It’s all about keeping a steady hand and not rushing. You’ll get the hang of it in no time!
Is It Better to Roll or Spray Paint Ceilings?
Spraying paint on ceilings is like using a wind to spread leaves evenly; it’s faster and smoother. You’ll save effort and get a professional finish.
On the other hand, rolling takes more time and may leave streaks or texture inconsistencies. So, if you’re looking for speed and a smooth look, spraying might be the way to go.
Conclusion
By prepping your ceiling and testing your sprayer, you’re already halfway to a flawless finish. Funny enough, the same patience you use adjusting settings is exactly what makes those steady, even strokes so effective.
You’ll find that taking these simple, coincidental steps not only speeds up the job but also leaves you with a ceiling that looks professionally painted. So, stick to the process—you’ll be amazed how easy and rewarding it really is!
Painting a ceiling with a sprayer might seem daunting at first, but with the right prep and technique, it’s a straightforward task. Remember, the key is in the preparation and getting comfortable with your sprayer before you start. Following these three easy steps will help you achieve a smooth, even coat that transforms your space with minimal effort. So grab your sprayer, prep your ceiling, and enjoy the satisfaction of a beautifully painted ceiling in no time!