How You Spray Paint Glass Vases Step by Step
To spray paint glass vases, start by cleaning the vase with rubbing alcohol to remove dirt and oils. Then, mask the interior with a plastic bag to protect it from paint.
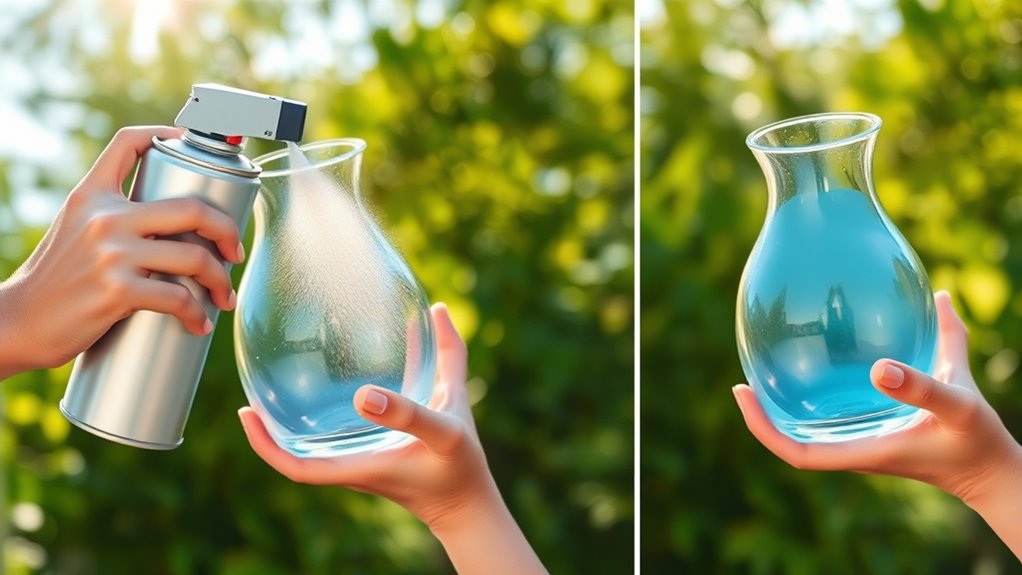
Shake the spray paint can well before you begin. Hold it about 8-12 inches from the surface for the best coverage.
Apply several light, even coats using smooth, circular motions. Let each coat dry fully before applying the next one.
Keep a consistent distance to avoid drips and make sure the paint covers evenly.
Want to get that flawless finish? Keep going to discover helpful tips and safety advice for spray painting glass vases like a pro!
Key Takeaways
- Clean the glass vase thoroughly with rubbing alcohol to remove all dirt, oils, and residues. This helps the paint stick better and last longer.
- Mask the interior of the vase with a plastic bag to keep paint from getting inside. It’s a simple step that makes cleanup easier.
- Shake the spray paint can well before you start. Hold it about 8-12 inches from the vase and spray light, even coats. Use smooth, circular motions for the best coverage.
- Let each coat dry completely for about 10-15 minutes before adding another. This helps you get a smooth, even finish without drips.
- Finally, let the last coat cure fully. Follow the manufacturer’s drying times so the paint sets well before you handle or display your vase.
Supplies and Preparation for Spray Painting Glass Vases
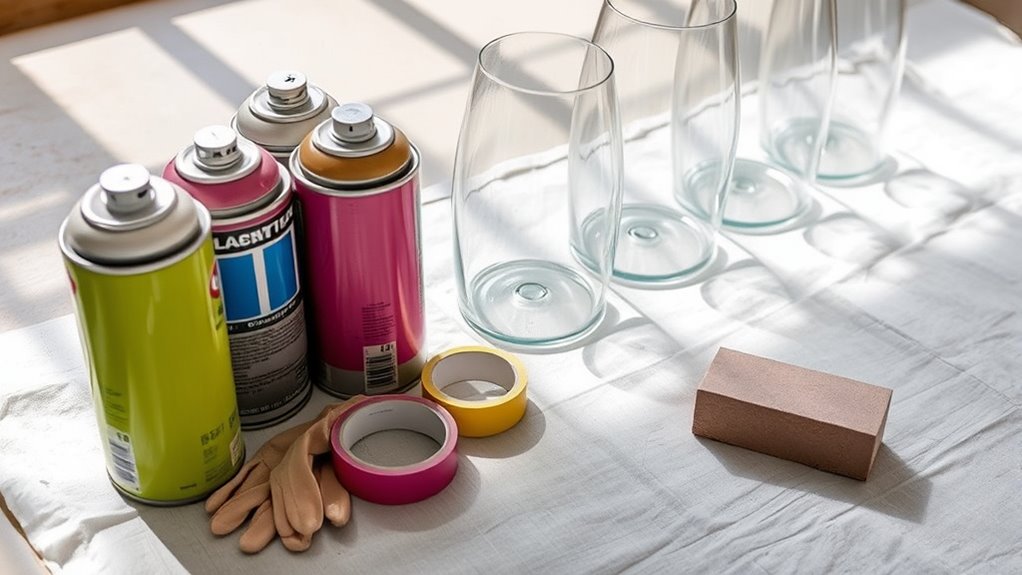
Before you begin spray painting your glass vase, make sure you gather all necessary supplies and prepare the surface properly. Start with a clean glass vase, free of dust and dirt. Use a damp cloth soaked in rubbing alcohol to wipe it down, ensuring better adhesion by removing oils and residues.
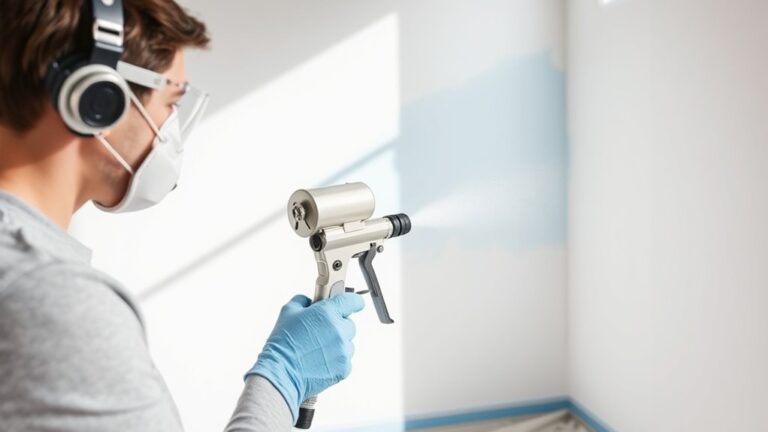
Mask the interior of the vase with a plastic bag to prevent paint from seeping inside during spraying. Protect your workspace with a drop cloth or cardboard, and work in a well-ventilated area to avoid inhaling fumes.
Before applying any coats, shake your spray paint can thoroughly for at least one minute, following the manufacturer’s instructions. Proper preparation and masking will help you achieve a smooth, even finish on your vase.
Step-by-Step Spray Painting Process

Once you’ve prepped your vase and workspace, you can start spray painting by holding the can 8-12 inches from the surface and applying light, circular coats.
Begin by ensuring your glass vase is clean glass, free from oils and residue. Use masking to cover the interior with a plastic bag to prevent paint inside.
Start with a clean vase, removing oils, and mask the interior to keep paint off inside surfaces.
With your spray can, apply light coats, overlapping each pass slightly to achieve even coverage. Let each coat dry completely—about 10-15 minutes—before adding another layer.
This prevents drips and uneven texture. After the final coat, allow the vase to dry completely for several hours or as the paint manufacturer recommends.
Following these steps will give your spray painting glass project a smooth finish, perfect for stylish home decor.
Frequently Asked Questions
What Type of Spray Paint Is Best for Painting Glass Vases?
You should use acrylic-based spray paints labeled for glass, like Krylon or Rust-Oleum. Choose matte, satin, or glossy finishes, and avoid regular paints.
Always pick non-etching, solvent-based formulas made specifically for smooth glass surfaces. These paints stick better and give you a nice, even finish. It’s all about getting that perfect look on your vase!
What Is the Best Way to Paint Glass Vases?
You might think painting glass vases is tricky, but it’s simple if you prep well. Spray light, even coats from 8-12 inches away, and let each layer dry thoroughly.
This guarantees a smooth, lasting finish. Just take your time, and you’ll get great results!
Can I Paint Glass Vases With Spray Paint?
Yes, you can paint glass vases with spray paint. Just make sure you clean them well first.
Use paint that’s specifically made for glass. Apply thin coats, and let each layer dry completely. This helps you get a smooth, lasting finish.
Can You Spray Paint Directly on Glass?
Yes, you can spray paint directly on glass, but you’ll need to clean it thoroughly first.
Use paint made for glass, apply thin coats, and let each dry well to get a smooth, lasting finish.
It’s pretty straightforward once you prep the glass right. Just take your time with the layers, and you’ll get great results!
Conclusion
Now that you’ve given your glass vase a fresh, colorful makeover, you’re ready to brighten any space with your personal touch. Remember, a little patience and care turn a simple spray into a stunning transformation.
Keep experimenting with shades and finishes—you never know what beautiful surprises await. So go ahead, let your creativity flow and enjoy the subtle magic you bring to ordinary glass.
Spray painting glass vases is a fun and rewarding way to add unique style to your home decor. With the right technique, your spray paint glass vases can become eye-catching centerpieces that showcase your artistic flair. Just take your time, follow the steps carefully, and watch how your plain glass transforms into a vibrant work of art.