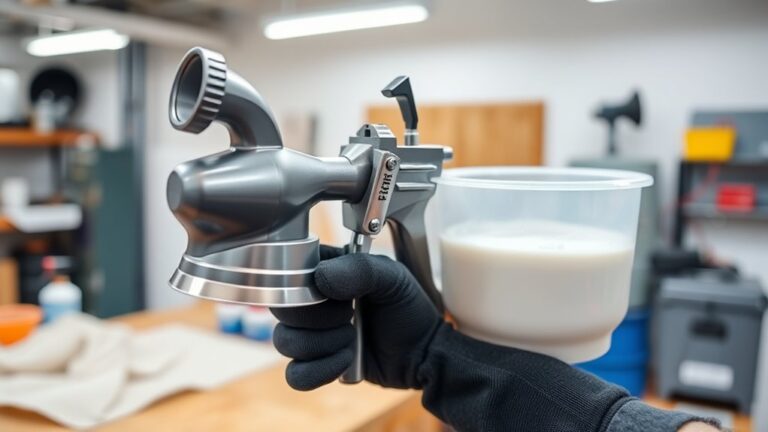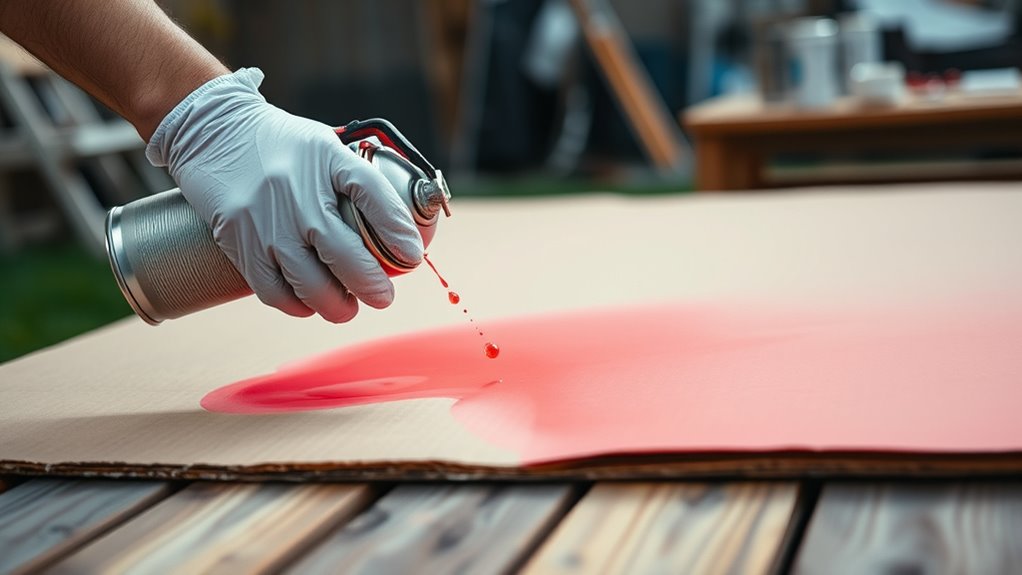
How You Can Spray Paint Cardboard Step by Step
To spray paint cardboard, first set up a well-ventilated area and protect nearby surfaces with coverings. This helps keep your workspace safe and clean while you work on your project.
Shake your spray paint can well to mix the paint thoroughly before use.
Hold the can about 12 inches from the cardboard. Use light, sweeping motions to apply thin coats, letting each dry before adding the next. This technique prevents drips and gives a smooth finish.
If you’re using stencils, secure them firmly in place. Spray carefully around the edges to avoid paint bleeding underneath and ruining your design.
Taking these steps guarantees smooth, vibrant results. Keep exploring to uncover tips for perfecting your painted project and making your cardboard creations stand out!
Key Takeaways
- Prepare a well-ventilated workspace and cover surfaces with newspapers or plastic to protect from overspray.
- Shake the spray paint can for 45-60 seconds and hold it about 12 inches from the cardboard surface.
- Apply light, even coats using controlled sweeping motions. Make sure to let each coat dry fully before adding the next one.
- If you’re using stencils, secure them firmly. Spray gently around the edges to avoid paint bleeding and get sharp designs.
- Let the paint dry thoroughly in a ventilated area. You can sand lightly if needed for a smoother finish.
Preparing and Protecting Your Workspace
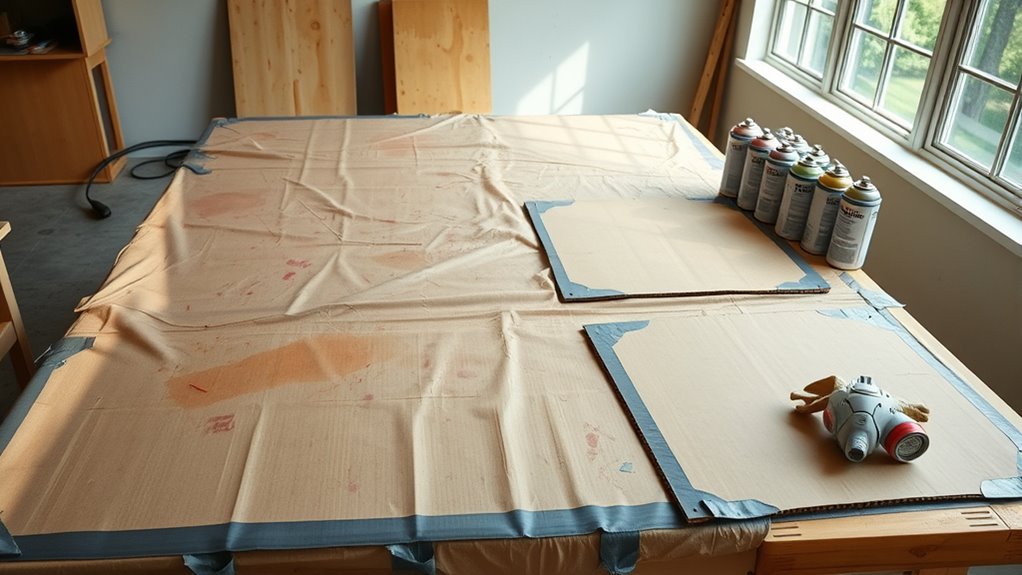
Before you start spray painting cardboard, set up a well-ventilated workspace—ideally outdoors or in a spray booth—to avoid inhaling fumes. You’ll want to make sure you cover nearby surfaces with old sheets or newspapers to protect them from overspray.
Use masking tape and painter’s plastic to block areas you don’t need to paint, ensuring clean edges. Place your cardboard on a stable, elevated surface like a table so it can dry evenly without touching the ground.
For kids crafts or any project, wearing a mask, gloves, and goggles is essential for safety. Whether you’re using spray paints or acrylic paint, applying one or two light coats works best.
This way, you get smooth coverage without drips during spray painting. Easy, right? Just take your time and enjoy the process!
Applying Spray Paint and Using Stencils on Cardboard
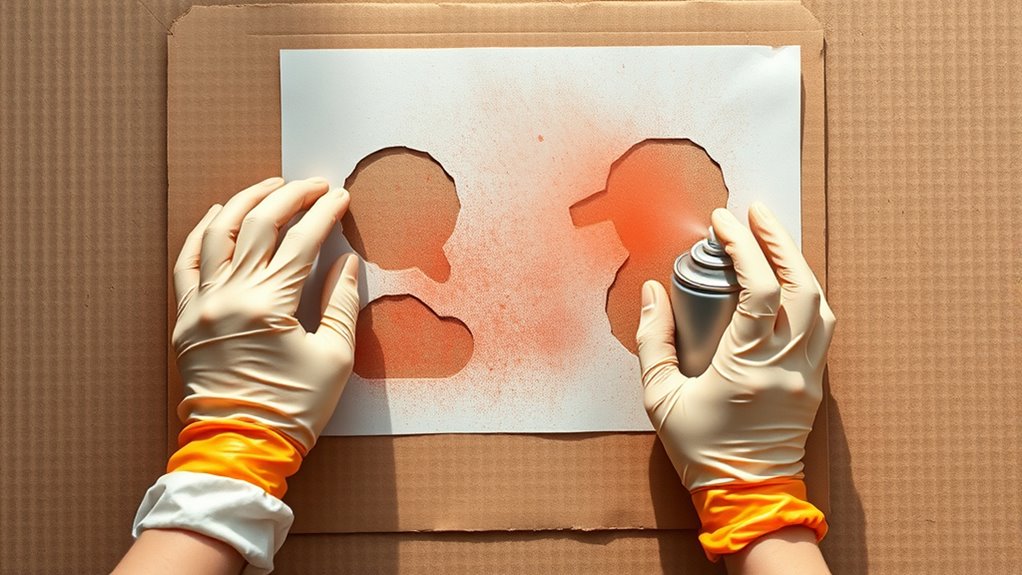
Once you’ve shaken the spray paint can for about 45 to 60 seconds, hold it roughly 12 inches from your cardboard and use light, controlled sprays in sweeping motions to avoid drips and oversaturation.
For best results, apply a thin coat of paint and let it dry completely before adding a second coat. When using stencils, secure them firmly to your work area and spray around the edges carefully.
Clean stencils immediately by pressing them onto scrap cardboard to remove excess paint. If the surface feels rough after drying, gently smooth it with fine grit sandpaper before the next coat.
| Step | Action | Tip |
|---|---|---|
| 1 | Shake can 45-60 seconds | Ensures paint mixes well |
| 2 | Spray 12 inches away | Prevents oversaturation |
| 3 | Apply first coat lightly | Let paint dry fully |
| 4 | Use stencil securely | Spray edges gently |
| 5 | Clean stencil after use | Use scrap cardboard |
Frequently Asked Questions
How Can I Paint Directly on Cardboard?
You can paint directly on cardboard by cleaning it first, then applying thin, even coats of acrylic paint.
Hold the spray can about 12 inches away and let each layer dry completely to avoid warping or running.
This way, your paint job will look smooth and last longer. Just take your time and enjoy the process!
What Kind of Paint Will Stick to Cardboard?
Think of cardboard as thirsty soil—acrylic or water-based spray paints are the rain that nourishes it best. You’ll want multi-surface acrylics or latex sprays; they cling firmly, ensuring your colors bloom without fading or peeling.
These paints soak in nicely, giving you vibrant results every time. Plus, they dry pretty quickly, so you don’t have to wait long before handling your masterpiece.
How Long to Let Spray Paint Dry on Cardboard?
You should let spray paint dry on cardboard for at least 2 hours before handling. This gives it enough time to set so you don’t smudge your work.
For full curing, wait 24-48 hours. This is especially important if you applied thick coats or if the humidity and temperature vary. Taking your time really helps the paint harden properly.
Which Type of Paint Is Best for Cardboard?
Think of acrylic paint as cardboard’s best friend—it sticks well, dries fast, and handles moisture without cracking.
You’ll want water-based acrylic or enamel spray paints with low solvents to keep your project looking sharp and lasting longer.
Conclusion
Now that you’ve prepped your space and mastered the art of spraying and stenciling on cardboard, imagine the moment when the final coat dries. The colors pop, edges sharp and vivid, your design coming alive under soft light.
You step back, heart racing, wondering if it’ll look just as stunning in the real world. Ready to reveal your masterpiece?
Spray paint isn’t just paint—it’s your ticket to transforming plain cardboard into something unforgettable. With the right techniques, spray painting cardboard lets you add vibrant colors and precise details that bring your creative ideas to life. So go ahead, grab your spray paint, and turn that simple cardboard into a stunning work of art that’s sure to impress!